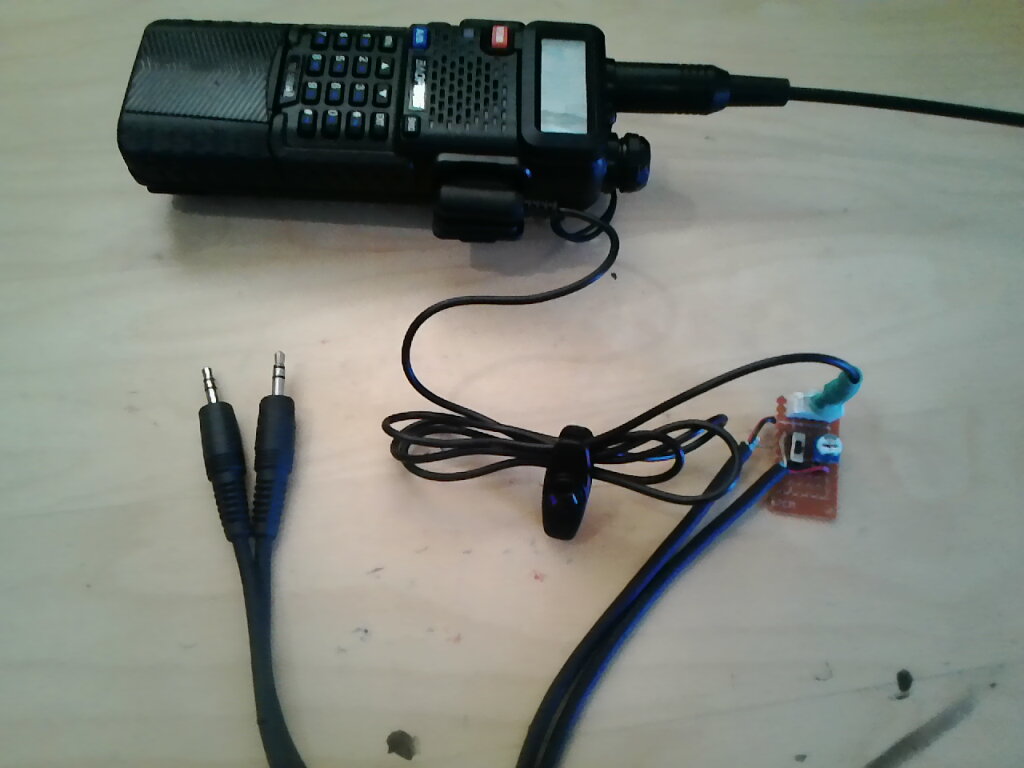
Baofeng UV5R DIY direct to computer audio cable
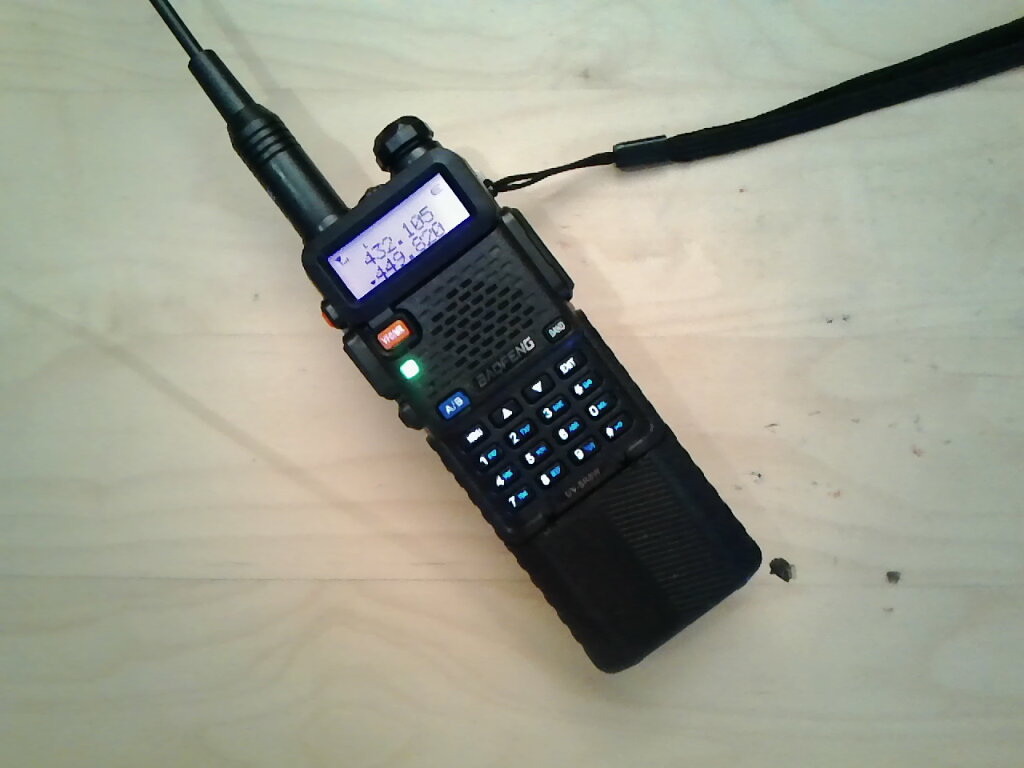
With my new HAM radio license in the books, I bought the Baofeng UV5R as my first HT. Between its low-cost and various features, I think its been a great radio to start out with. With an upgraded antenna (almost not optional) and a larger battery bank, I’ve found the radio to be a pretty solid unit. Unfortunately, there is no direct way to plug in the radio’s speaker and mic jacks to a computer soundcard to transmit and receive sounds to and from my PC, but with a simple cable modification, this can be done.
The radio comes with a small headset/ earpiece and microphone cable that can be connected to the audio jacks. In truth, this little device is utterly useless. Between the deafening pop the earpiece makes at the beginning of every sound coming out the radio, and the loud and tactile PTT button, theres not much left to use it for. But luckily for us, this cable comes with the connector designed to plug into this radio, which is exactly what we need. By removing all of the other circuitry from the earpiece, we are left with the raw wires.
Alternatively, if you plan on using the earpiece or aren’t in the mood to destroy the cable, you could grab a 2.5mm to 3.5mm cable and a 3.5mm to 3.5mm headphone cable. With this, you can directly plug the both audio cables into the radio, and on the other end, into your sound card. Do note that the way the PTT functions externally on the UV-5R is by shorting the 2 ground pins on the jacks, as shown in the diagram below. Many sound cards have a common ground between the mic input and the headphone output. This means that the radio will begin transmitting the second you plug both cables in. To combat this, you can purchase an audio isolator or make your own from this detailed guide..

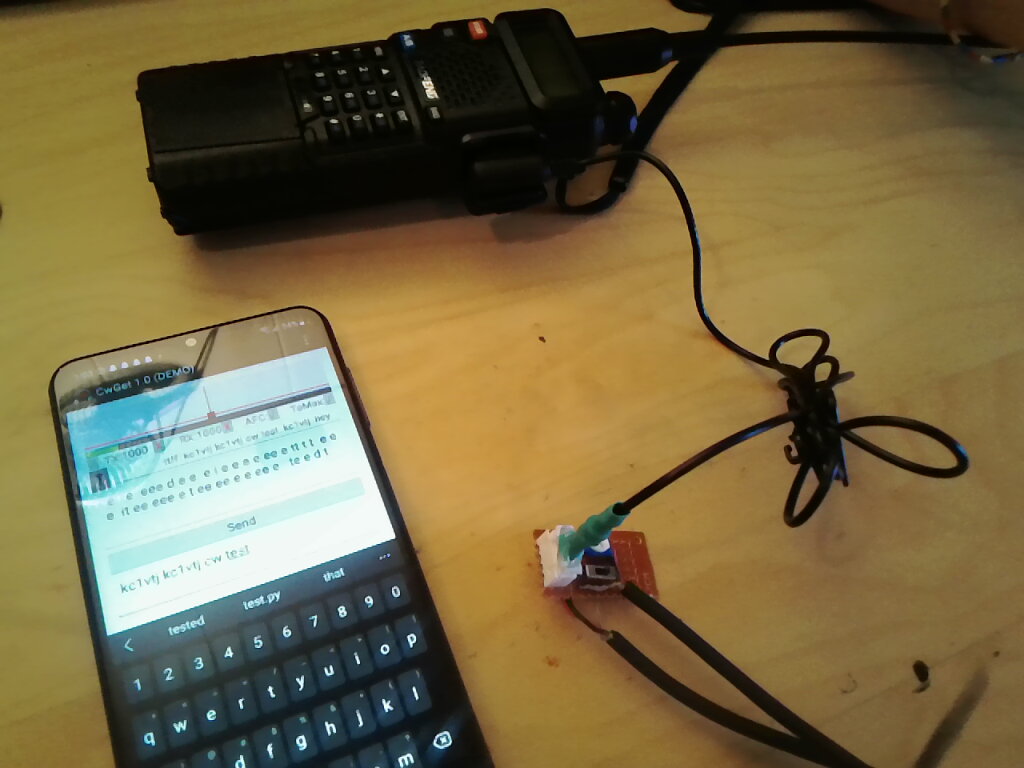
I ended up putting a JST connector on the end of the audio lines to make it a little more versatile. This way, it can be plugged into many different boards. For now, I have it plugged into this board. The board has two, 3.5mm audio cables connected. These can be plugged into the input and output of a sound card. There is also a small 2k ohm potentiometer for volume control (from the radio) and an SPDT switch for PTT.
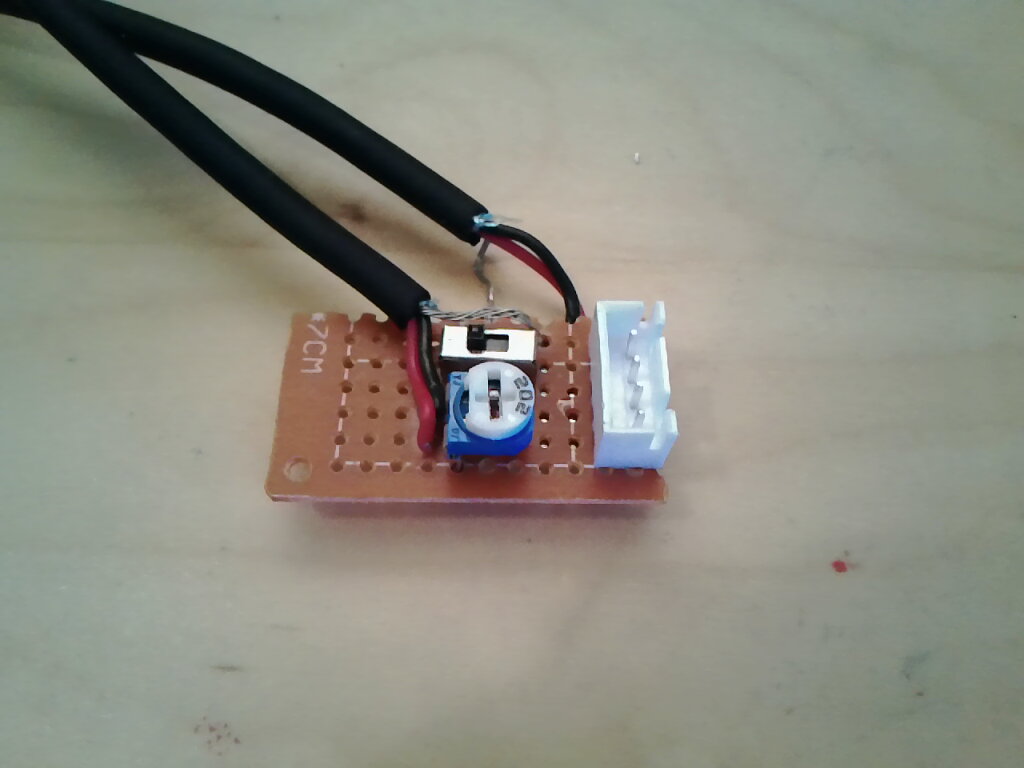
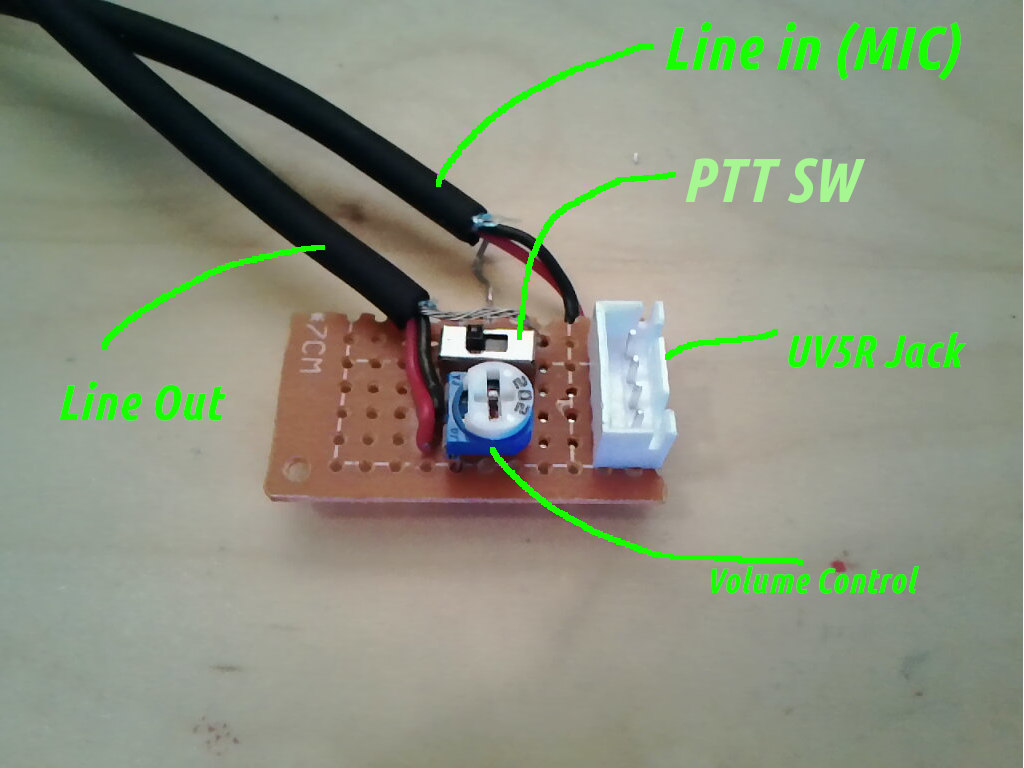
With this, I was able to successfully send and receive simplex signals, including CW and SSTV.
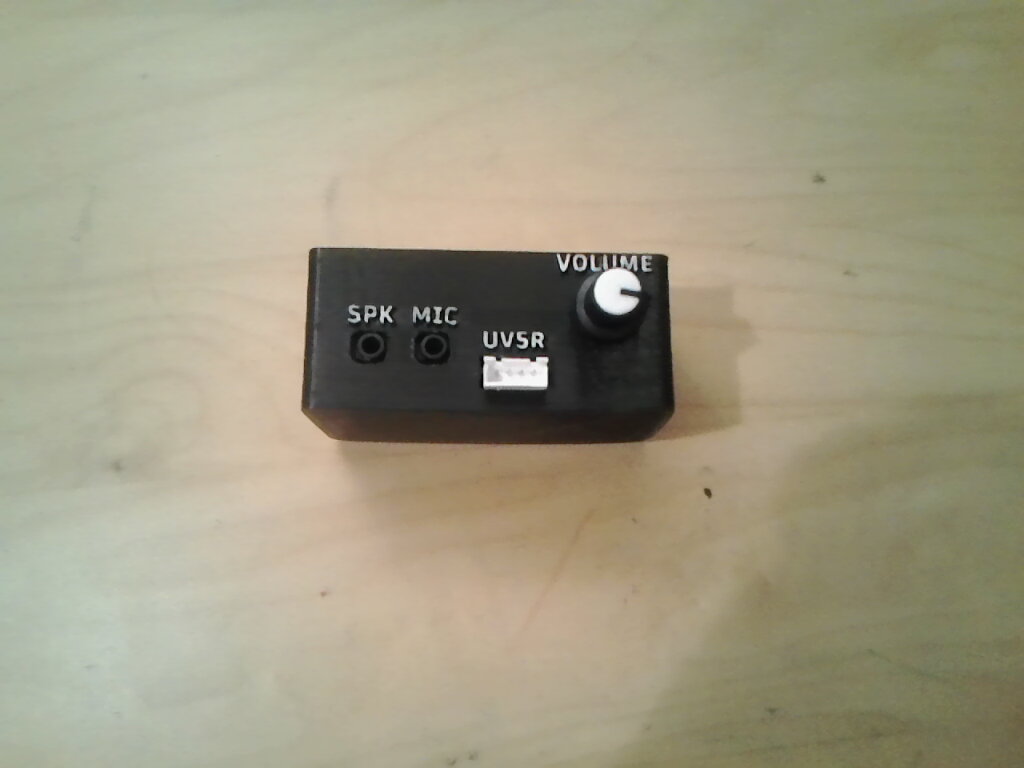
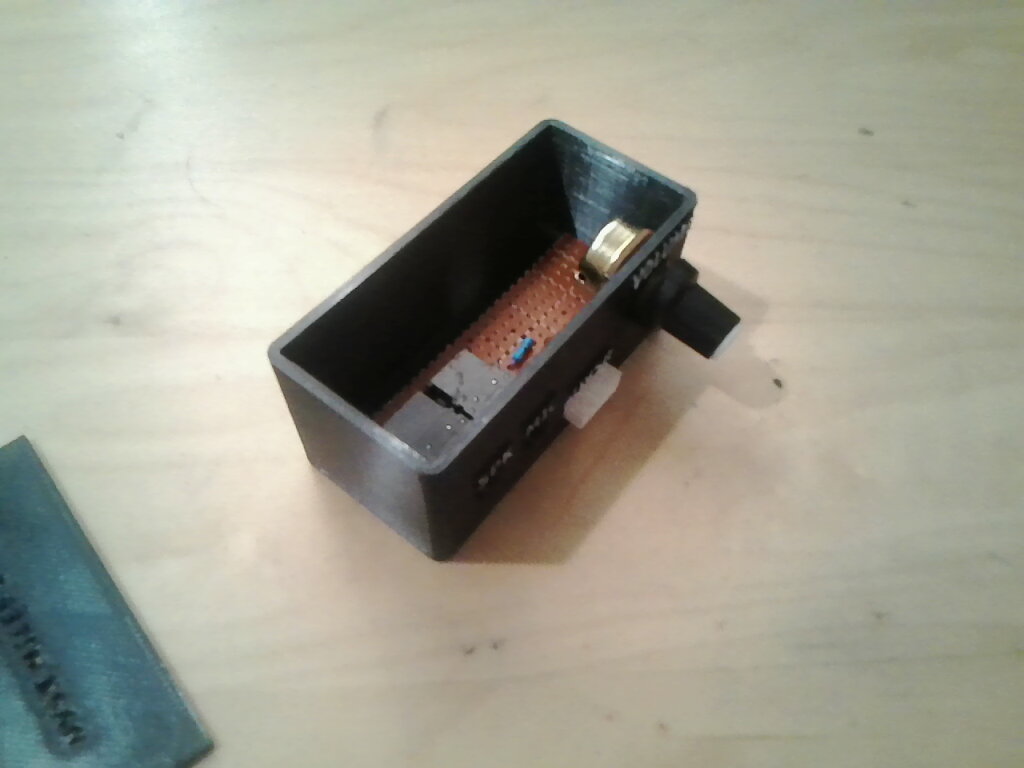
I later revised the board and designed a 3D printed enclosure to house it. It was printed without support, on a Creality Ender 3 printer. Using black PLA worked well for this application, and took only 3 hours to print both the box and the lid together. The text is extruded by 1mm and will come out black (and hard to read) if you only have a single extruder printer like I do. To combat this, I used a white paint marker and carefully colored the letters which worked flawlessly.
I also redesigned the circuit sligtly, by adding some filtration capacitors to help make the audio quality less static-ey. These capacitors block DC currents from flowing through them, but the AC audio signal can pass straight on through. Also, with this design, I found that you can short the two ground pins together without tripping the PTT function on the radio. This means both audio cables can be plugged into a sound card that share a common ground without any issues.
With this, the final product was born!


0
Views
