Posts

2
minutes
This week felt very similar to the last few. One step forward, two steps back.
Although we received the new and improved [https://www.amazon.com/dp/B0DL349YSV/ref=twister_B0GFD4MFG5?_encoding=UTF8&th=1](Daly Smart BMS) rated for 300A and automatic active cell balancing, we still managed to mess things up.
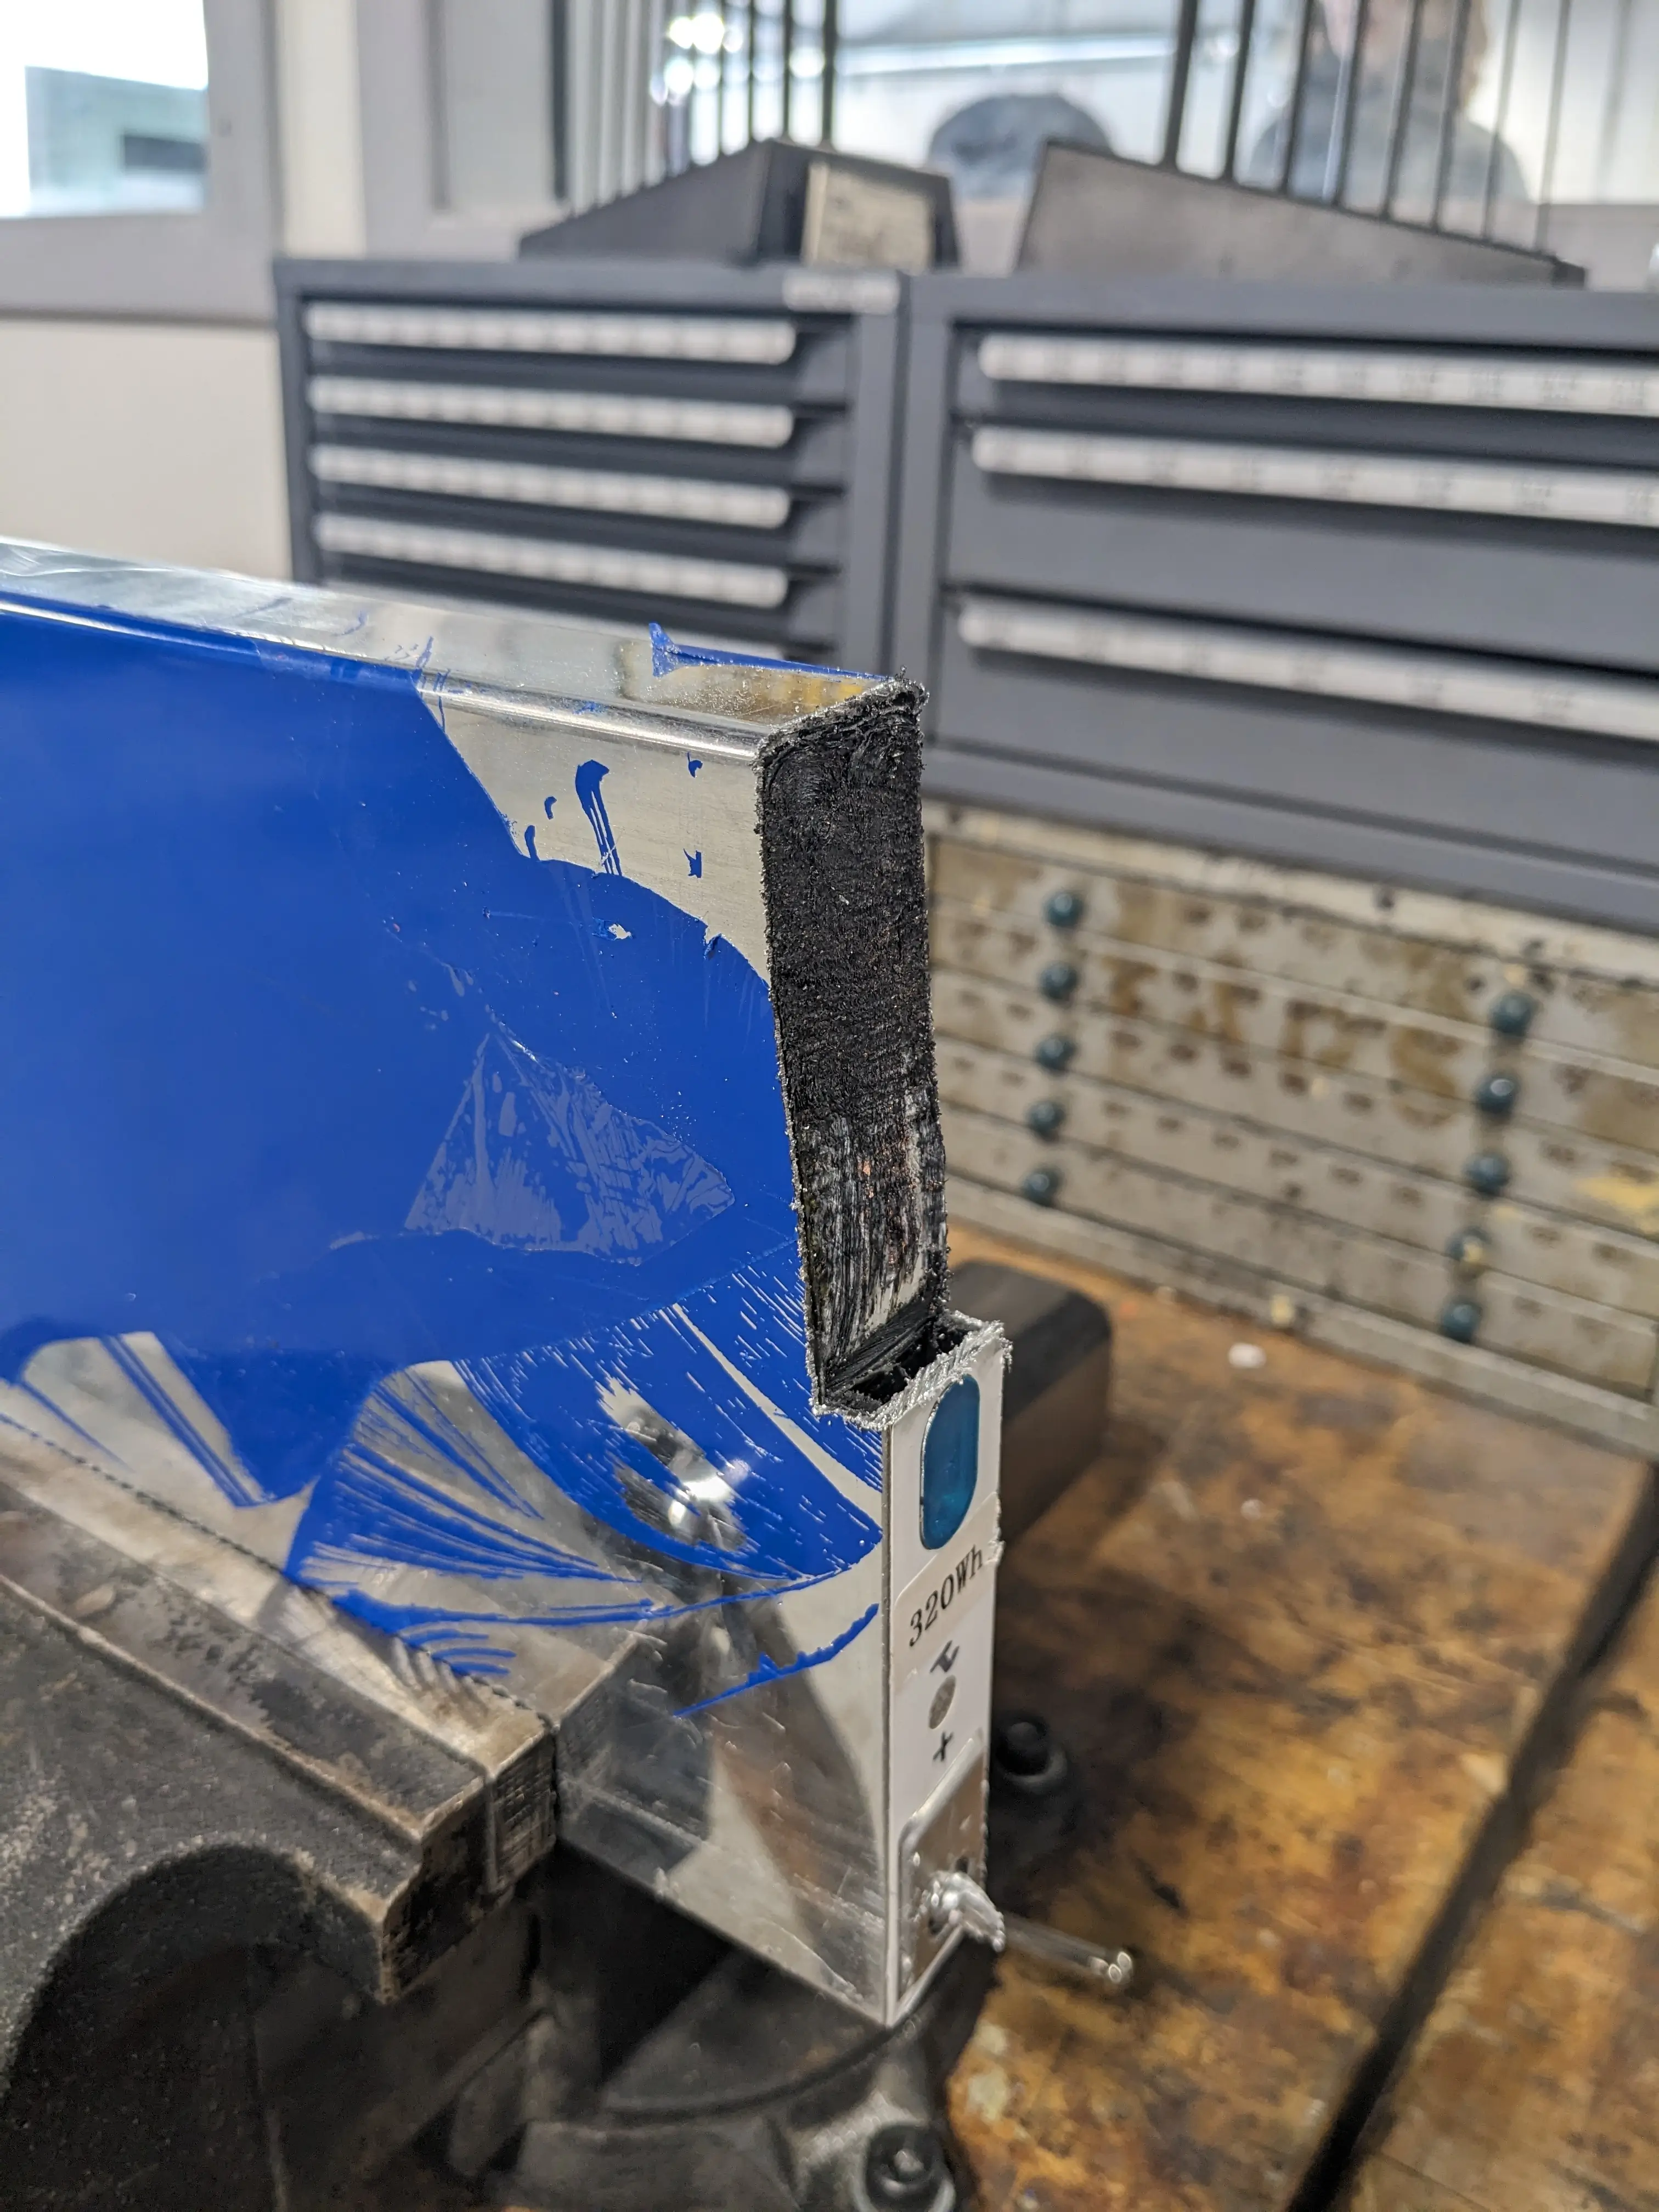
To begin the week, Jonas and I reinstalled the new battery (replacing the one that was damaged last week) which required more physical labor than expected. Originally, we thought we could push the new battery in, but the minor swelling from the other cells made it extremely difficult to fit them.
3
minutes
This week was another short one. We had two snow-days on Monday and Tuesday so we were reduced to three working days. Like last week, this one was full of horror and dumb mistakes made that set the whole golf cart project further back in time. On Wednesday, Mr. L had Jonas and I shovel out the driveway to allow for the mandoor to open fully. This ended up taking longer than we planned, so we spent a decent chunk of our shop time shoveling and throwing snowballs.

1
minute
This week was a very short week, due to MLK day and a professional development day for the teachers.
Nonetheless, there was still plenty of time to break things.
In two days, Jonas and I managed to set back our progress on the golf cart by over 6 months. The first issue we discovered was that one of the batteries was shorted to the frame ground. Although not immediately dangerous, it increases the risk of shorting the entire LiFePO4 battery pack.

3
minutes
I spent this week working on various projects and side tasks.
On Monday, Mr. Christy needed someone to assemble the newly purchased DIY reflow oven kit (EZ Make Oven).
We have had a small countertop convection oven in the shop ready to be used for this project for several years now, so these were the final components needed to get things up and running.
With the help of Jonas, we got the hardware setup complete in about one period.

3
minutes
Ever since I got my USDX+ QRP Radio I have needed some way to reliably power it.
Originally, I started with a random 12v wall wart that I found from an old router. I saw that it could deliver 3A so I thought it would have been the perfect match… but I was wrong
The USDX+ has an SDR receiver and is very prone to interference (not just RF but power line noise too) which I found very noticeable on my trip to AZ.
3
minutes
Over the winter break, I downloaded the EuroCity Persons Dataset and began to re-train our golf-cart AI YOLO model. This dataset was suggested to me by Matty Harris but you need a specific education account to download it. Luckily, he provided his account and I was able to grab a copy.
The dataset is nearly 60GB of over 200,000 annotations. I had to convert the provided JSON annotations for each file to individual text files in a YOLO compatible format.

5
minutes
On most airlines today, you are given “free” WiFi during your flight. In reality, this looks more like “20 minutes for free, then $30 for the rest of the flight.” Although the airlines occasionally offer a basic streaming service for free, the movie selection is usually abysmal and can be very laggy and unreliable during playback.
Although I don’t travel by plane frequently, usually it is for very long trips.

2
minutes
This week was not the most productive. I was out on Tuesday due to a lingering cold, and a good portion of the students and teachers were out with the Flu this whole week.
Nonetheless, there was some progress made on the Golf Cart.
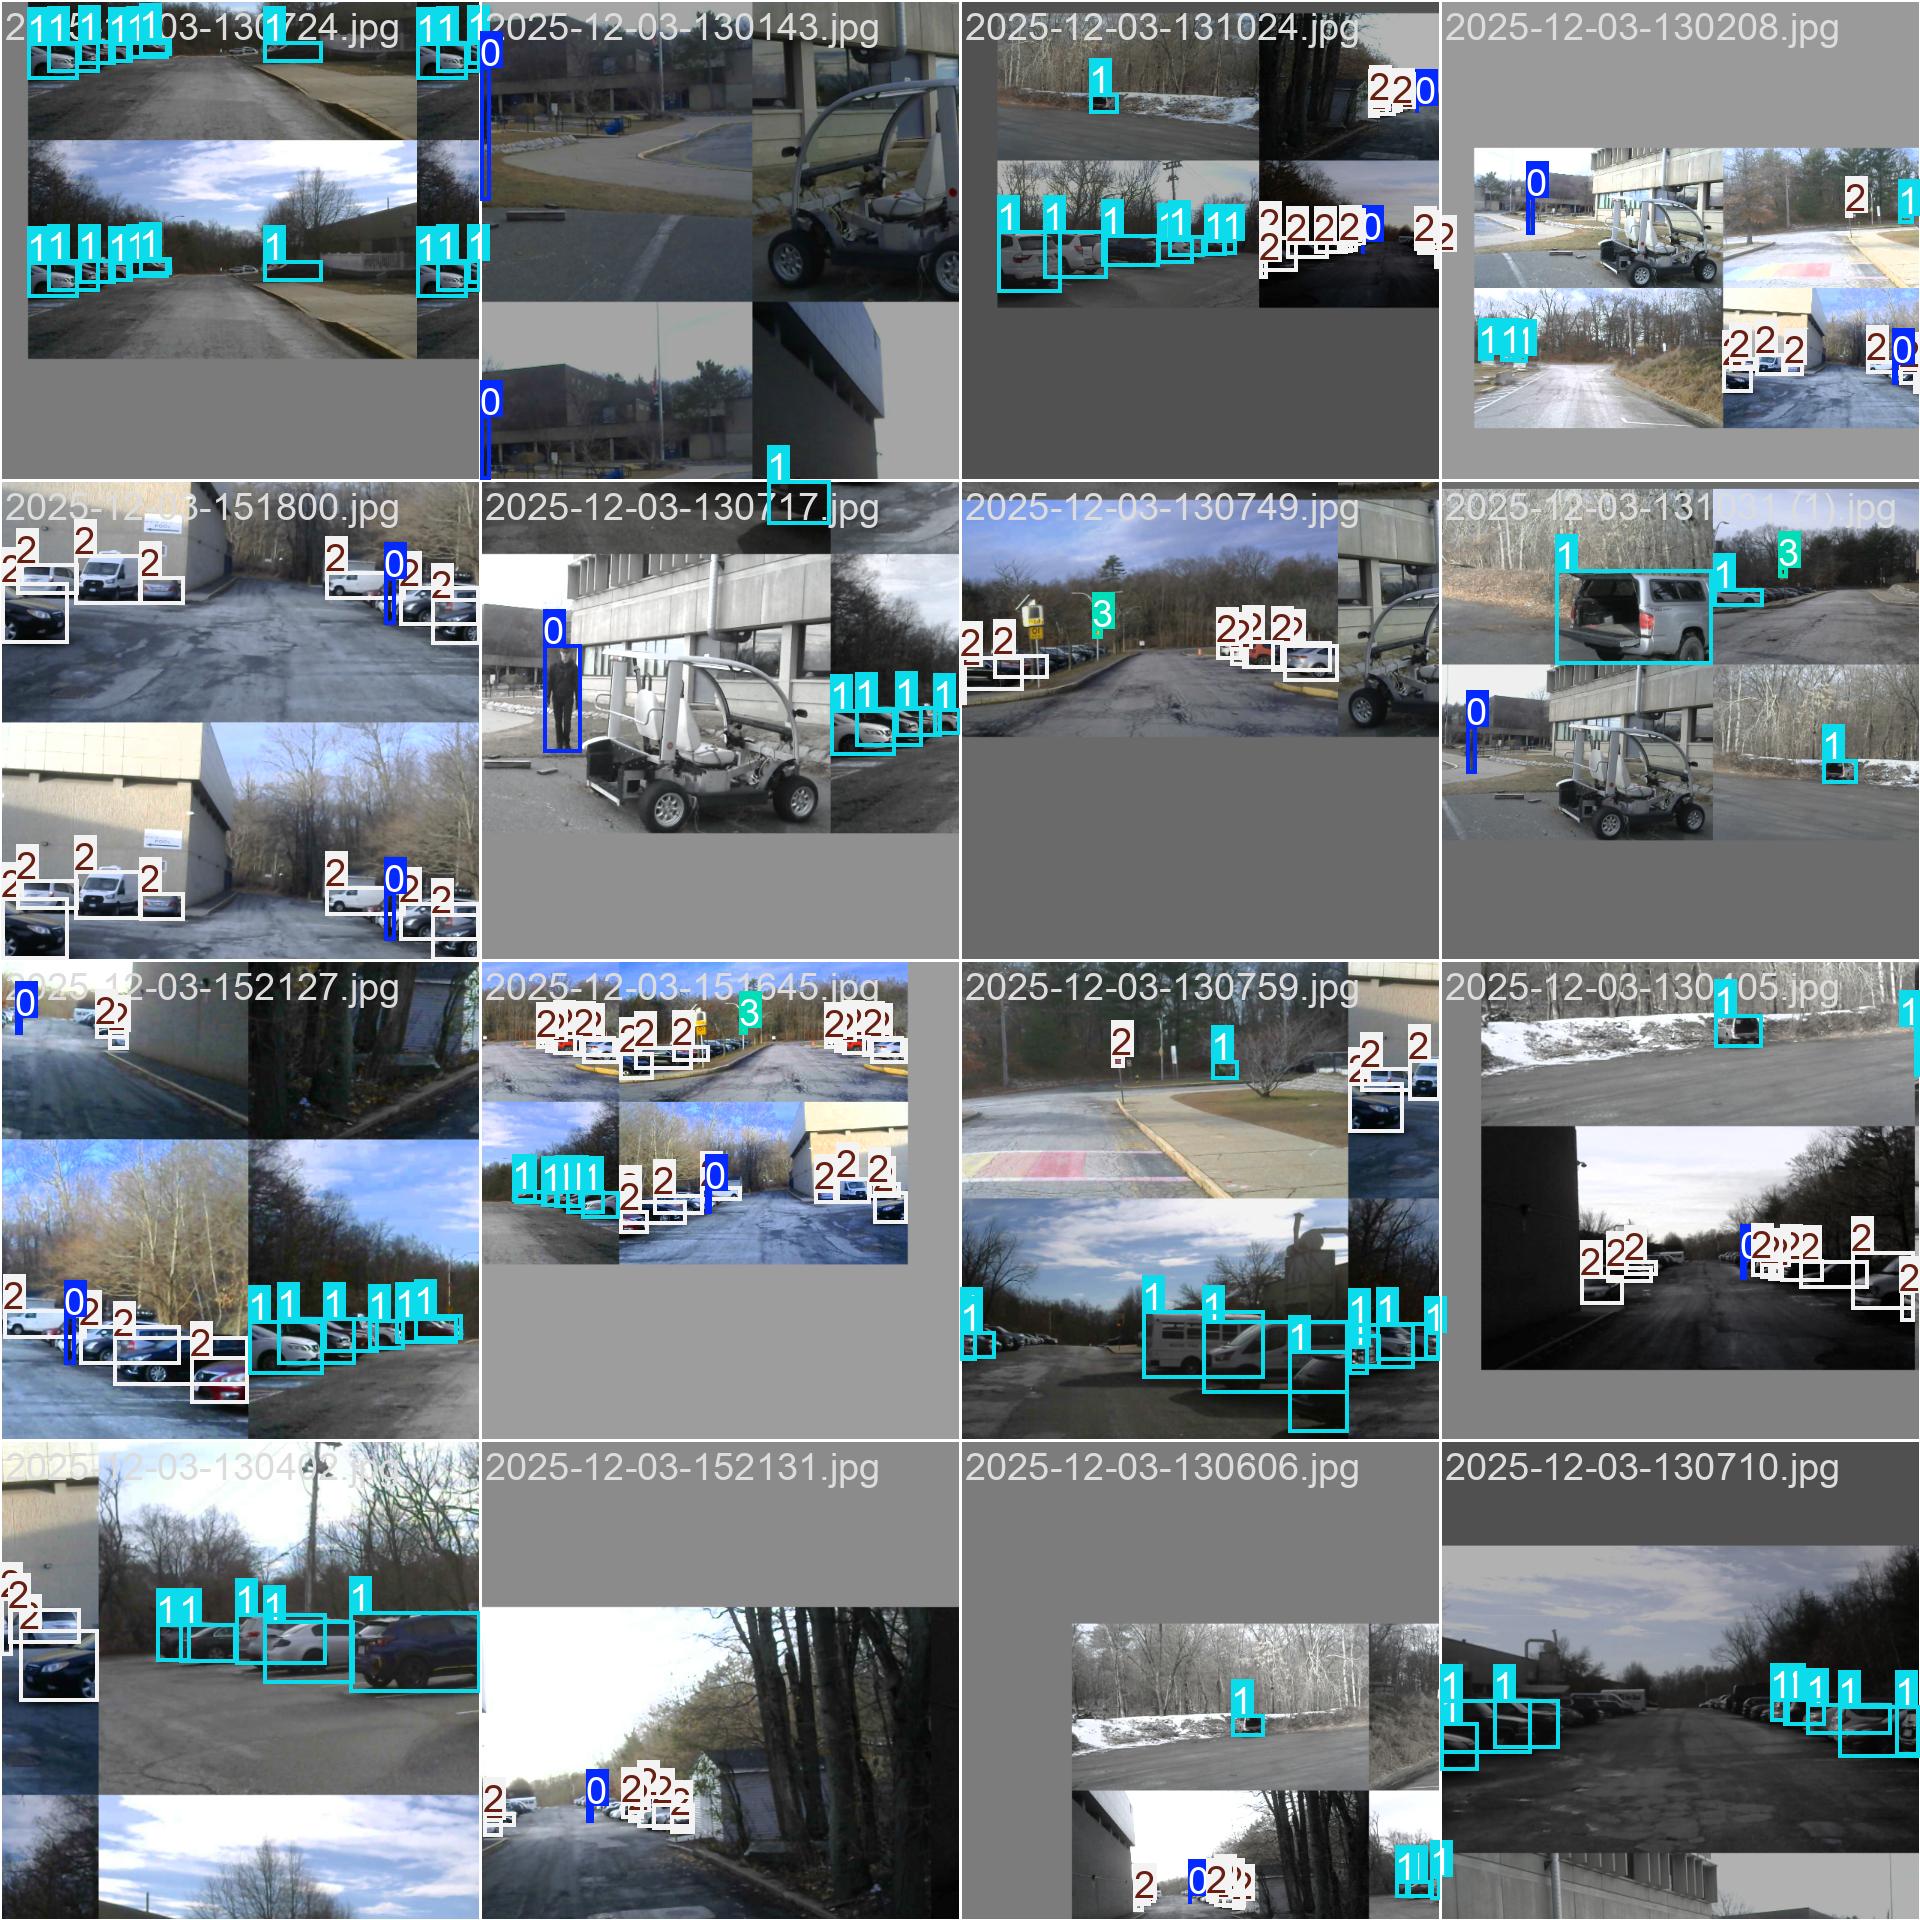
On Monday, I wasn’t feeling well, so I spent most of the time doing my “zen task” of annotating more frames for the YOLO model.
3
minutes
This week, I did more work on the AI YOLO model on the golf cart, but I decided to move away from that a little bit and focus on some of the more mechanical aspects of the project.
I wired up a simple breadboard circuit with an Arduino and the BTS7960 motor driver (capable of 49 amps continuous, which I am skeptical about) which is then wired up to a 30a 12v power supply and the giant steering motor.
4
minutes
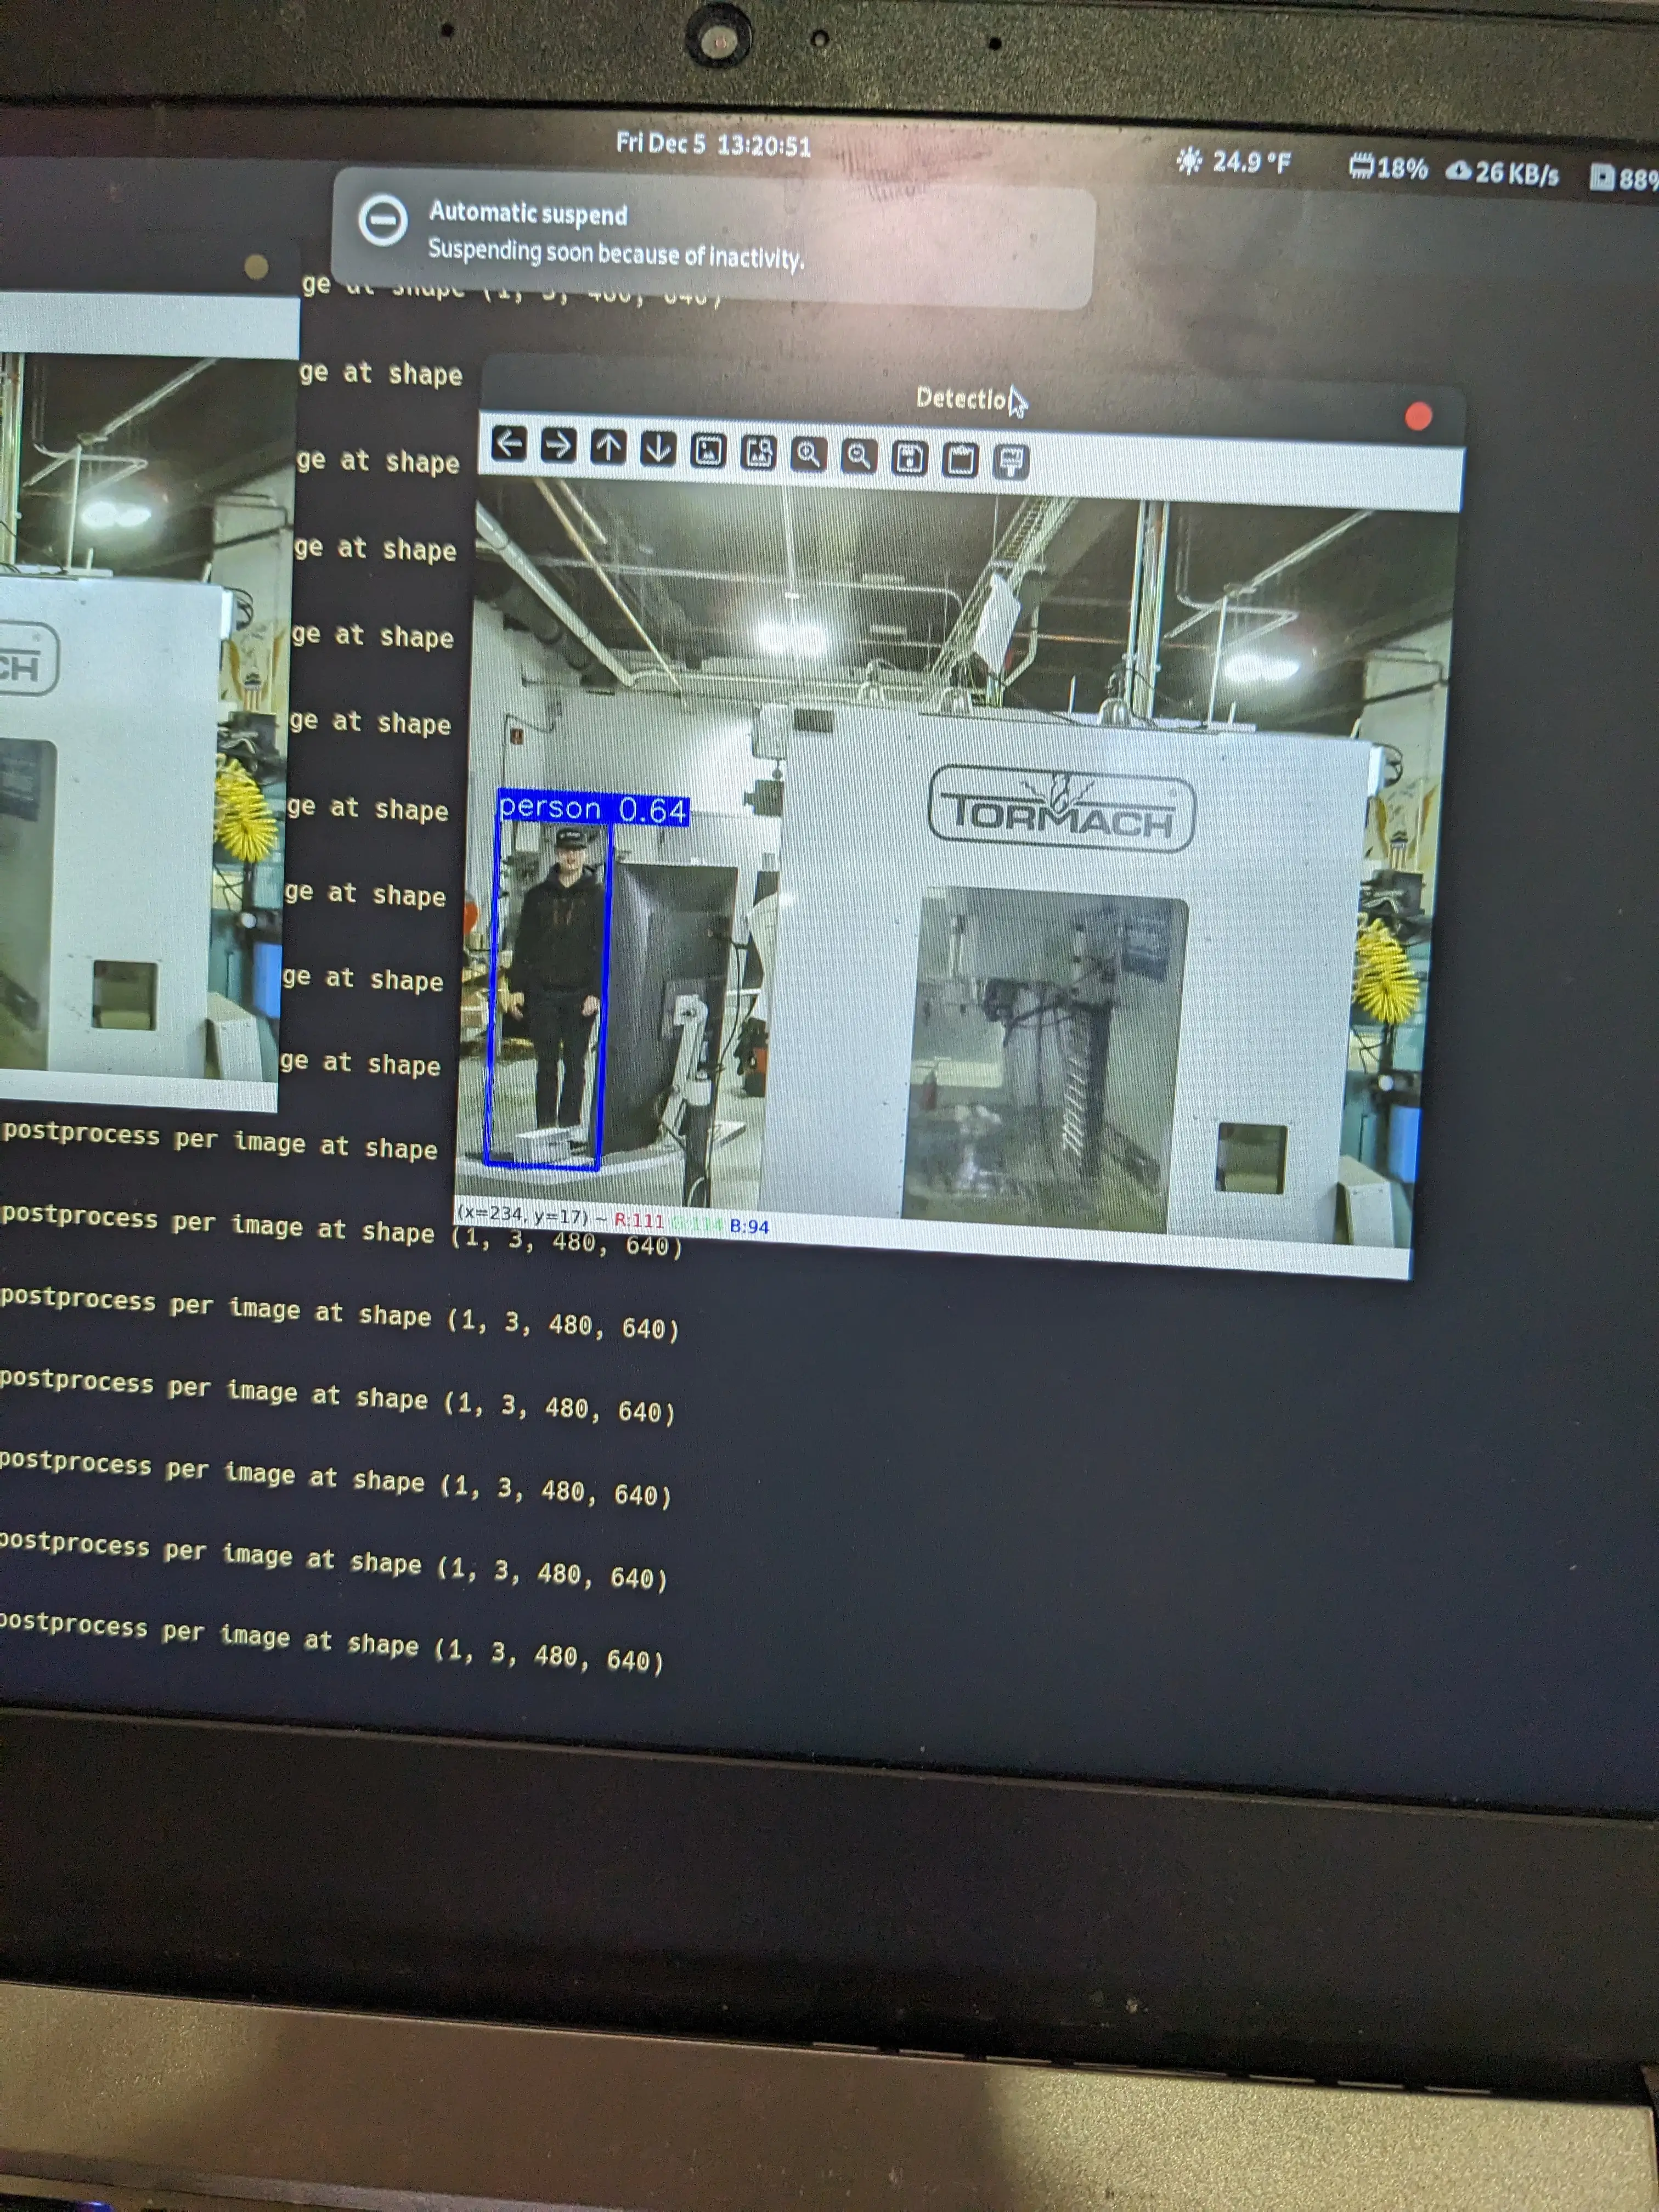
This week during my time in shop, I began a new task on the Ford Think… AI.
Jonas has been focused on the LiDAR aspect of the autonomous navigation system, and I have been focused on the camera system
The idea of doing a combination of both LiDAR and camera’s as inputs to our final AI system we think has significant advantages over simply using cameras as the inputs, like Tesla does on their vehicles.

2
minutes
PLU Codes are super hard to remember, especially if you are a new cashier at your local supermarket like me.
Although most modern systems include a lookup utility to help you look up codes when you can’t remember them, it can be super time consuming and annoying to both you and the customer.
With a little research, I found few resources to help study these codes. Most people I have talked to, including my coworkers, say that memorization comes with time.

3
minutes
Intro As Artificial Intelligence expands and continues to get more and more involved in aspects of daily life, it is only a matter of time until it gets involved in mainstream news feeds… so I sped things up and did it myself.
Introducing The Neural Times, your “Only source of news, curated daily”
The Neural Times is uses locally run Large Language Models (LLMs) and locally run Stable Diffusion (for image generation) to create satirical takes on current events worldwide.
2
minutes
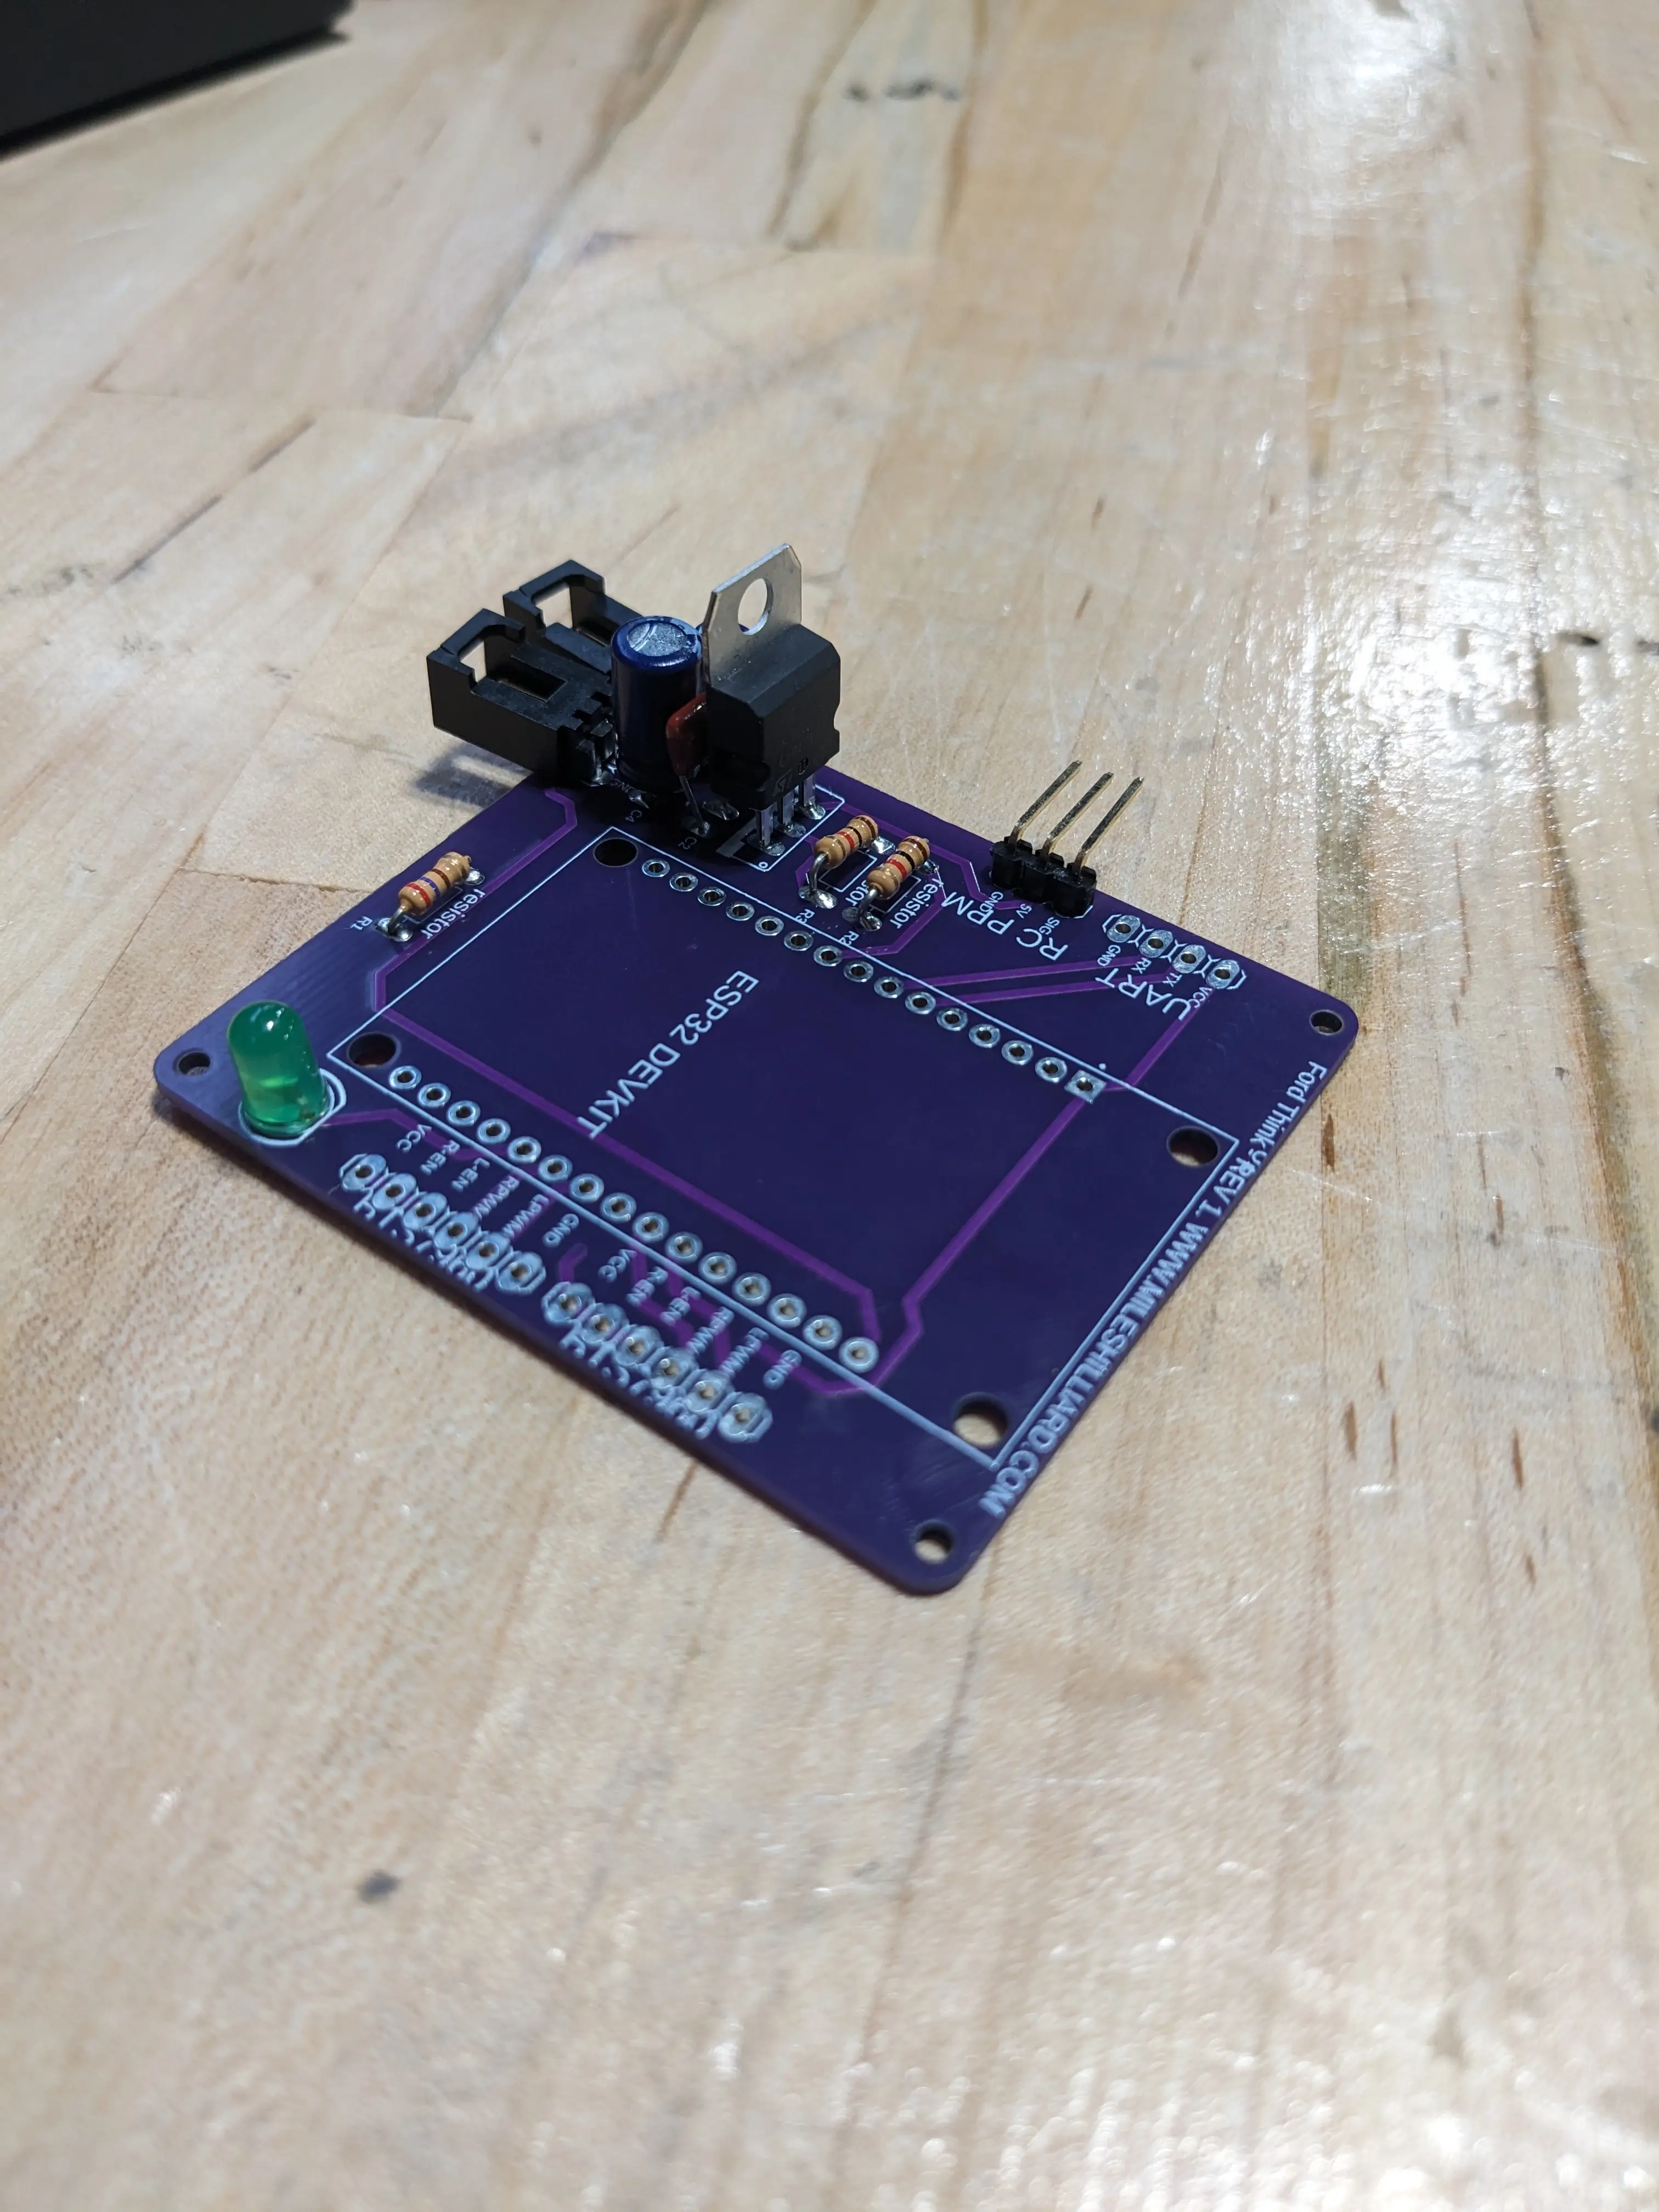
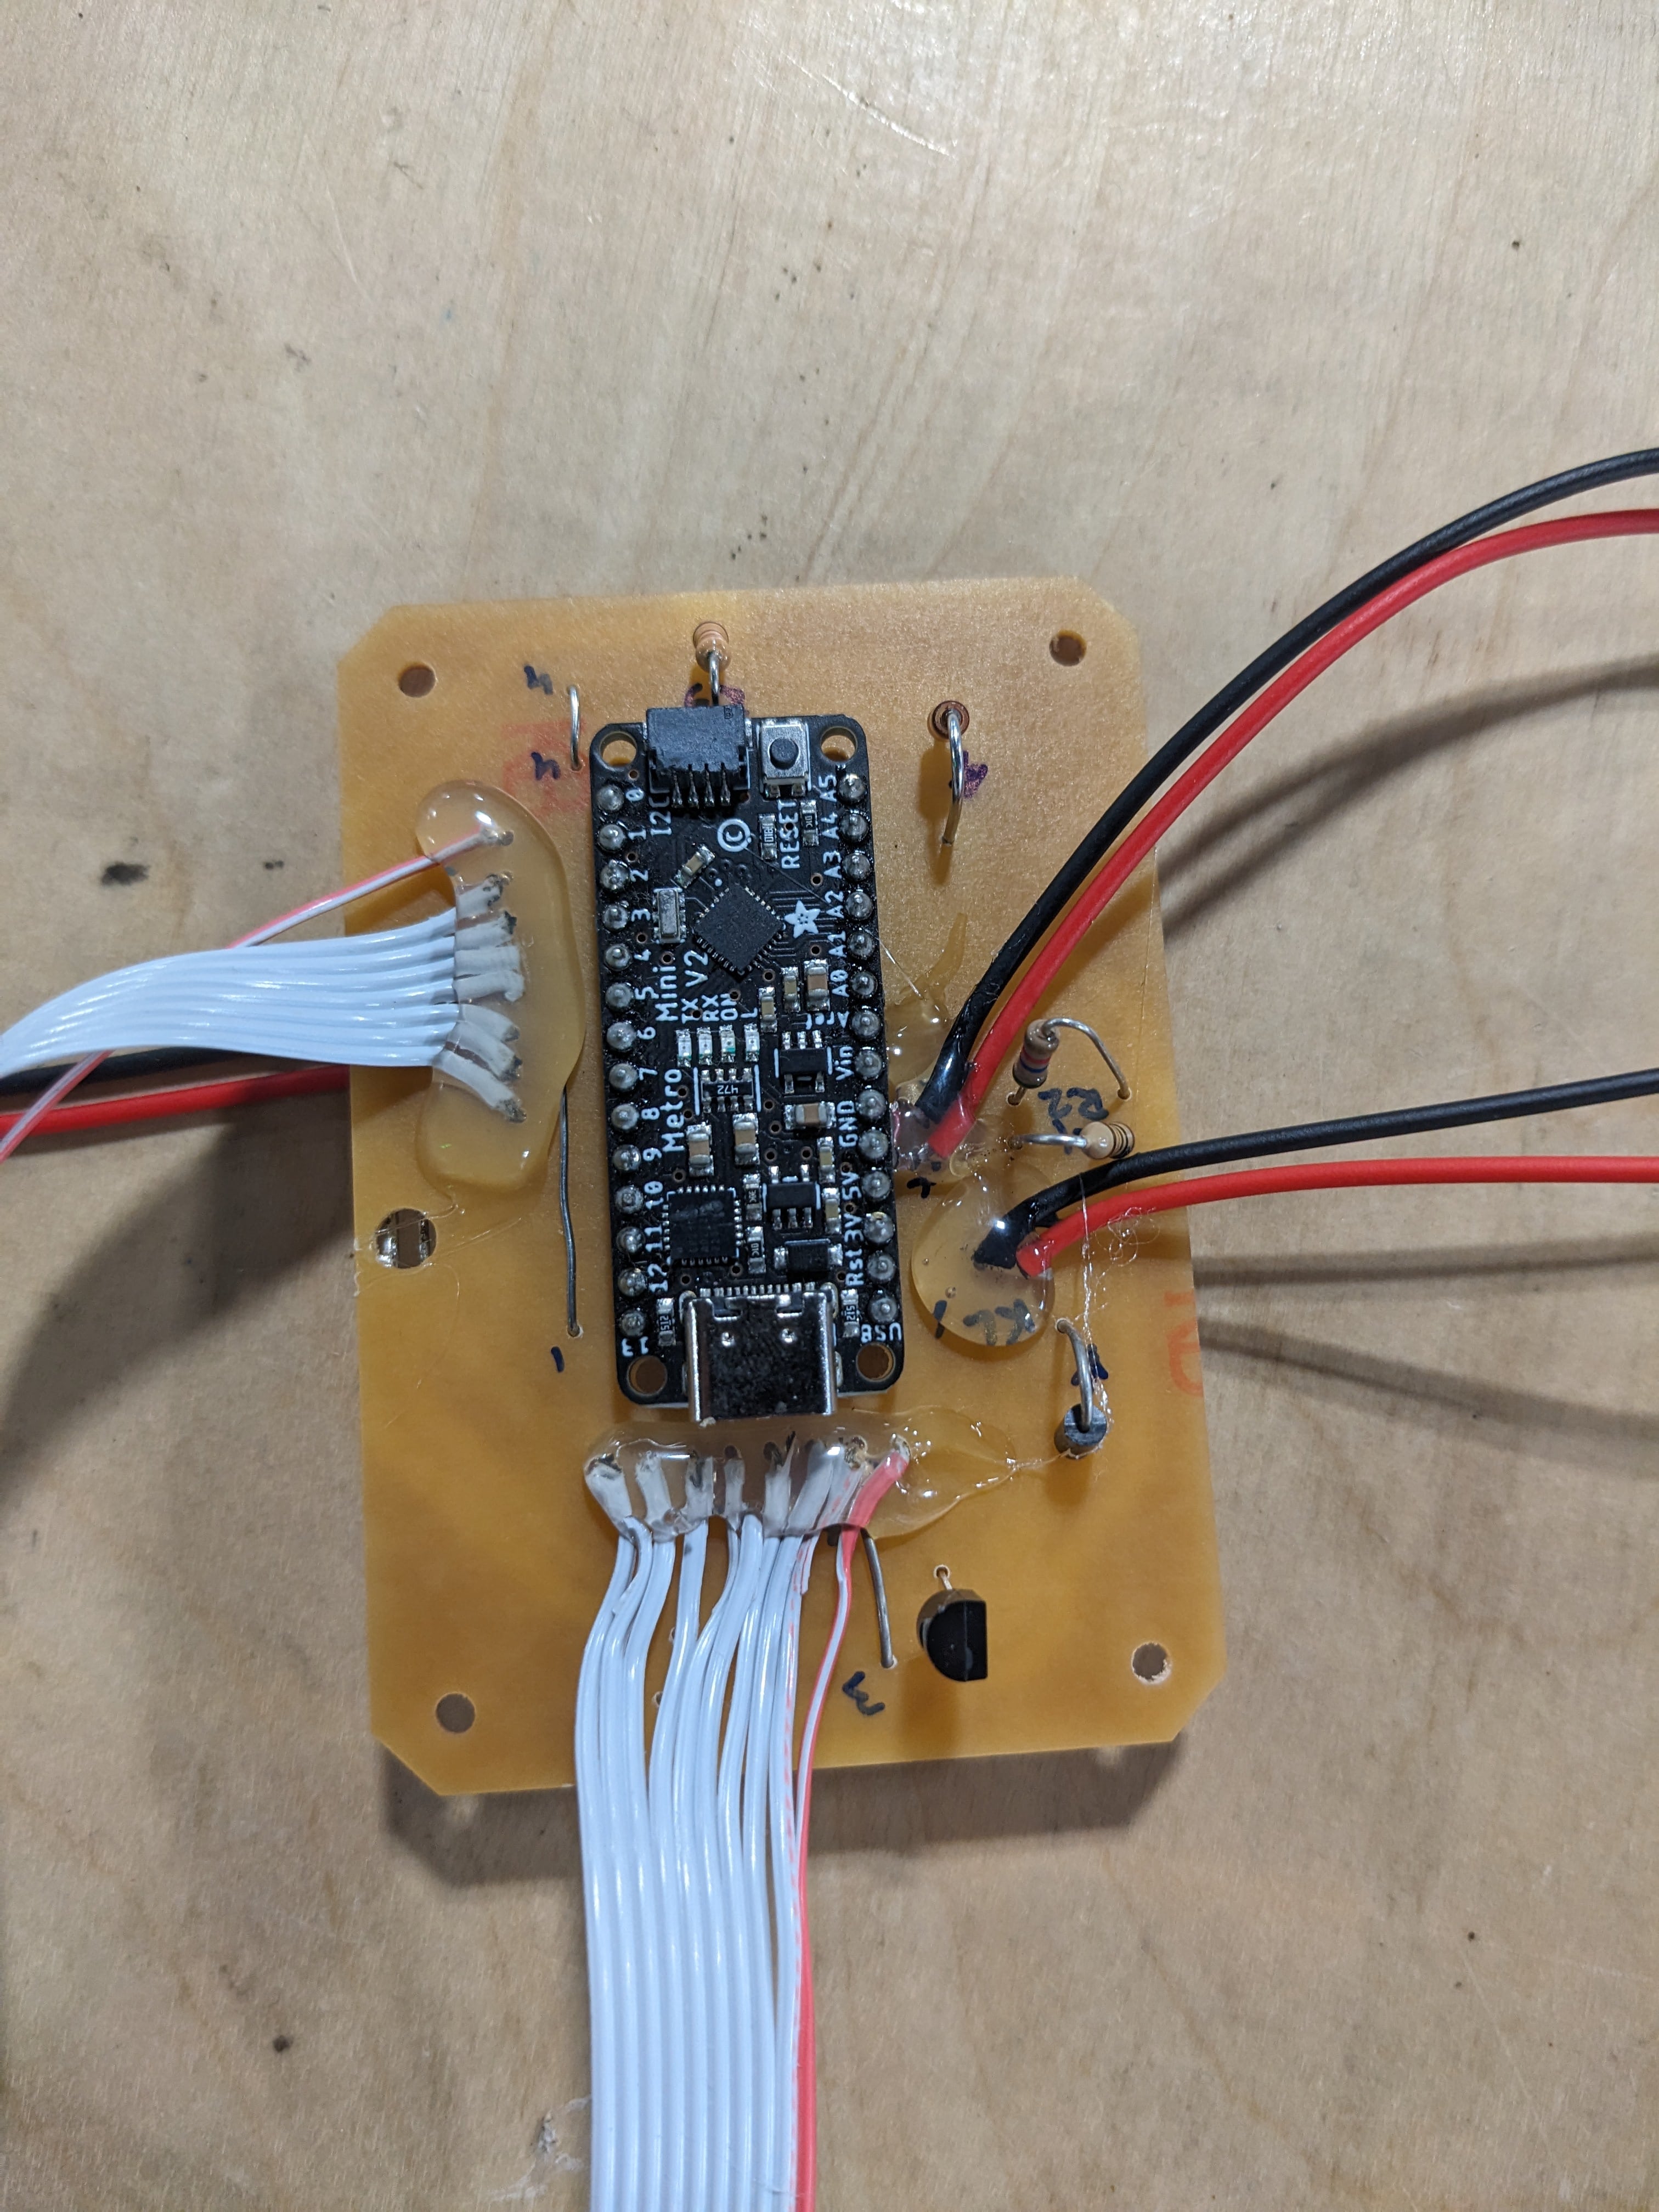
This week I spent a good portion of time milling out and working on the PCB for the Ford Think. The PCB has a TFT display for the control and battery information, along with an RFID tag scanner for authentication (to prevent unwanted sophomore operation…)
The board came out nicely, but it had a few minor issues including the fact that the board was milled over an existing hole in the PCB board, which messed up a few of the traces that needed some post-manufacturing work with some wire and precise soldering.
3
minutes
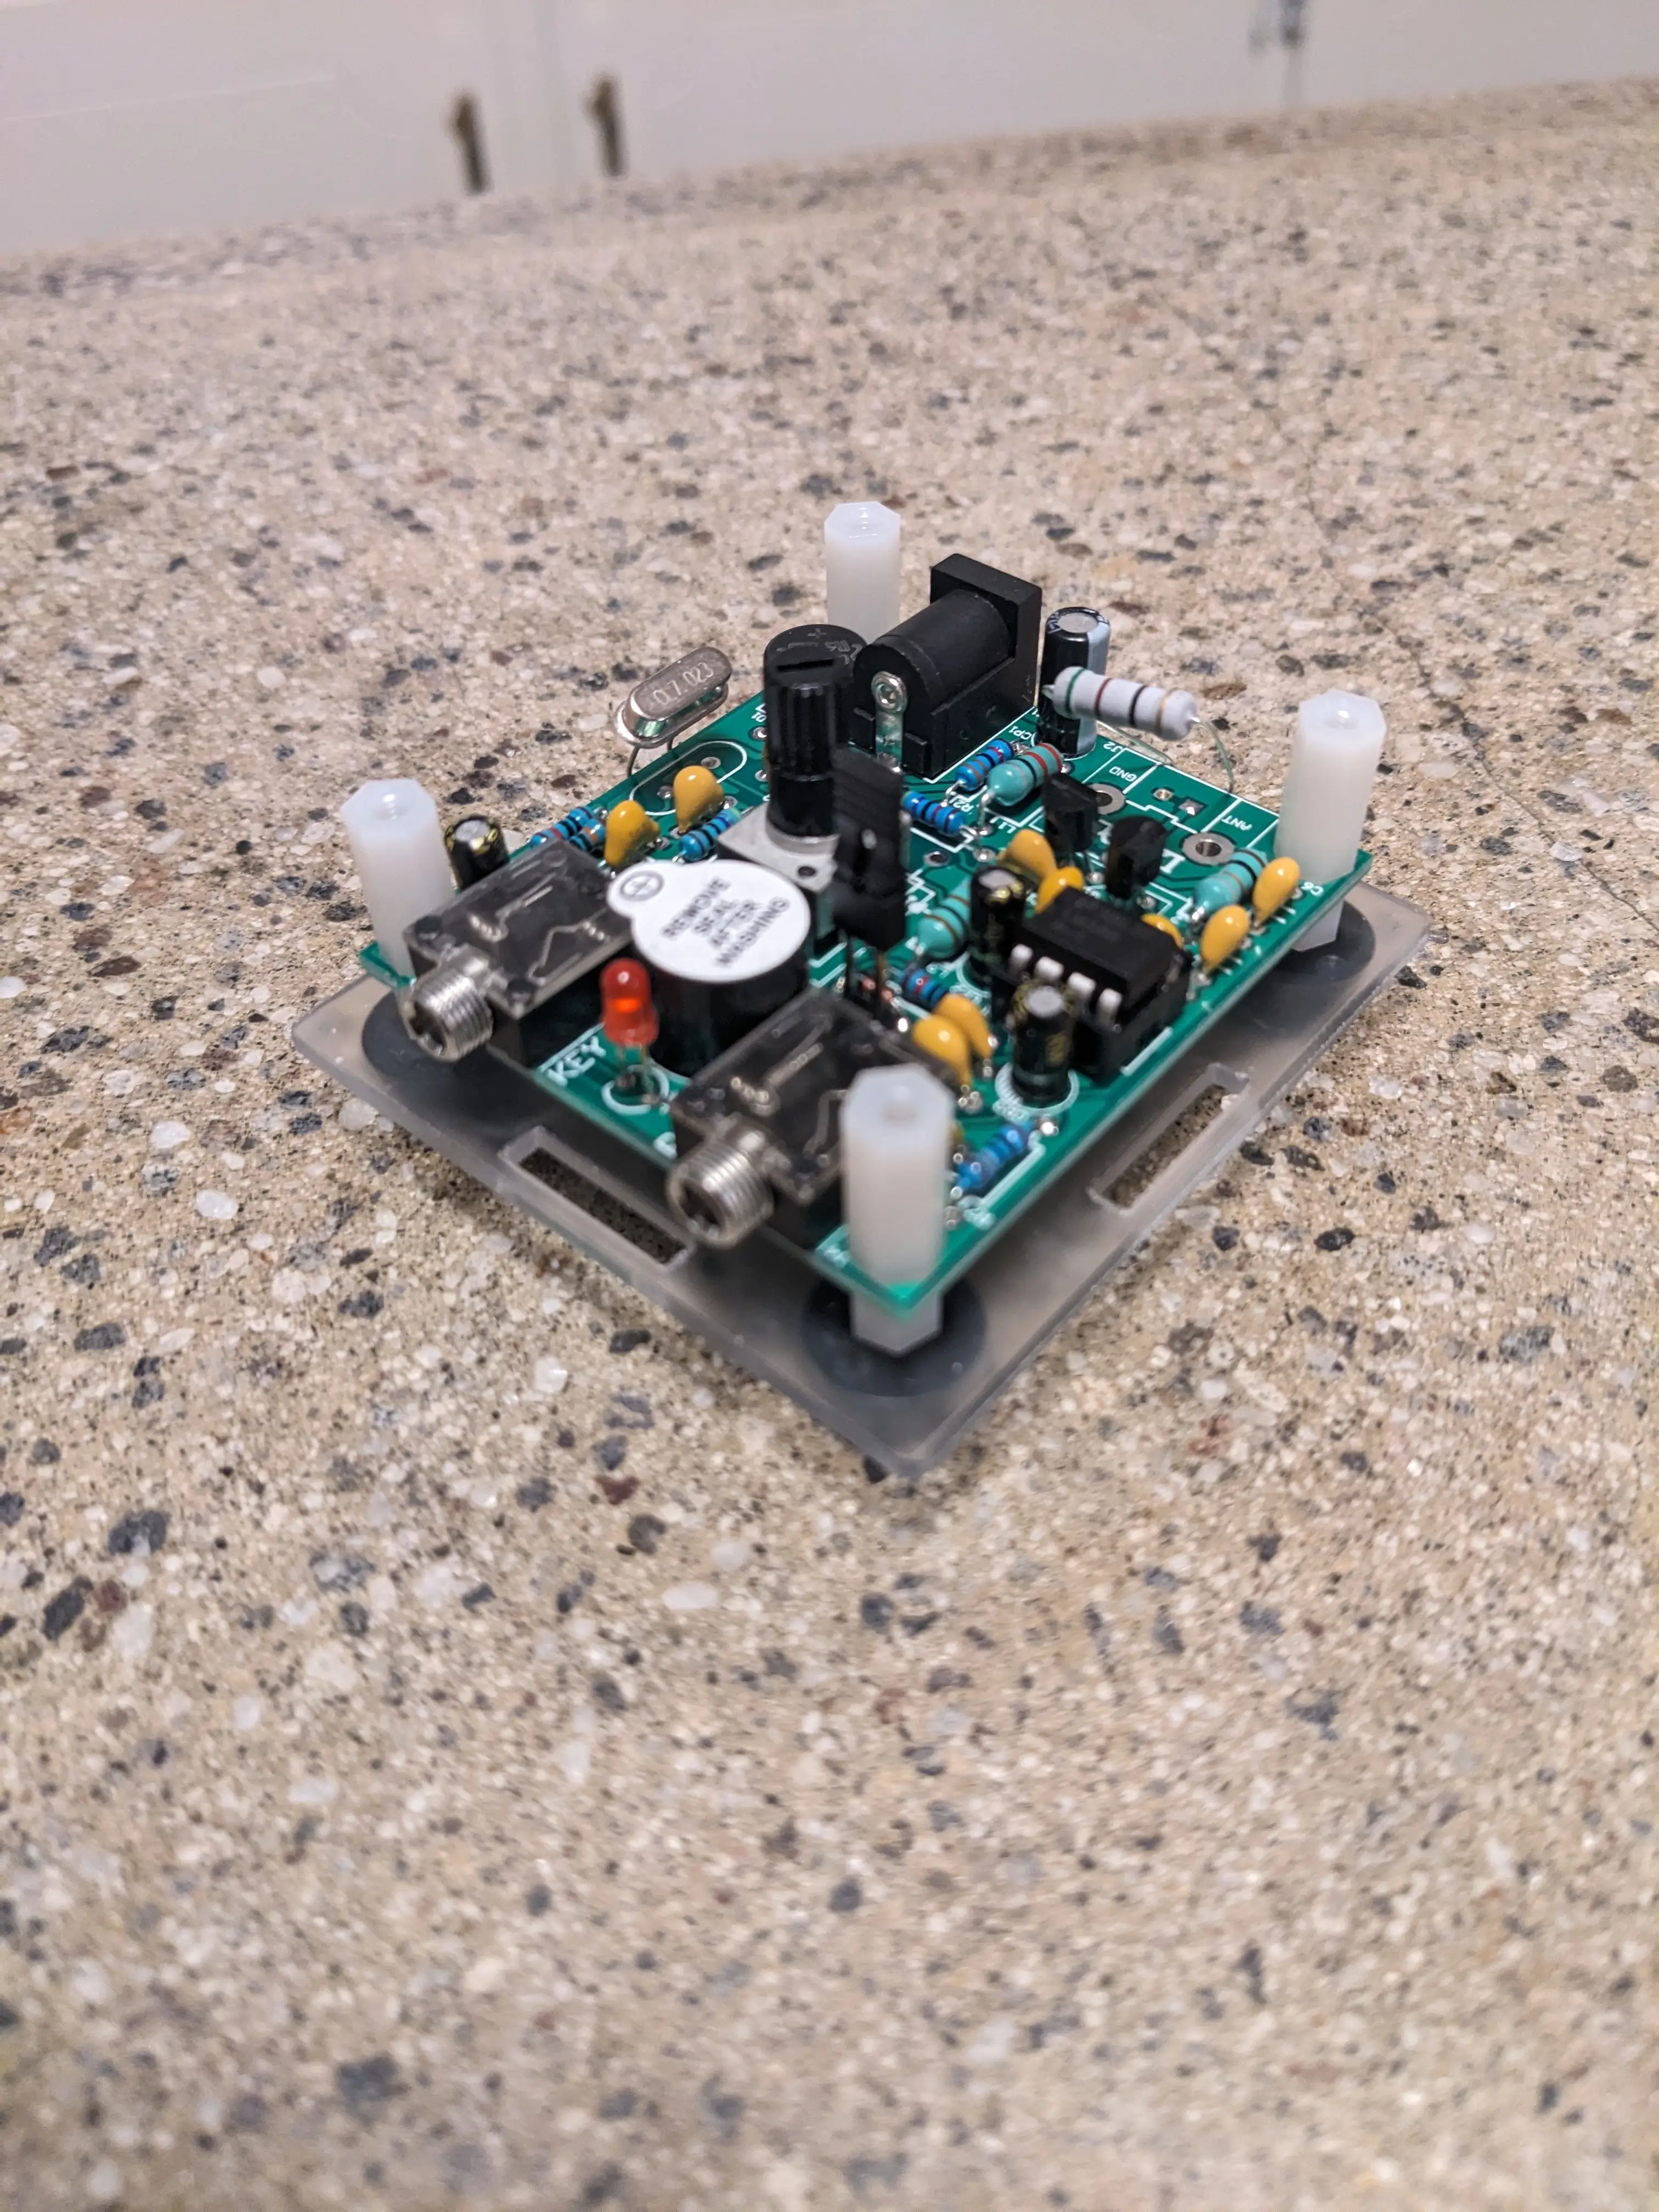
When I saw this Pixie QRP radio for 10 bucks online, I thought it would be a fun little project to try out to get into the world of HF. I wasn’t expecting much from it, considering its price, but given that it would be some more soldering practice, I gave it a shot.
There were no documents included in the kit, so I had to do some research and reverse engineering to assemble it properly.

3
minutes
This week was extremely CAD heavy for me, with a mix of projects that I ended up working on both during shop time, after school during robotics, and at home as well.
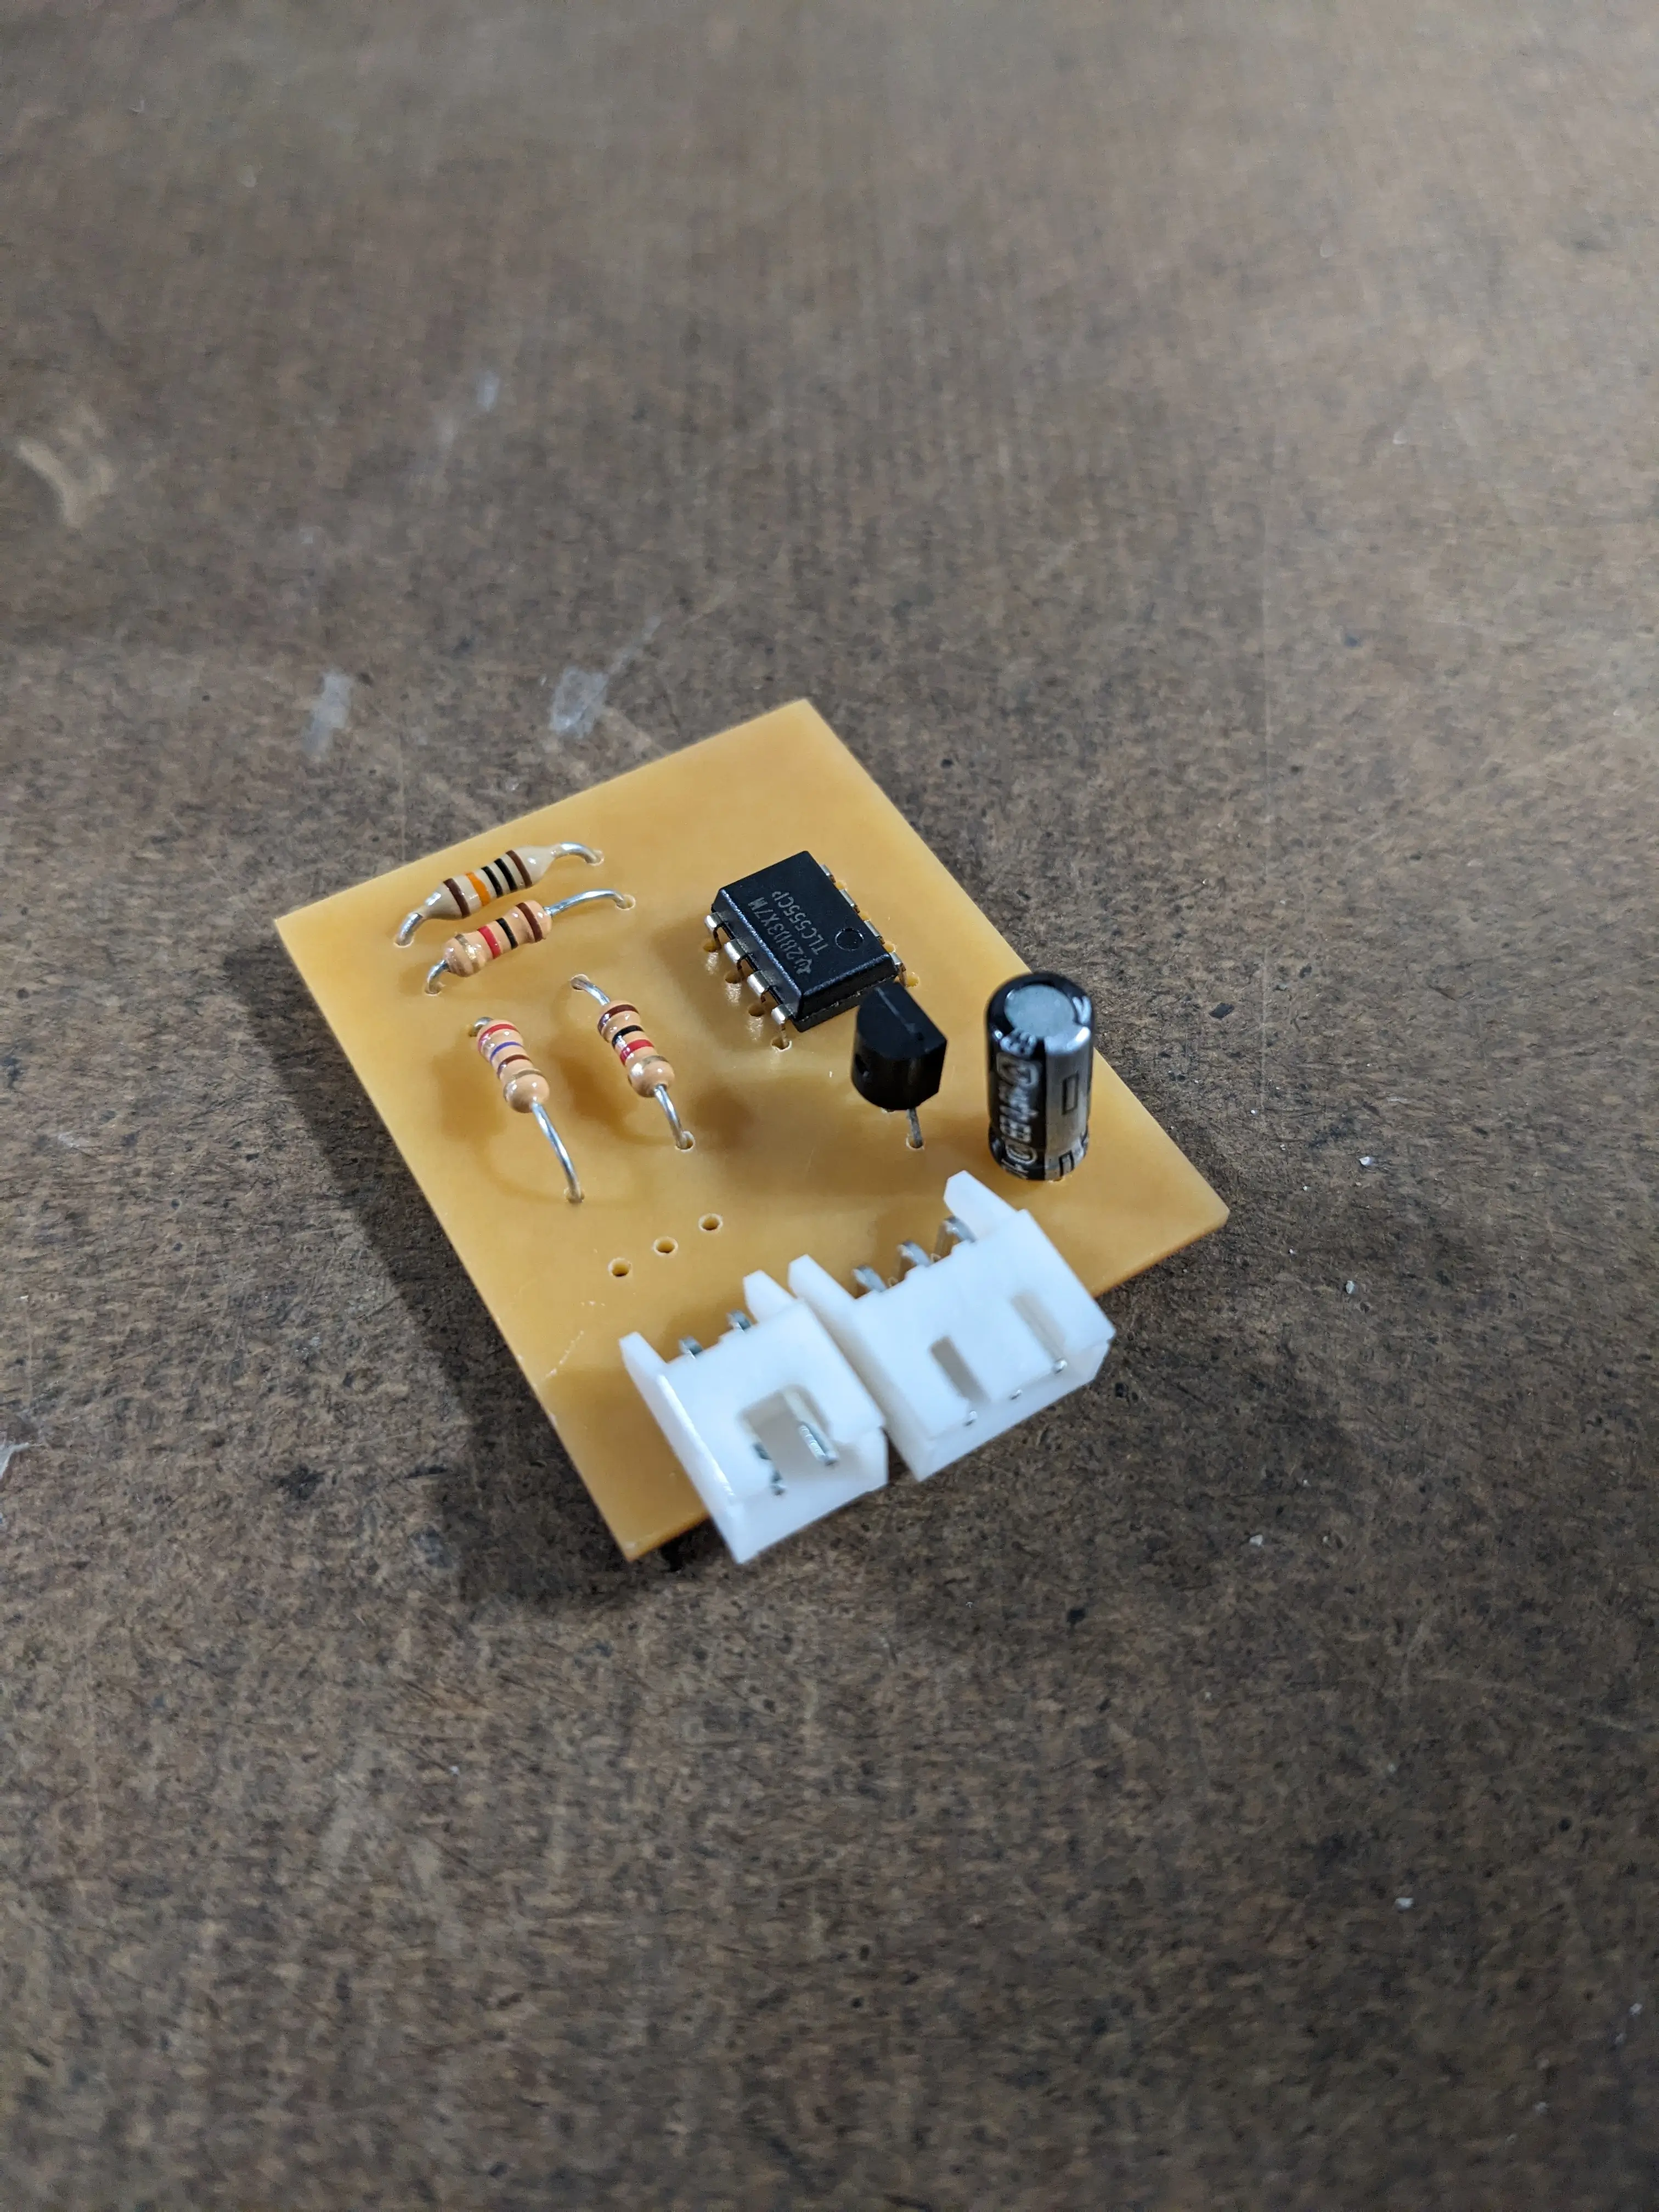
But on a more interesting topic, Jonas and I got the steering working on the Ford Think automatically. In the previous year, his brother installed a large motor and chain to steer the wheels electrically. This was only done in a quick test, so we wanted to make sure it would still work for us.
2
minutes
Although this was a short week, I finally returned to the backup alarm circuit and wiring for the Ford Think (golf cart) which had been previously abandoned.
Resuming where I left off, I found that the alarm was installed and there were power wires properly installed and routed, yet they remained unconnected. From past experience, upon applying power to the alarm, it will sound a (loud) continuous tone rather than the classic beeps we hear on trucks.
