 Interface")
DIY Power Supply (PSU) Interface
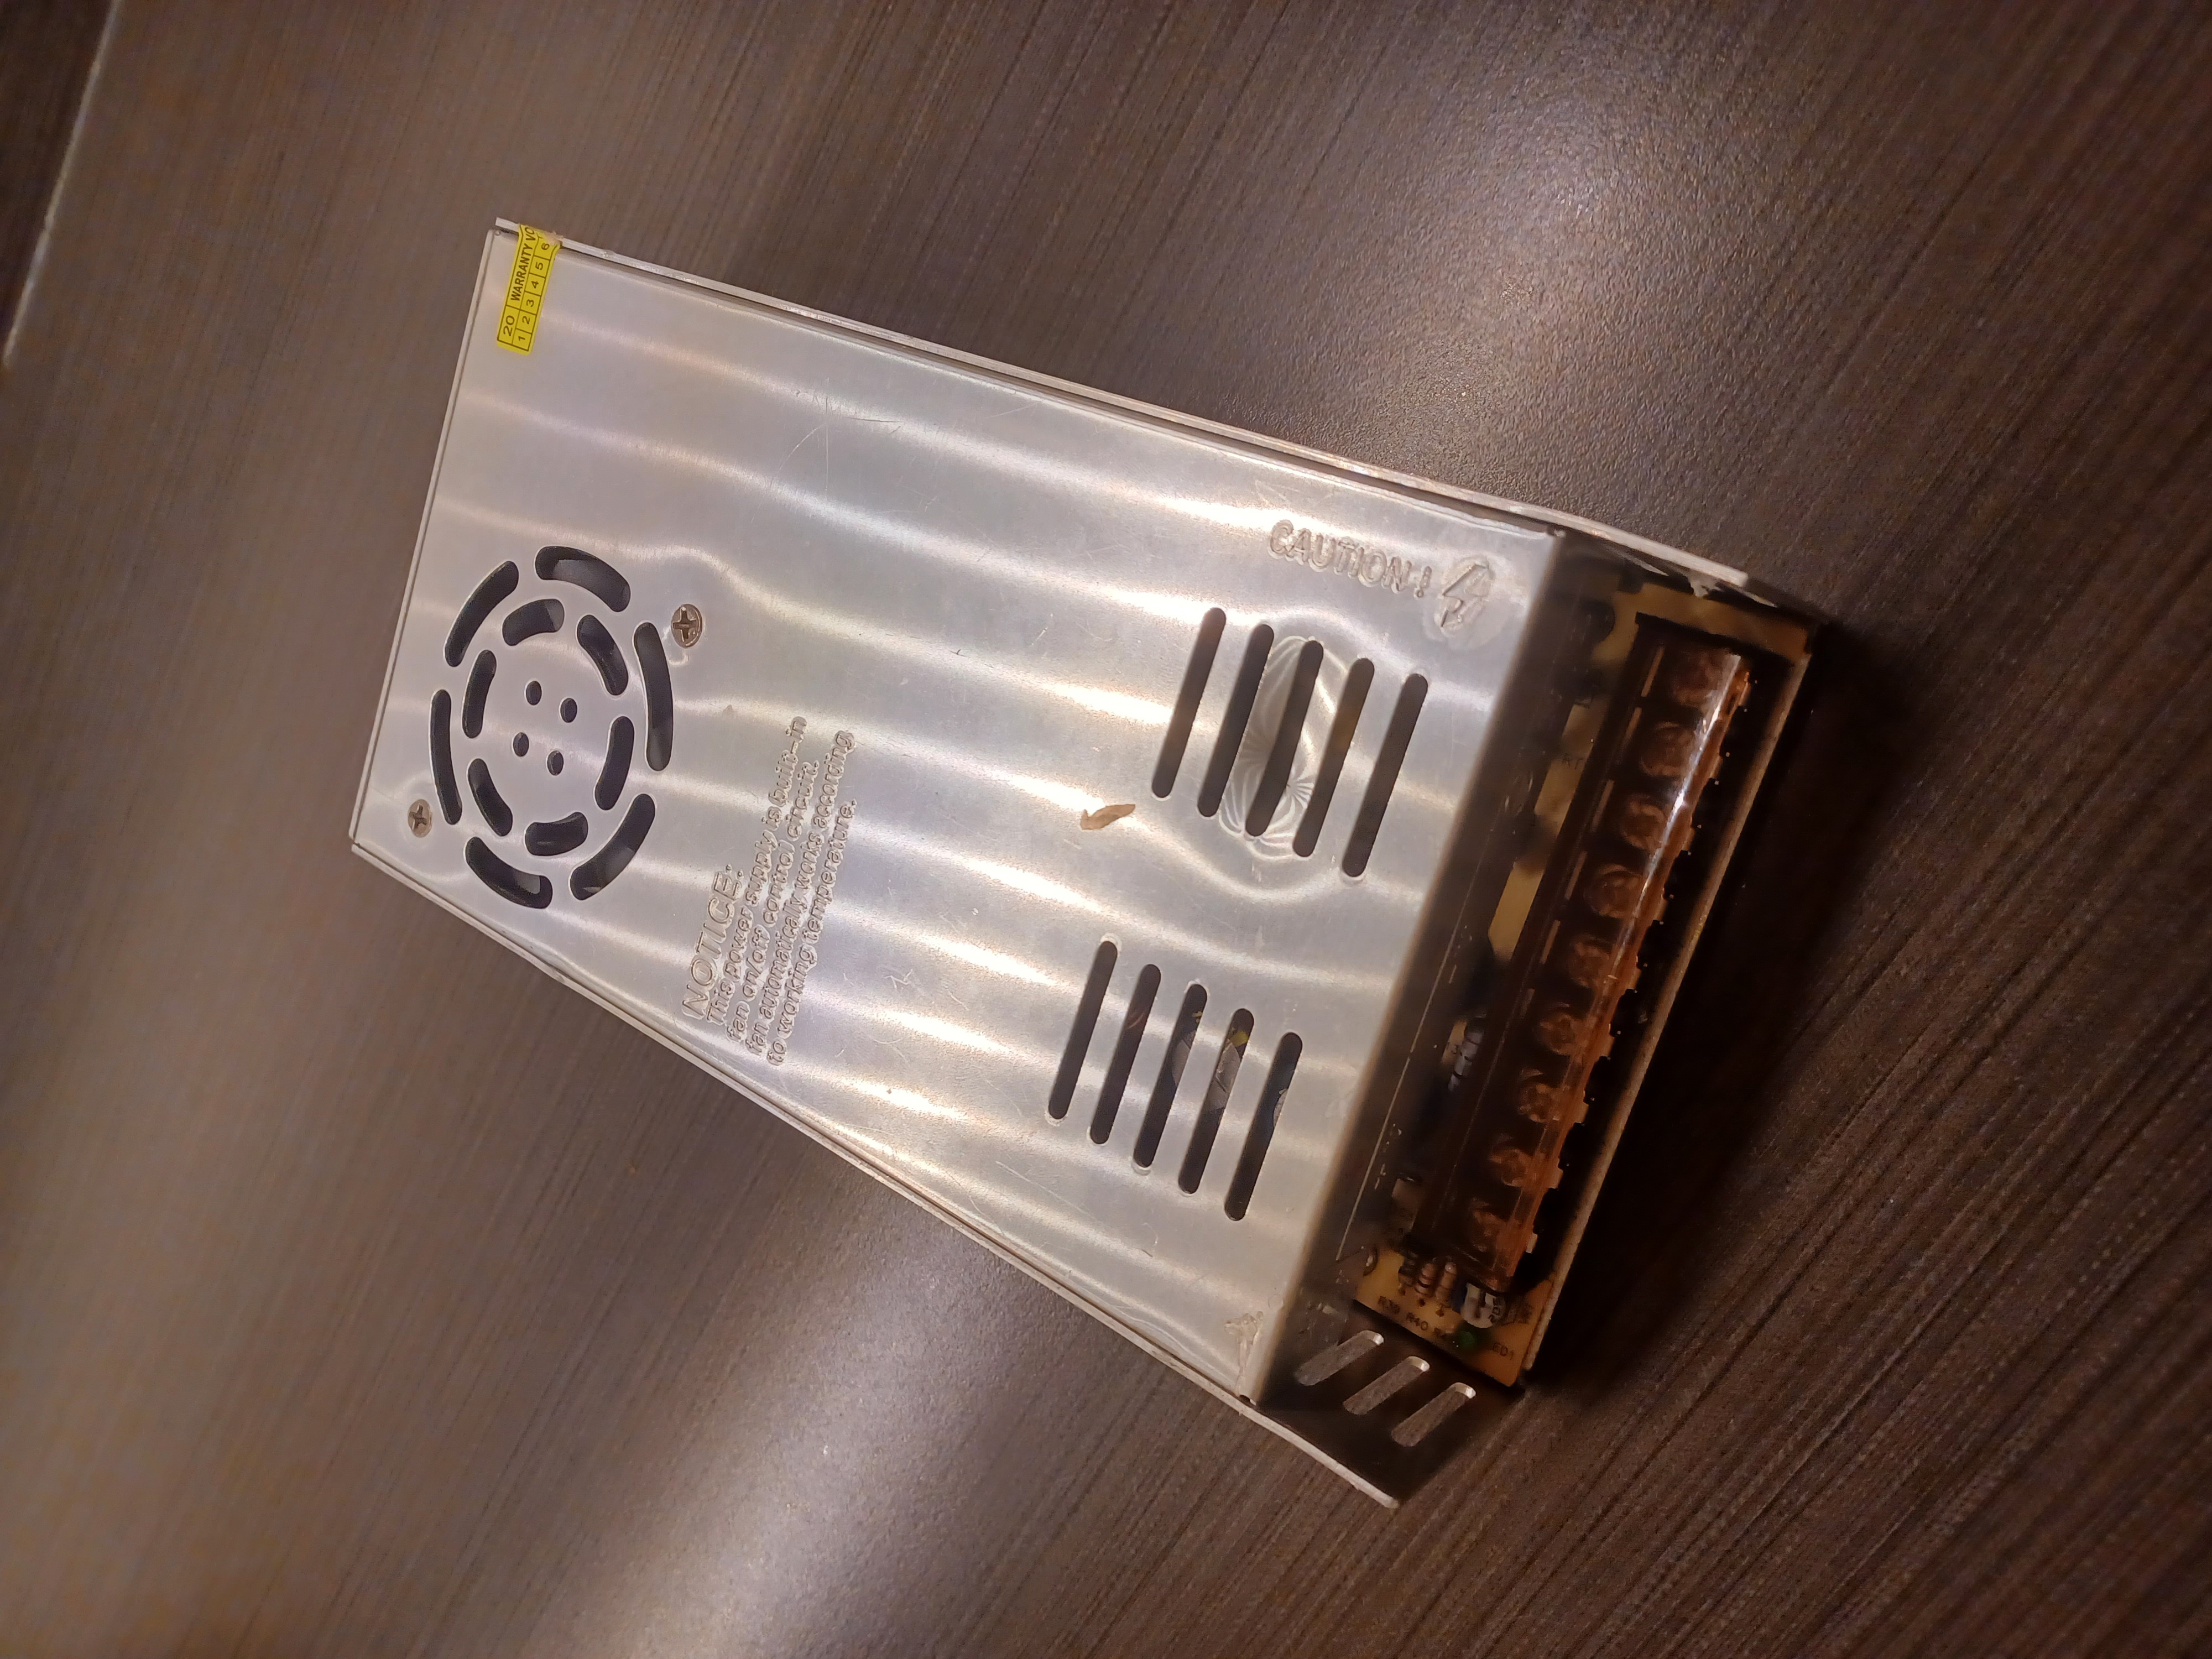
I have had this cheap 12V switching power supply that (claims) to be able to deliver 30 amps. It is a common power supply type, and are commonly used in consumer applications, especially in the LED lighting industry. In fact, the exact same model can be found mounted on my Creality Ender 3 3D printer.
Background
Personally, I find these power supplies perfect for many use cases, especially when one considers their pricepoint. I picked mine up for about 10 bucks from an online retailer. I found what looks to be the same one on Amazon here.
The one thing I dislike on these devices, is the connection layout. The live AC (120v or 230v) mains voltage is connected in the same screw terminal block as the low voltage DC output. Now, this in itself is not directly an issue. It does in fact work. However, if you aren’t comfortable working with these voltages, there could be dangerous consequences in doing so. Although cutting a 3 wire cable, stripping the wires, and screwing them down isn’t particularly difficult, it is still main voltage which can be deadly. One wrong move and you’ve been cooked to perfection.
The solution
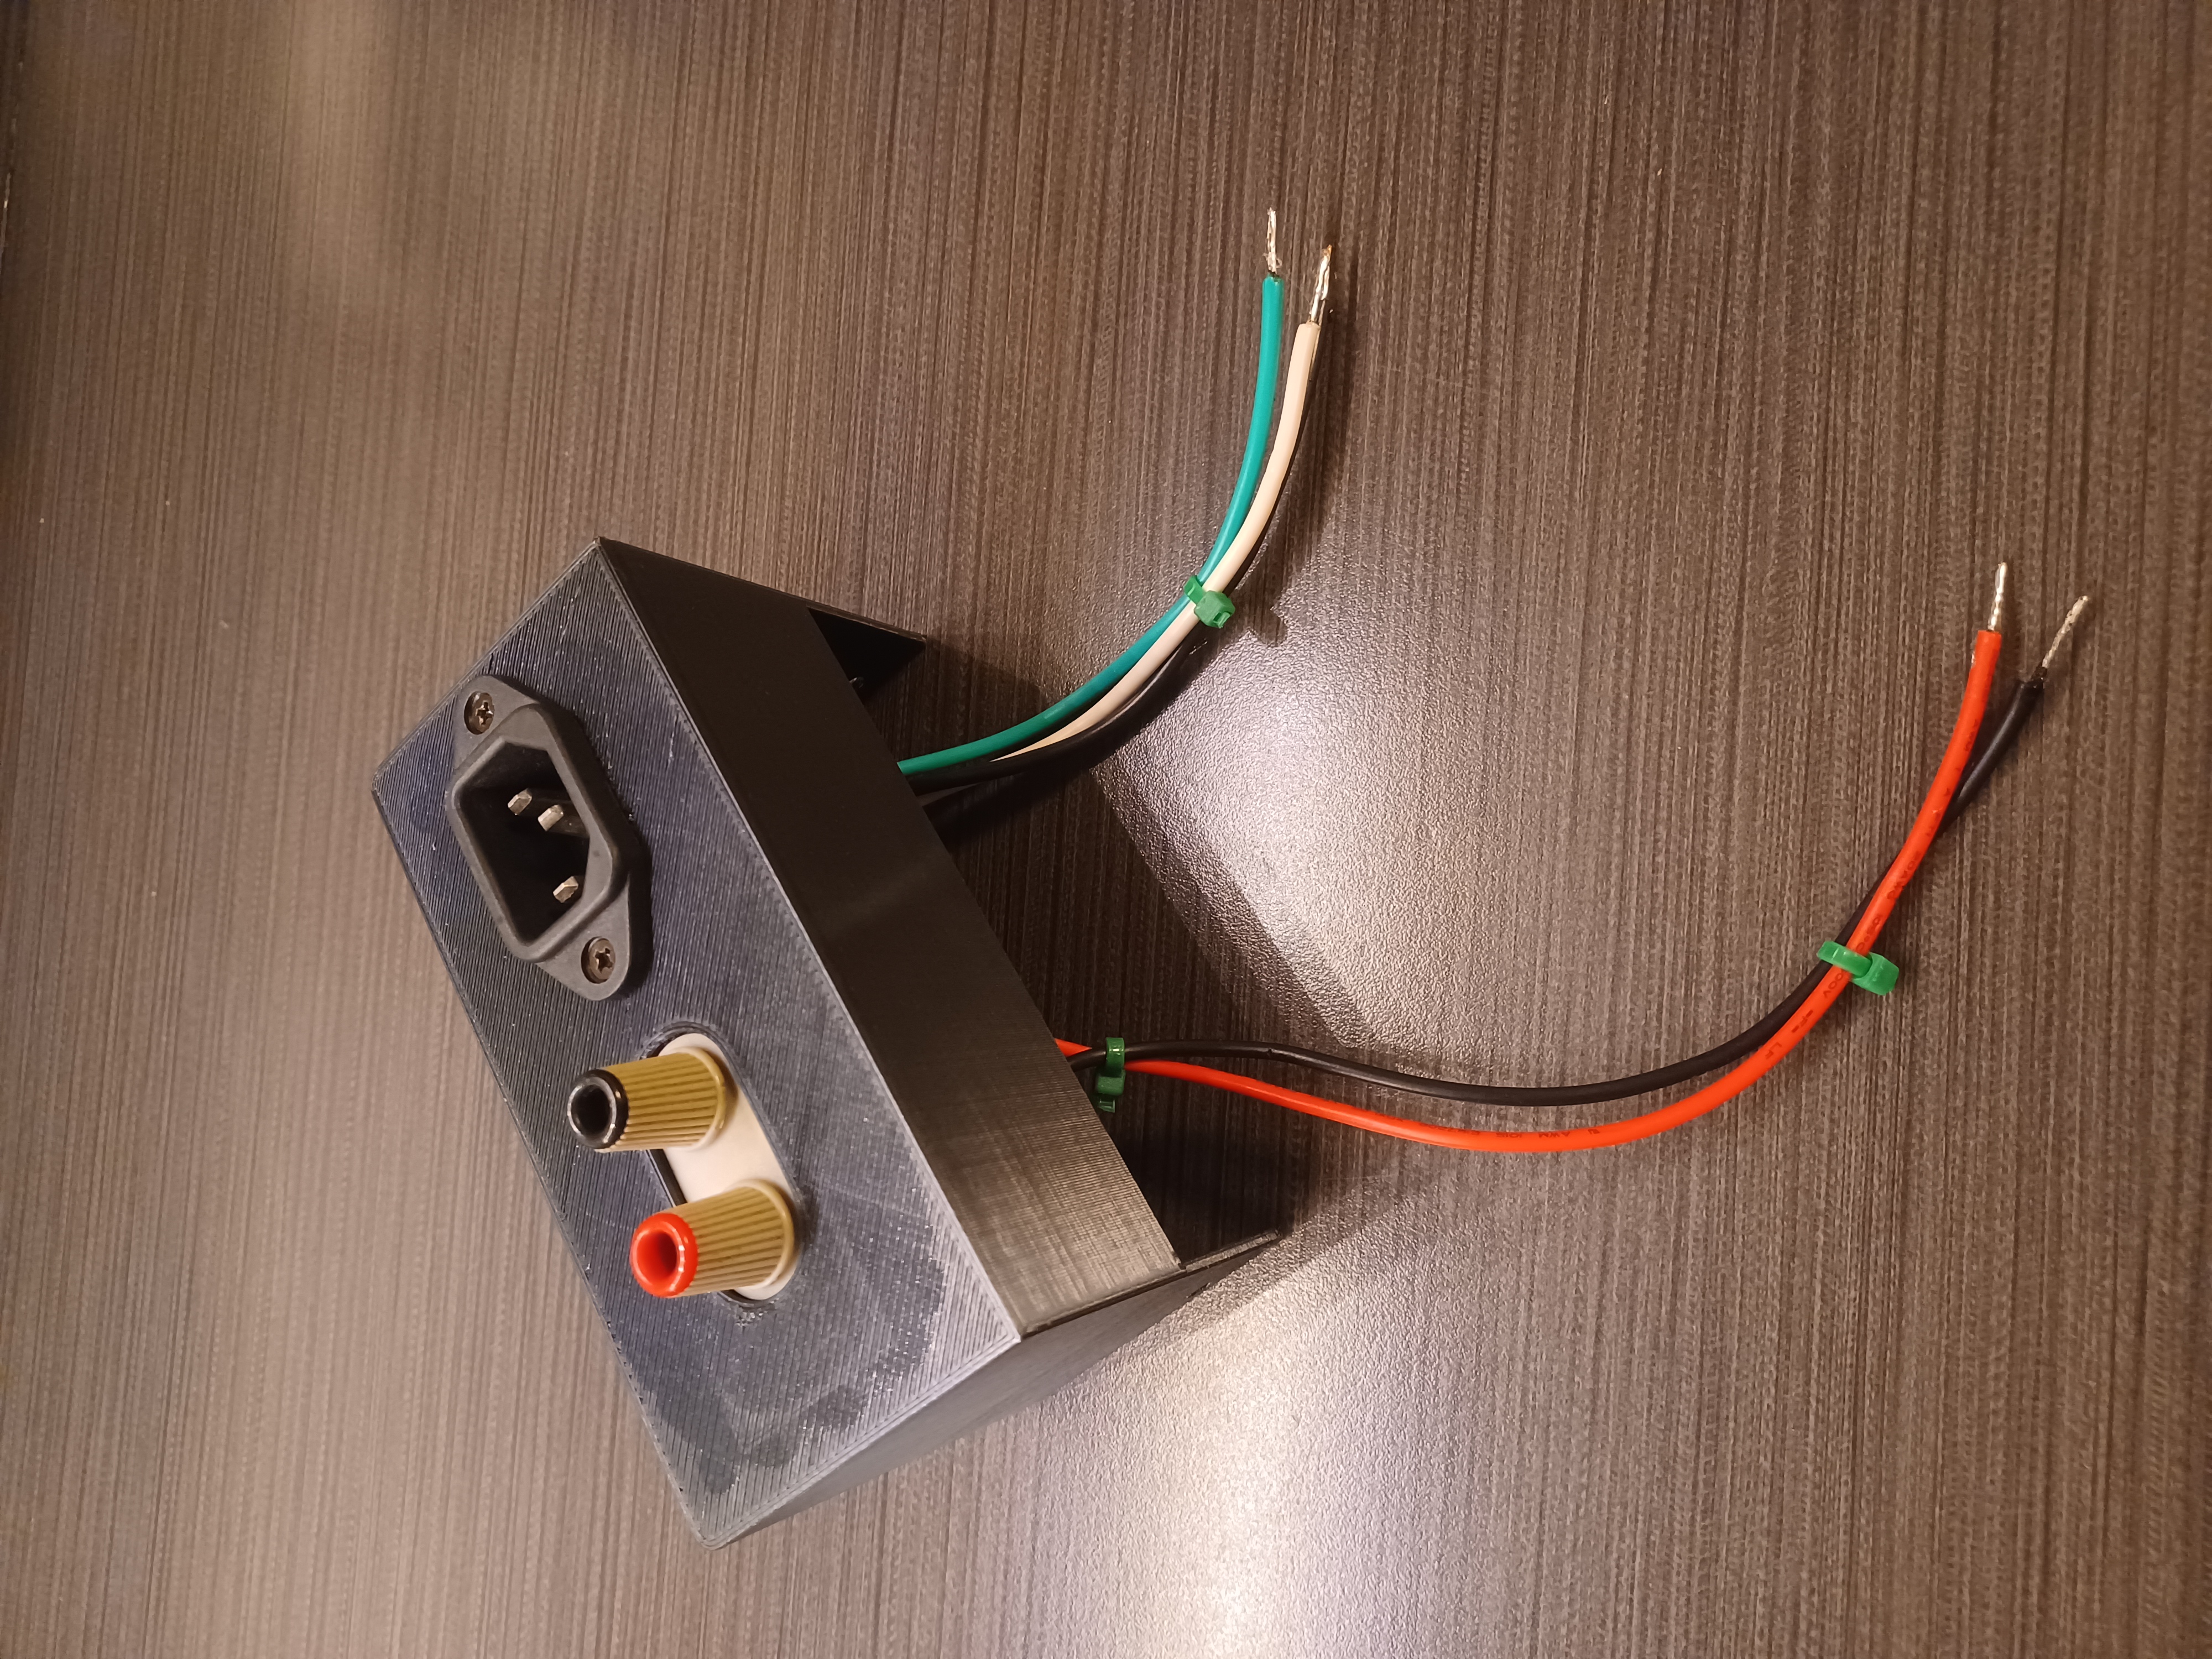
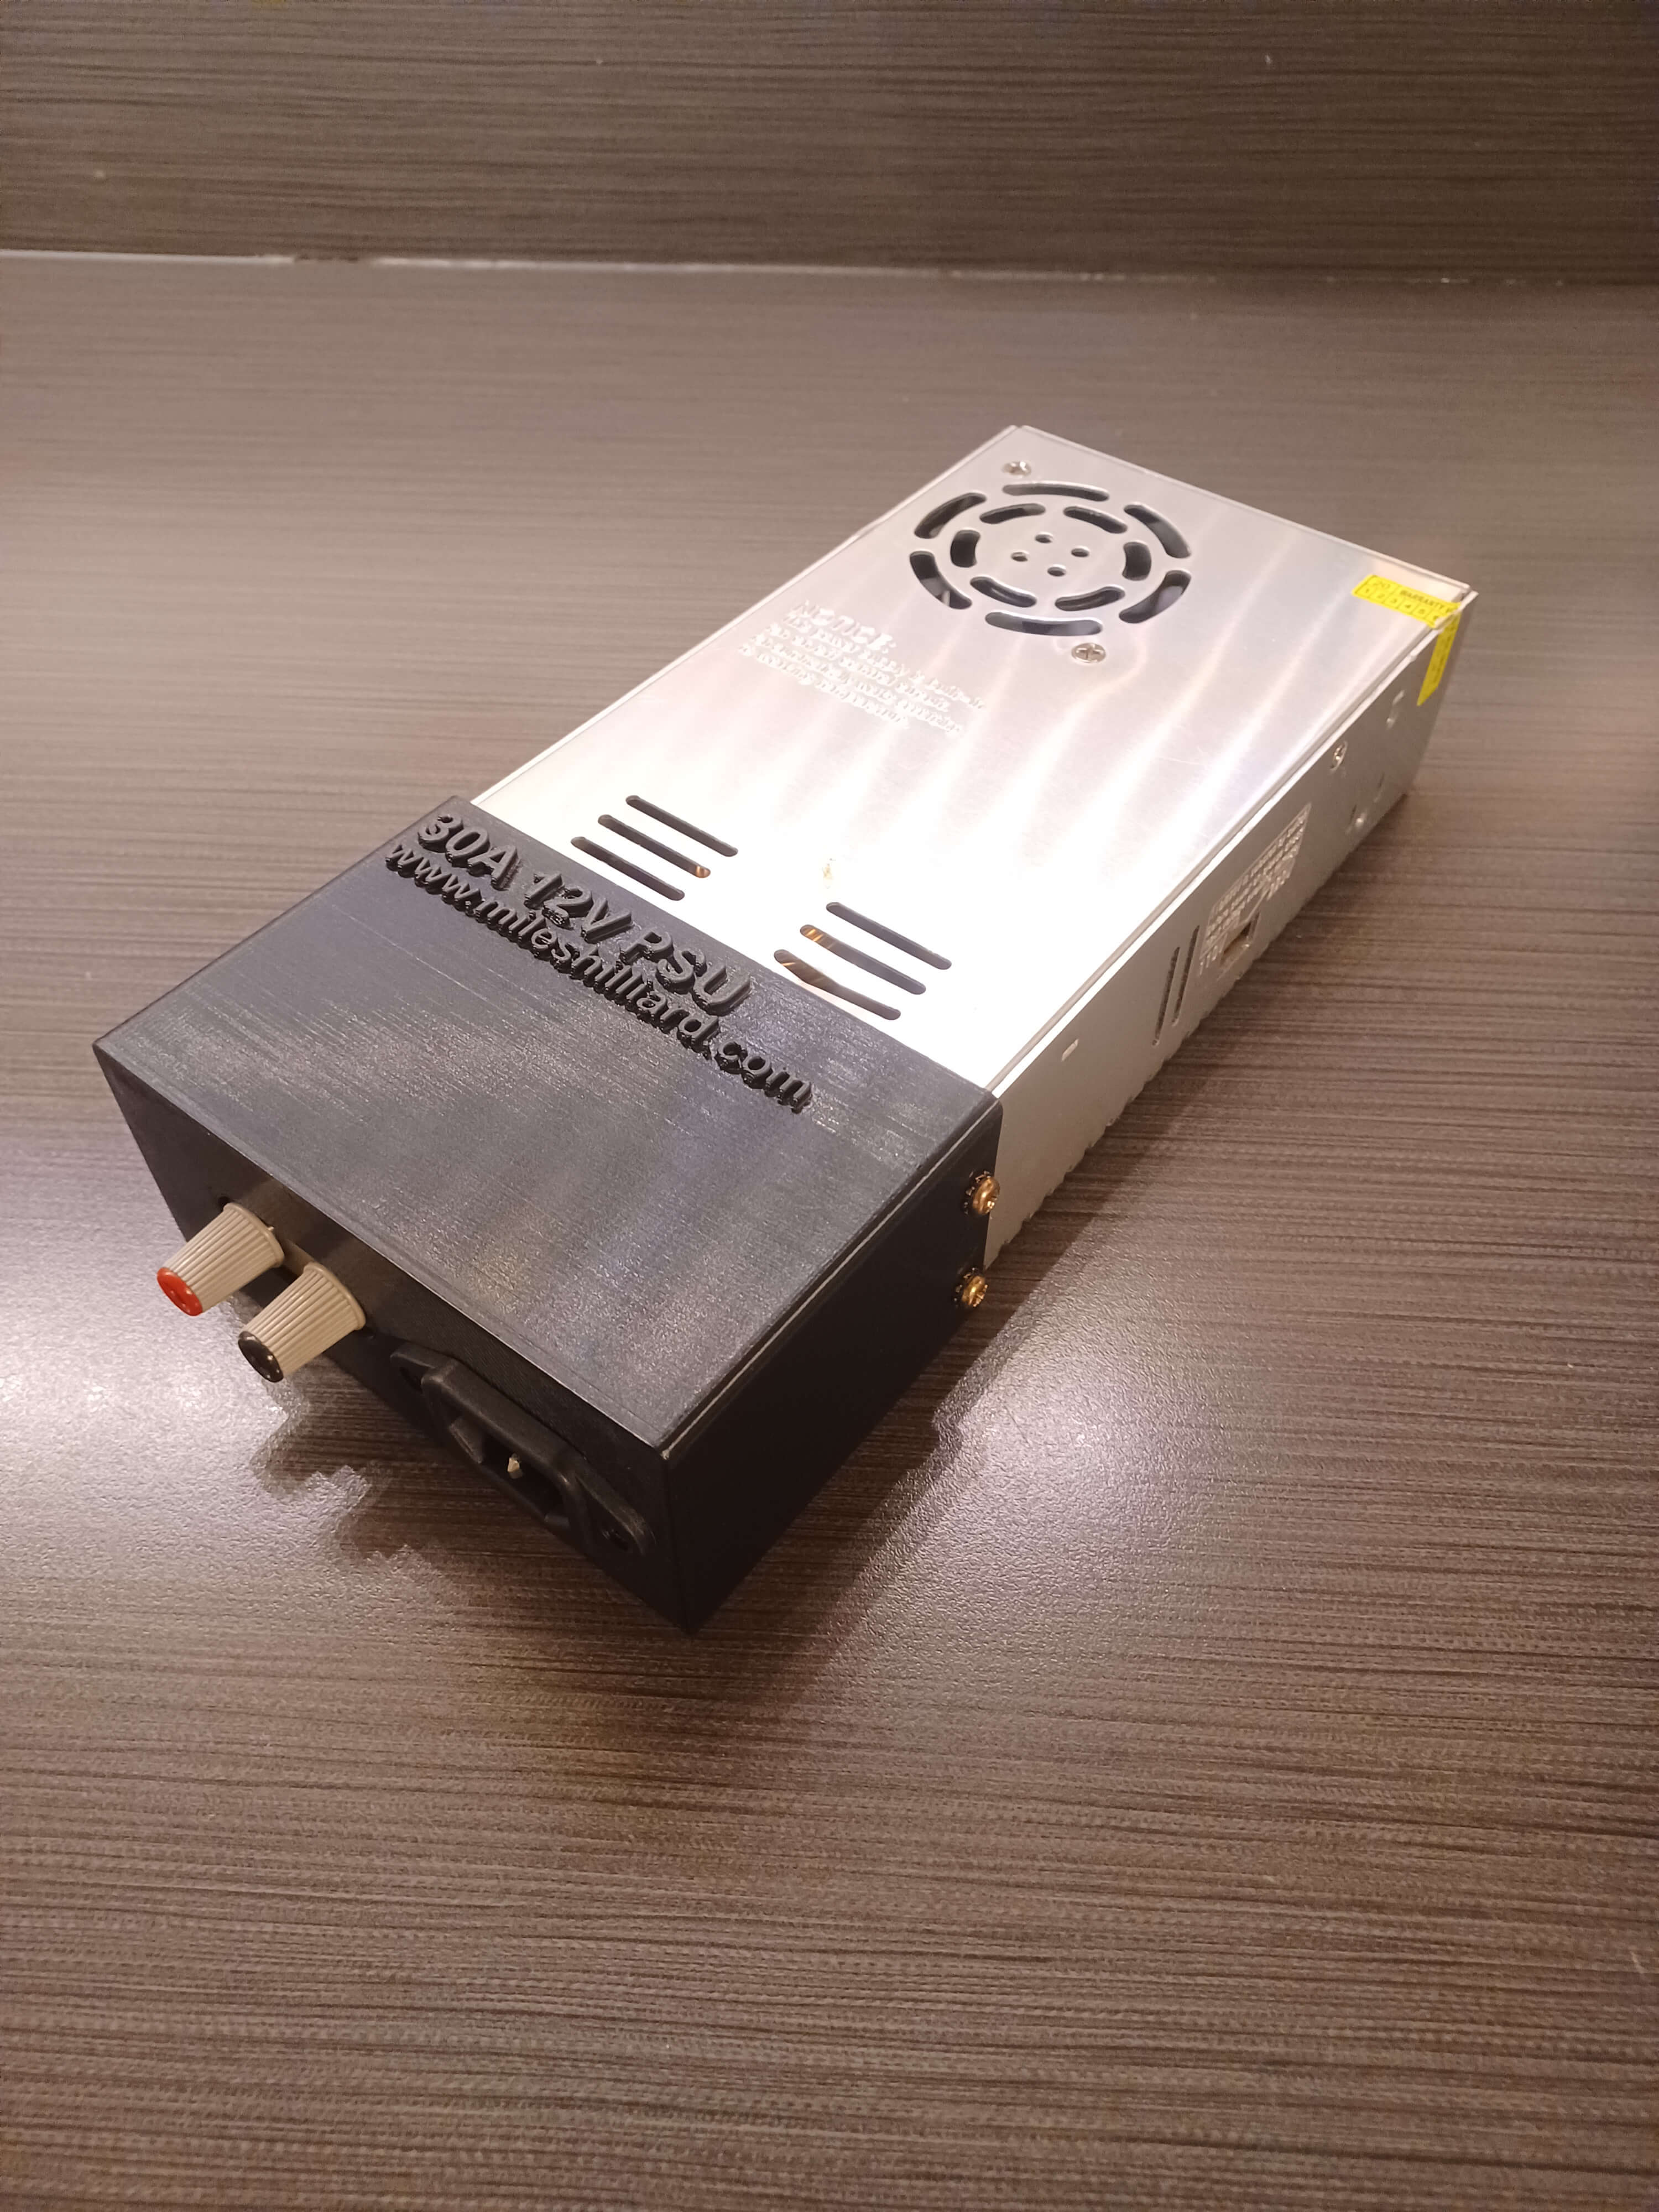
Luckily, thats where my solution comes into play. With an easy power cable connection and fundamental banana plug output ports, you have just made your PSU infinetely more safe and attractive. The key player in this solution is a 3D printed box. It houses all the components required to wire everything up.
What you will need
- 3D Printer (Creality Ender 3)
- PLA Filament (PLA Black)
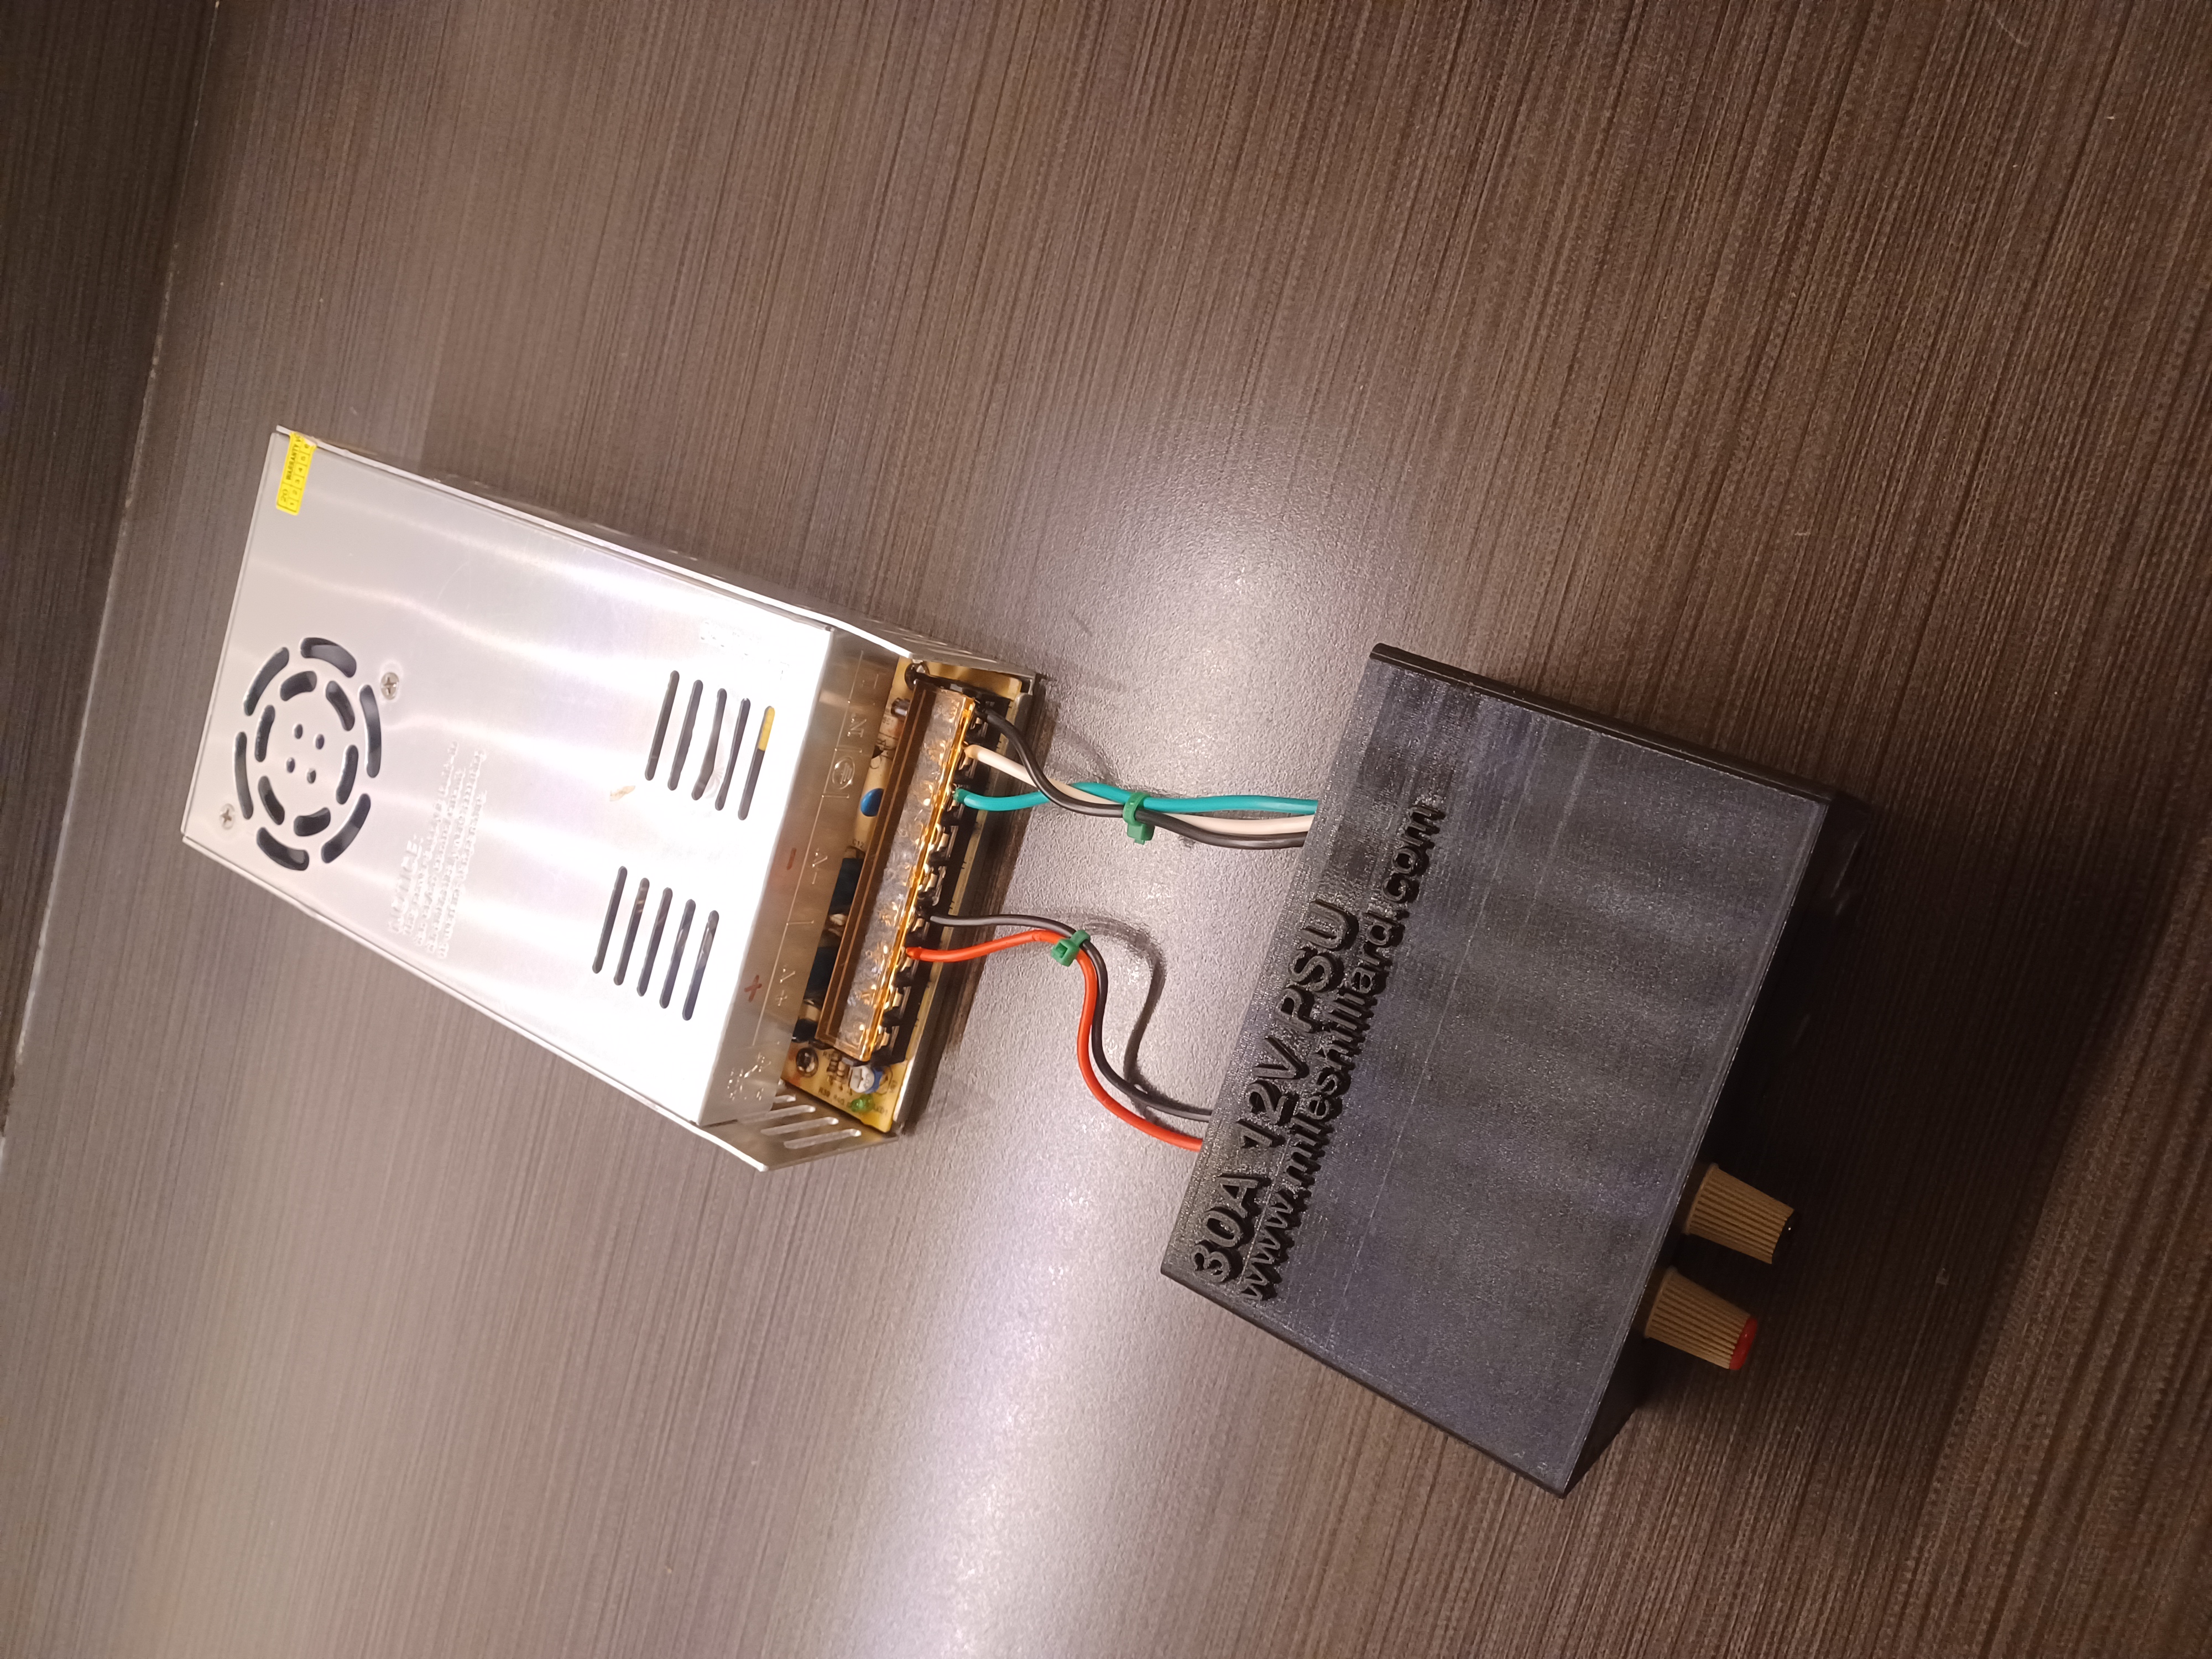
- Power Supply PSU (30A 12V PSU)
- Computer Power Port (Power Port IEC C14)
- Computer Power Cable (Power Cable IEC C14)
- Banana Plugs (Size variants may differ) (Banana Ports)
- Standard Multi-Strand Wire
3D Printing Instructions
First off, download the 3D model found here on thingiverse and put it in your slicer. Now, you should configure a few settings before printing, although most could stay default if you really wanted.
- Set printing speed to something reasonable. 100 mm/s for my Ender 3.
- Set layer height to something respectable. I used 0.20mm personally.
- Make the infill not too weak, but not excessively strong. I chose 10% which was more than enough. 5% would work too.
- For adhesion, be sure to have your heated bed on. Or if you absolutely need it you could turn on raft.

Wiring
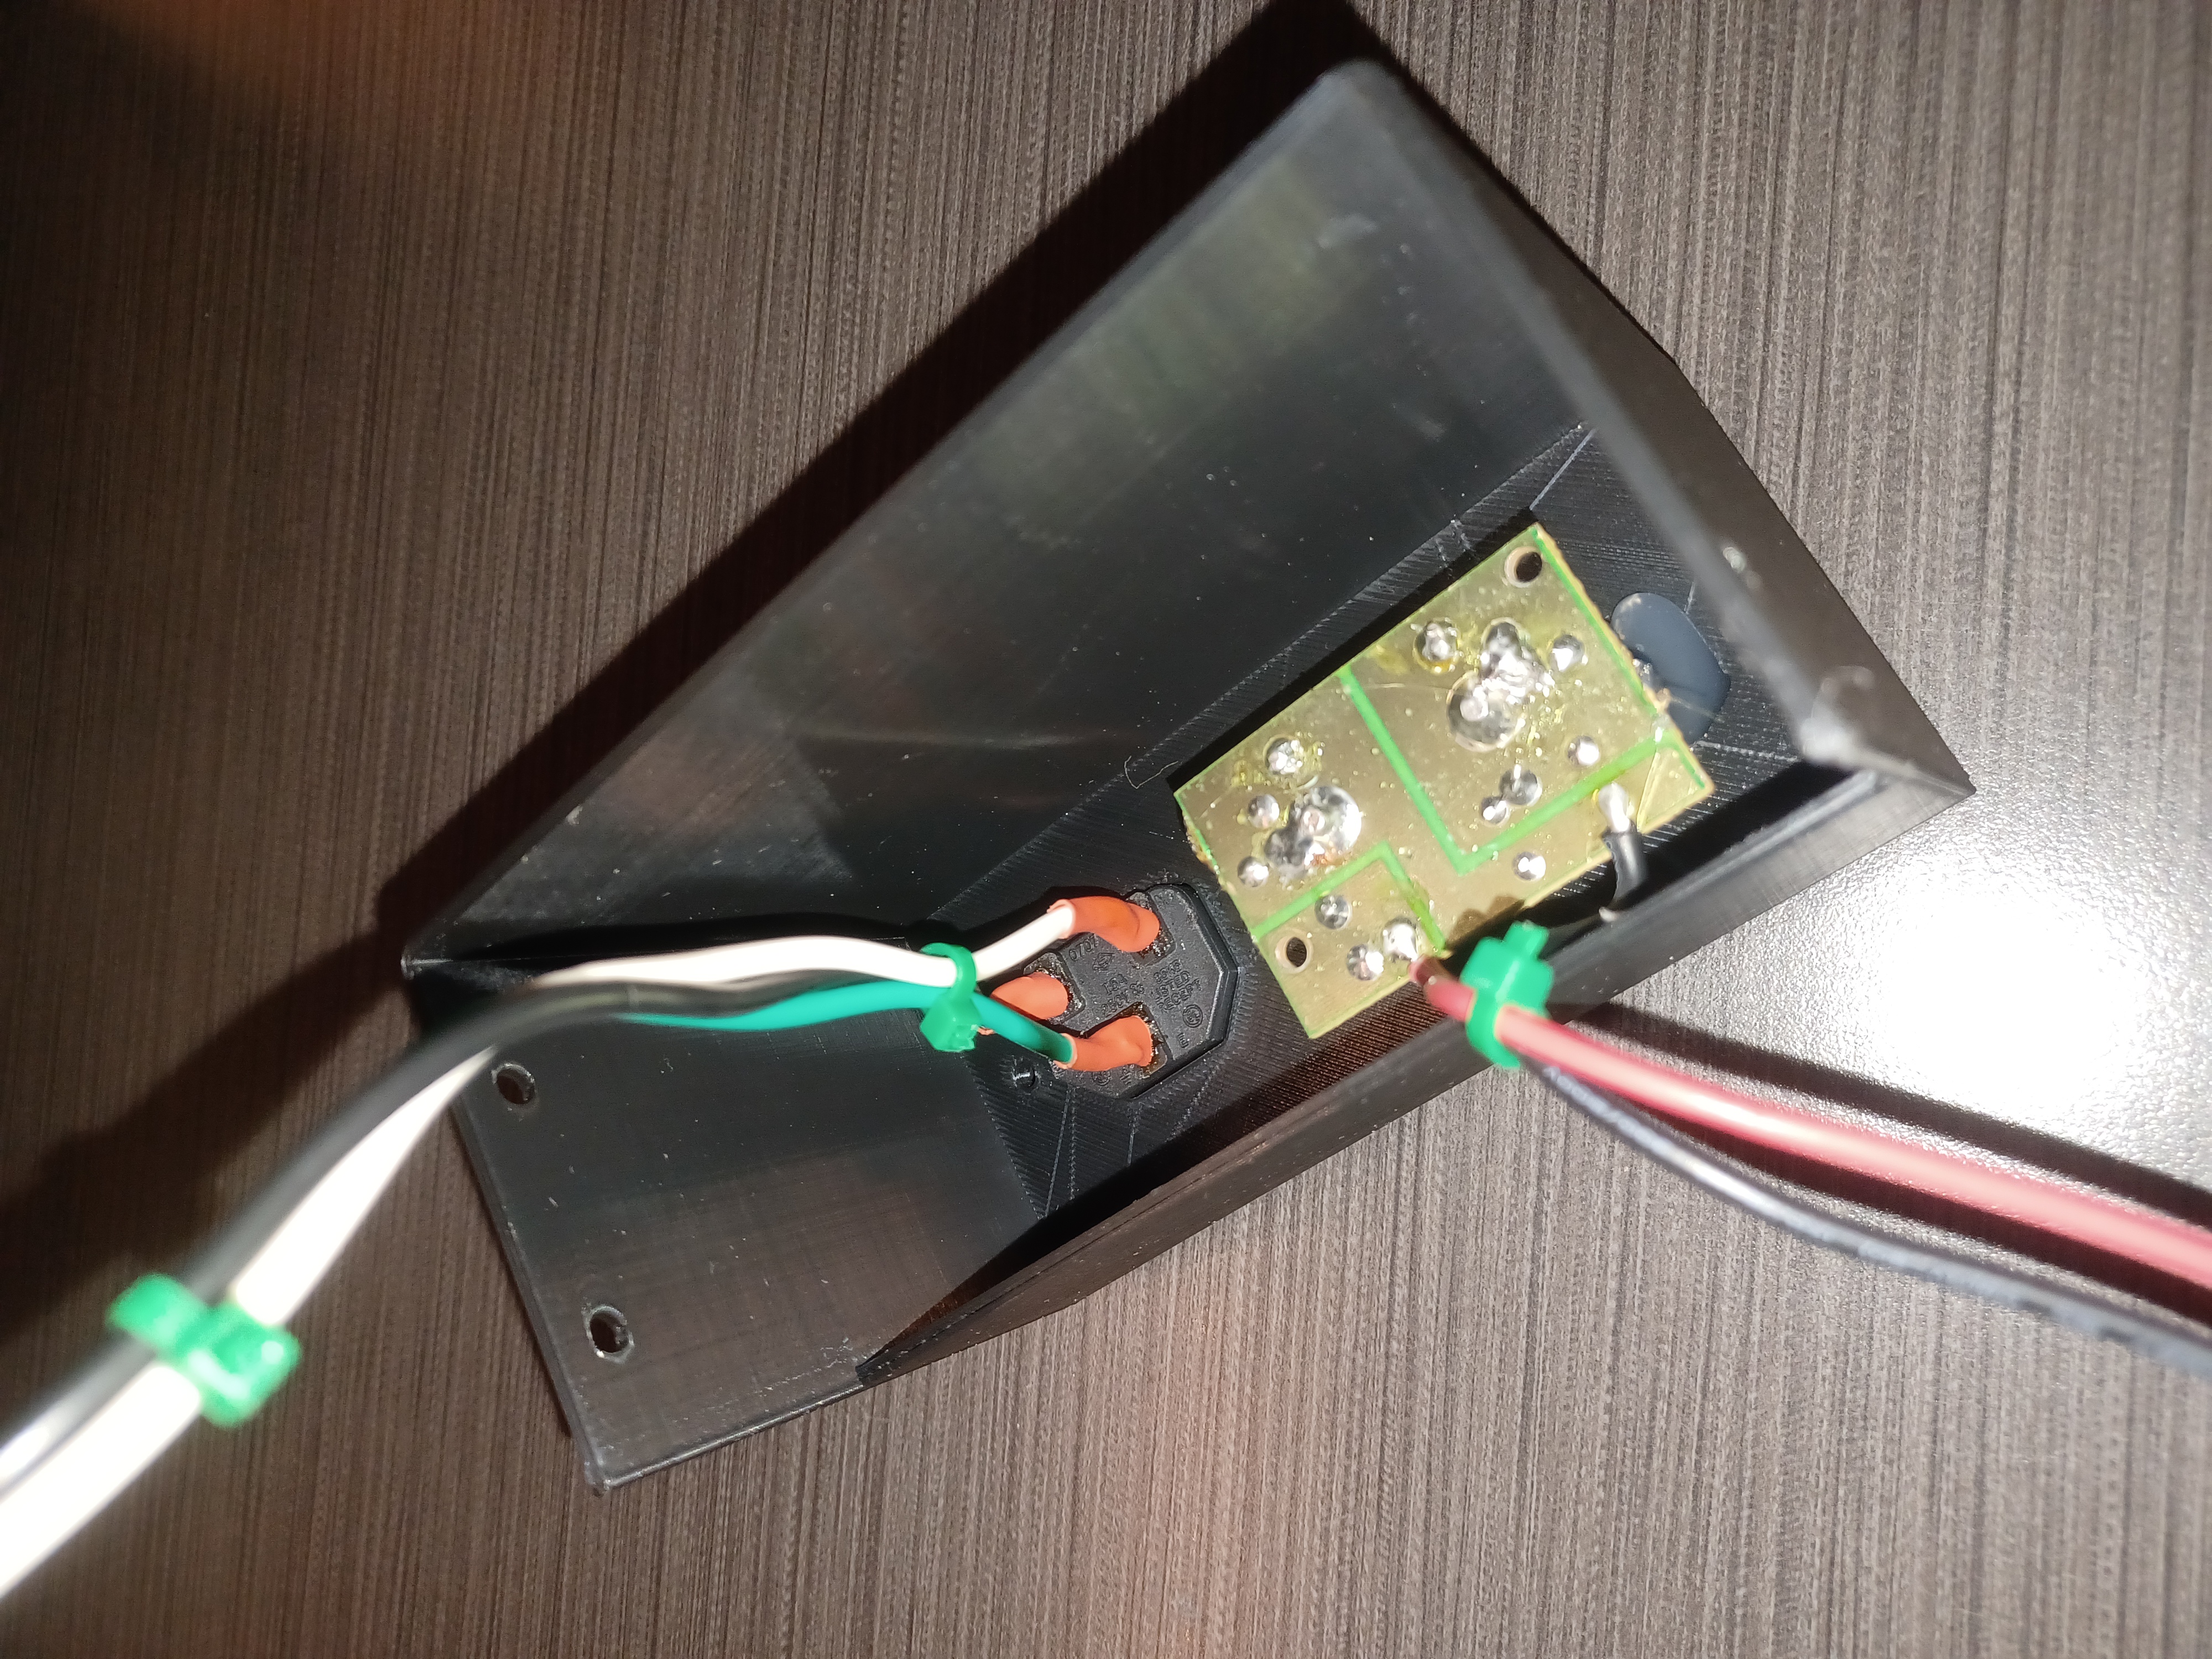
Get your power jack and solder some standard wire to each pin on it. I chose the standard colors of black for live, white for neutral and green for ground to keep it universal.
As an optional bonus (not a terrible idea) you can tin the end of the wires that will go to the power supply screws. This makes sure they won’t fray and touch anything.
Afterwards, connect the respective wires to the screw terminals on the power supply. Be sure to tighten everything down properly!
Final Adjustments
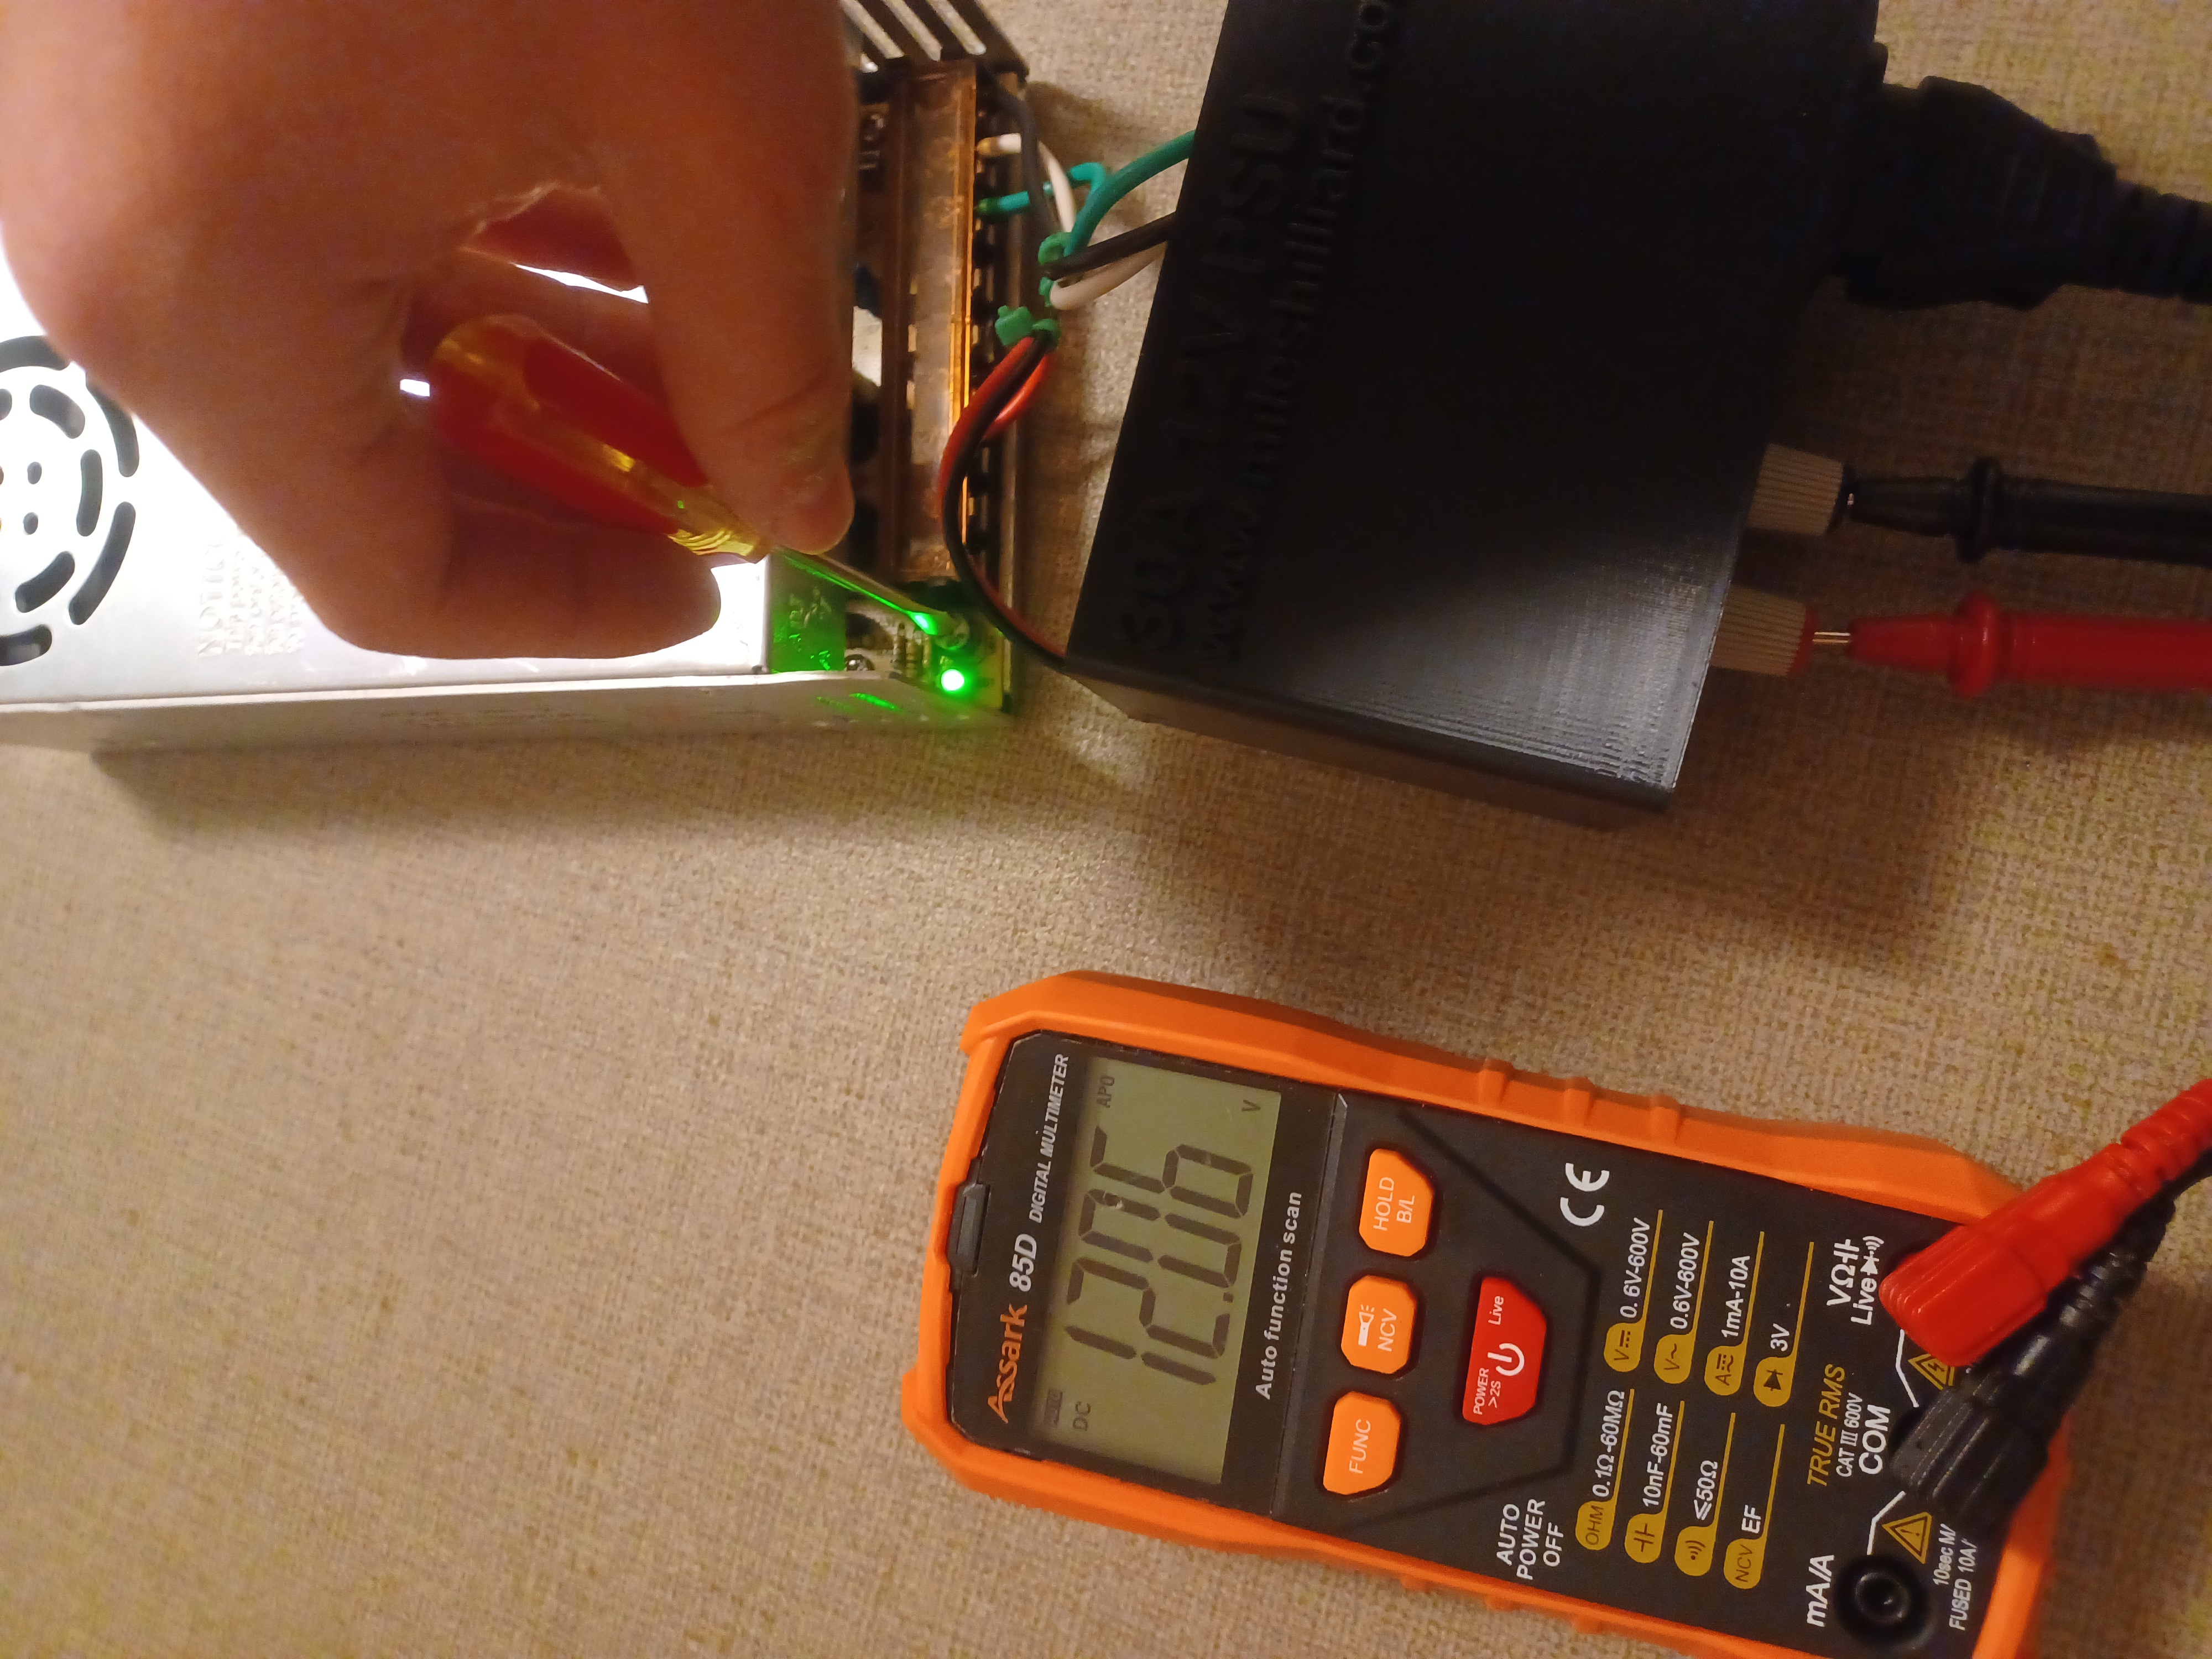
Before assembling everything with your screws, I would highly recommend you check the voltage output of your power supply to make sure it is pumping out what you expect. Although these are 12 volt power supplies, they often have small potentiometers in the corner allowing you to fine-tune their outputs. Mine happens to be adjustable from between 6 volts all the way to 20 volts.
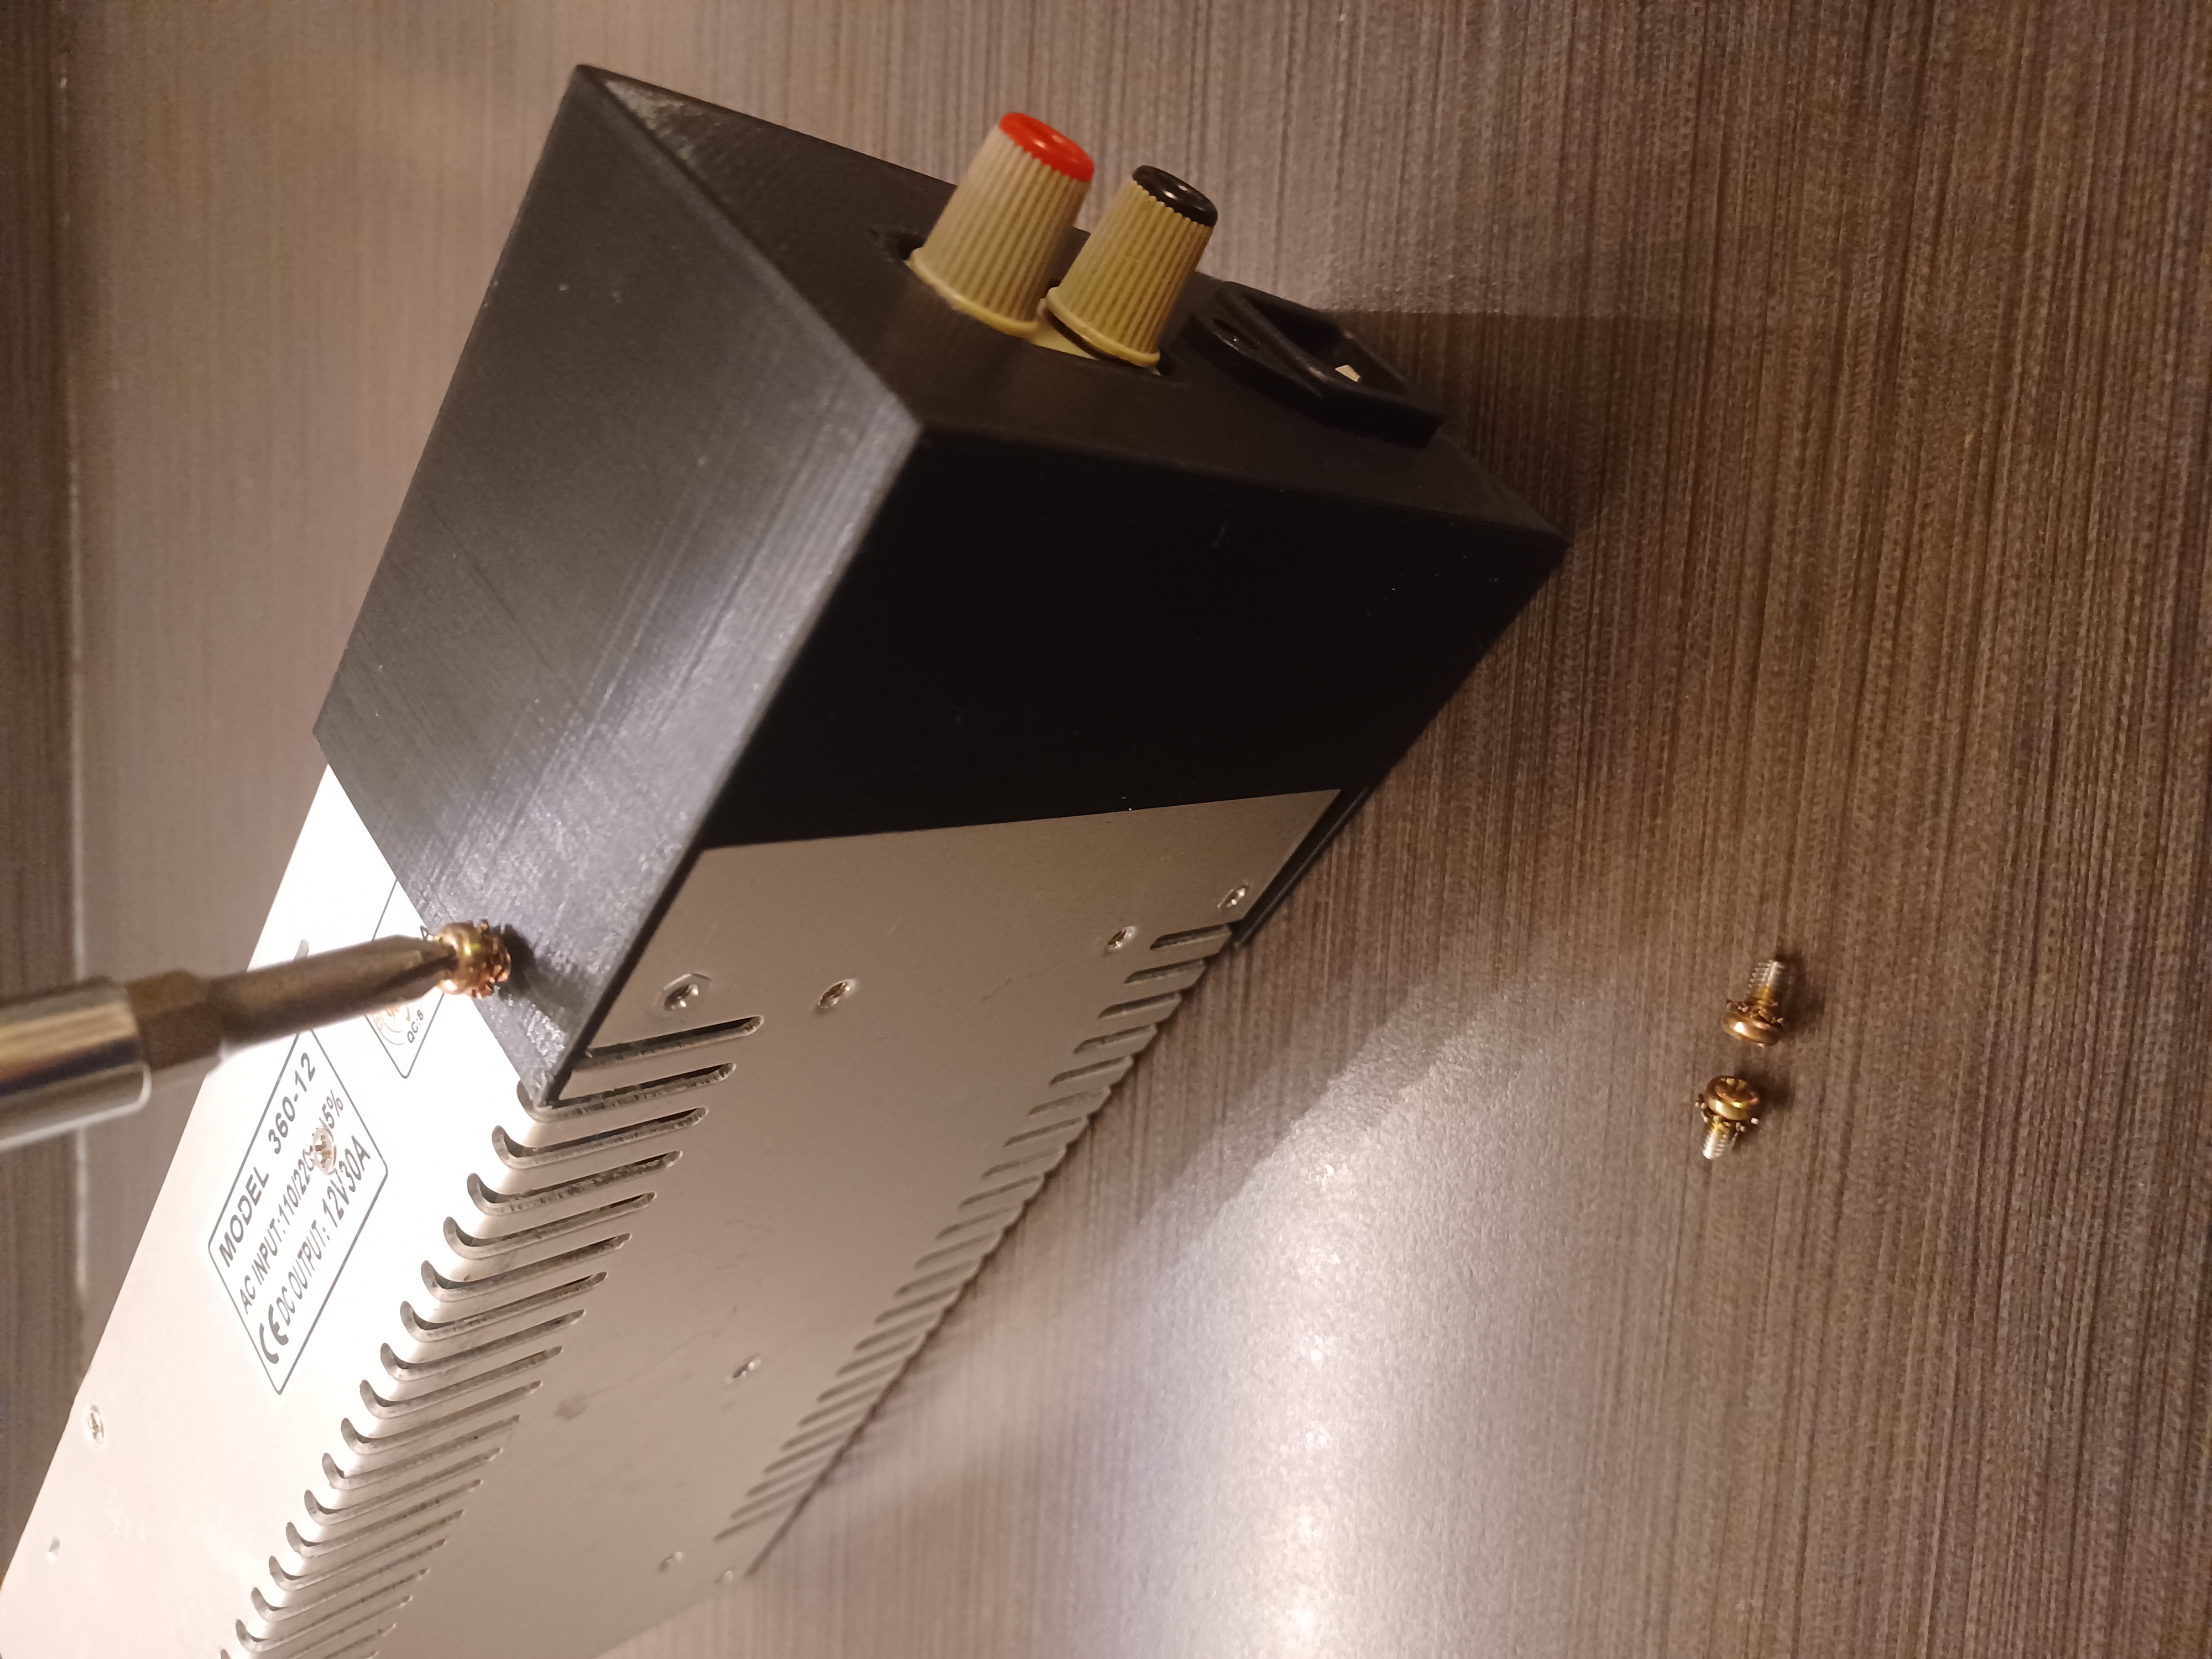
Assembly
Now, simply force all the wires into the extra space and screw the cover onto the case. There are 3 screw holes that line up by design. Those can be safely used without interfering with the operation of the power supply.
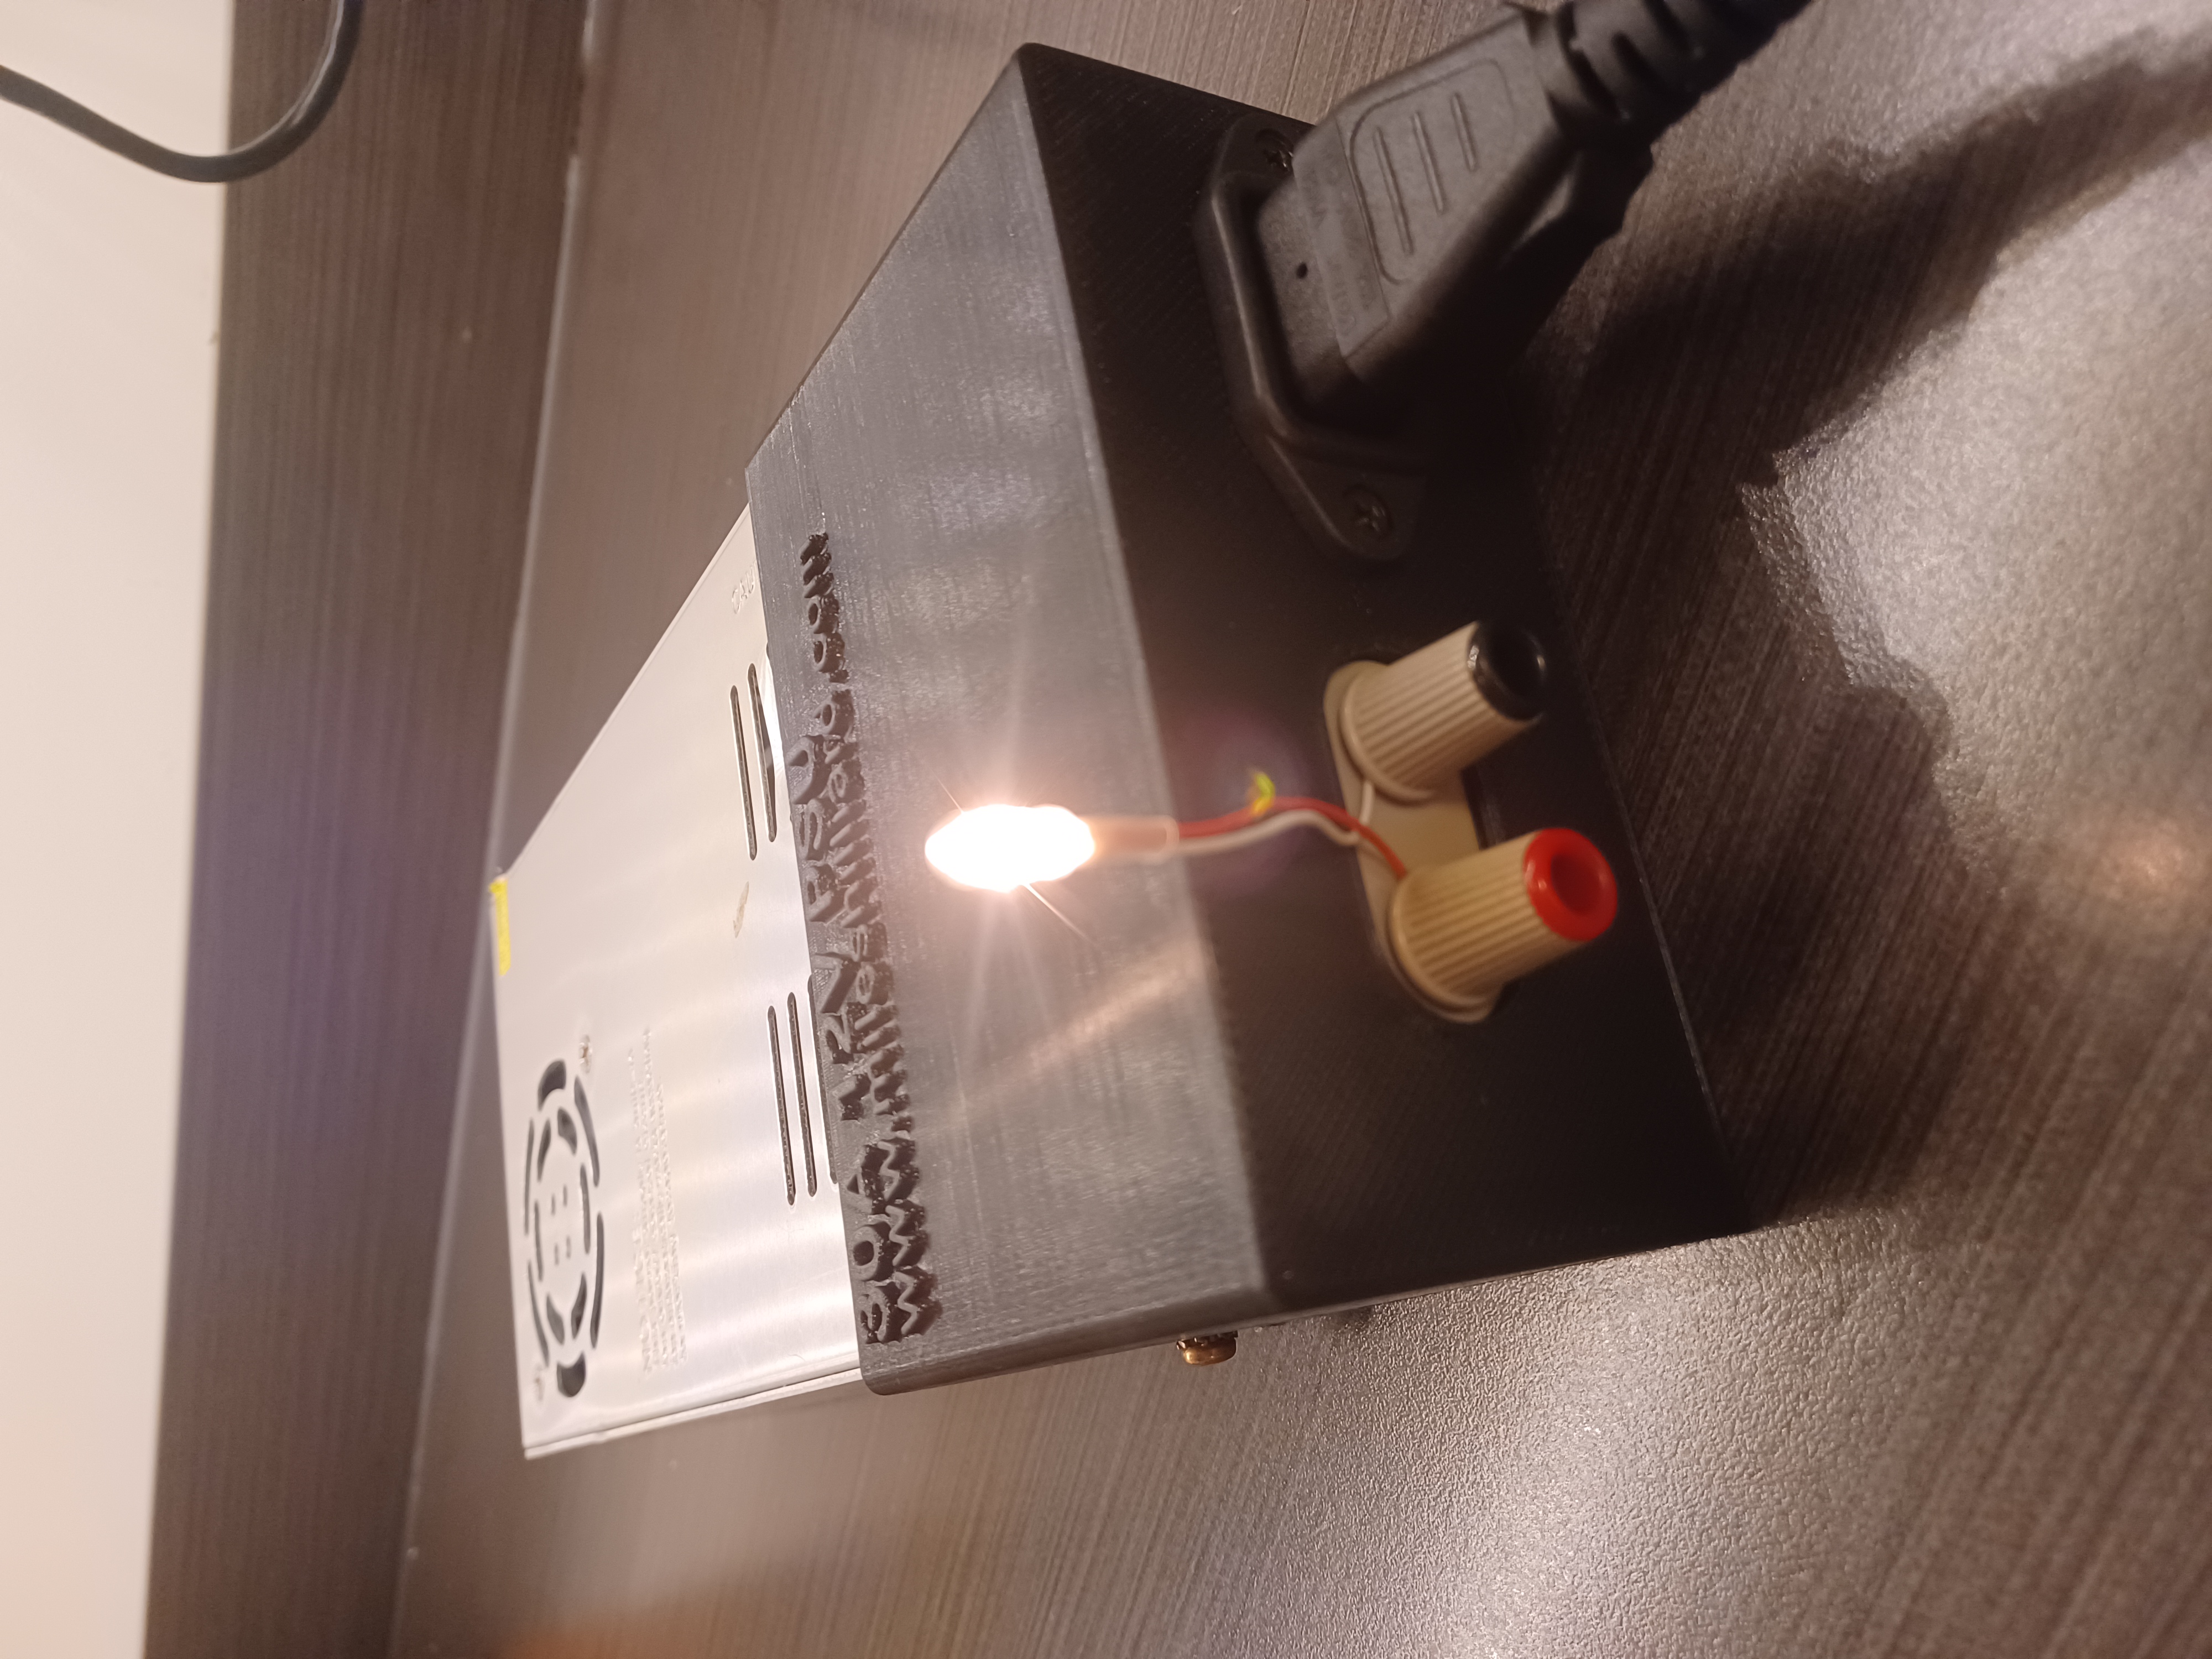
And now, you are done! Plug it in and try it out!

0
Views