
Robotics & Engineering - Week of 12/08/25
This week, I did more work on the AI YOLO model on the golf cart, but I decided to move away from that a little bit and focus on some of the more mechanical aspects of the project.
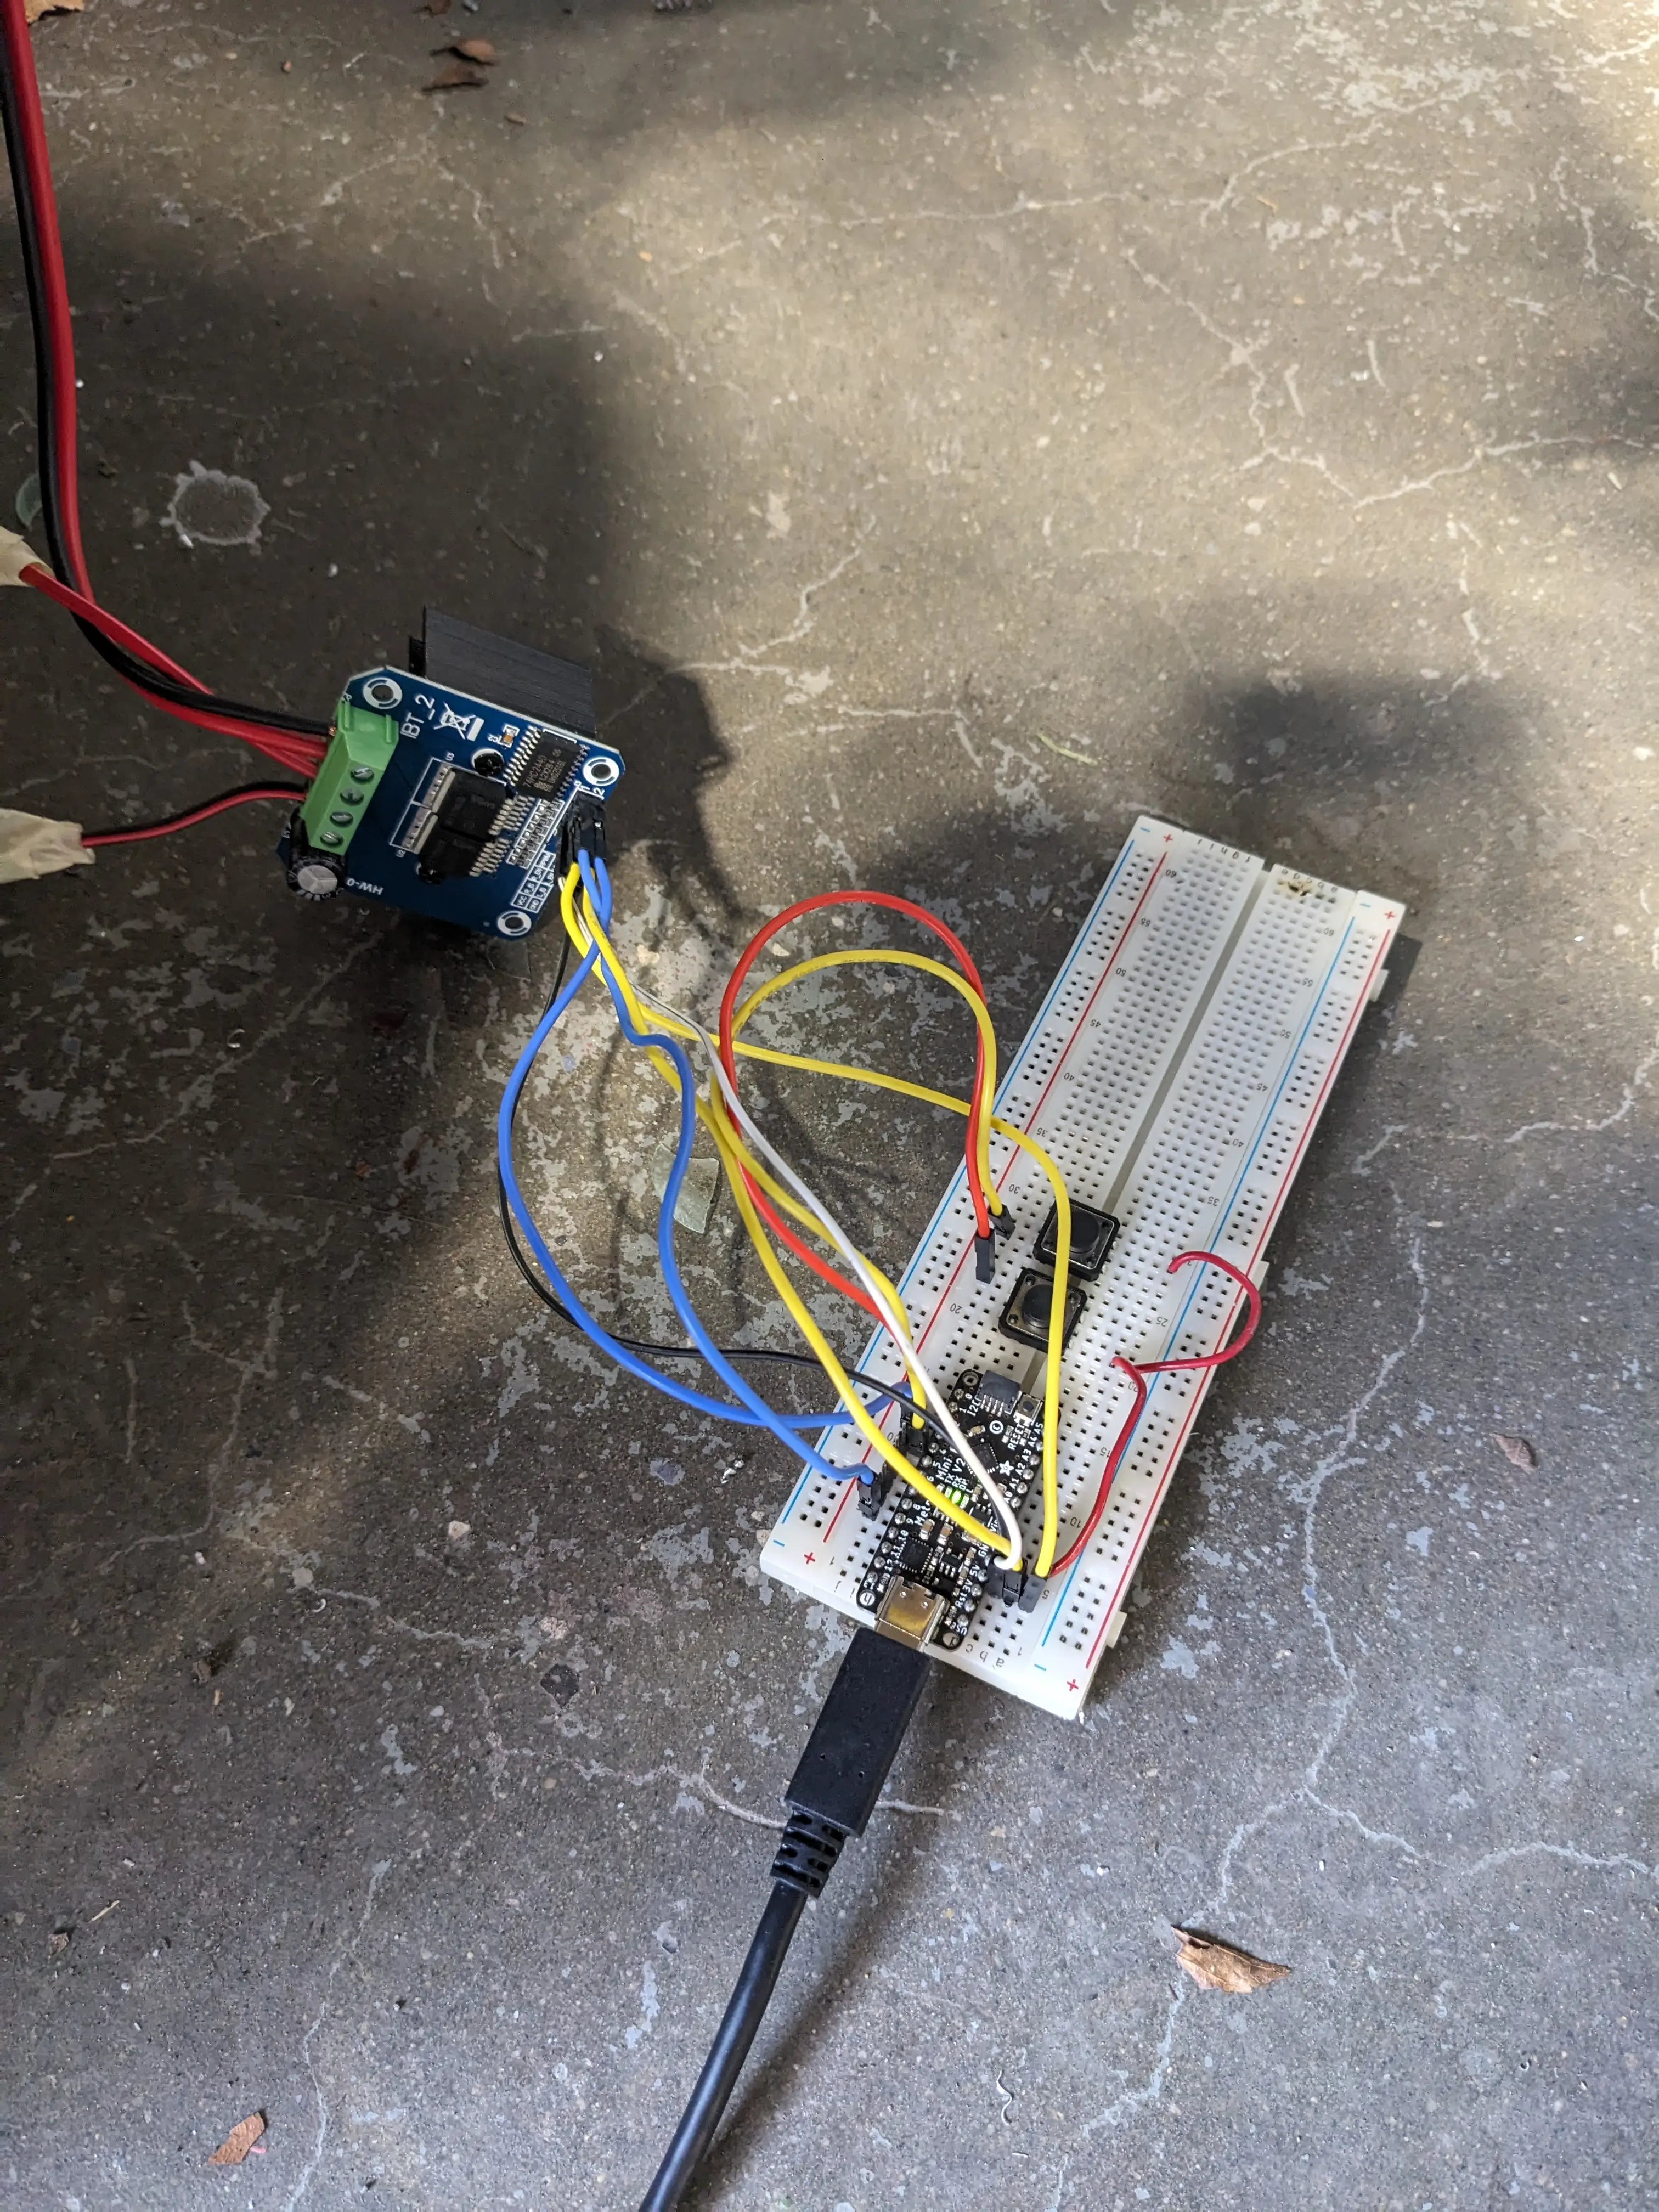
I wired up a simple breadboard circuit with an Arduino and the BTS7960 motor driver (capable of 49 amps continuous, which I am skeptical about) which is then wired up to a 30a 12v power supply and the giant steering motor.
I also installed two pushbuttons on the breadboard which allows easy directional control of the motor.
The code I uploaded to the MCU was very simple. Both the EN pins on the motor driver are tied HIGH (to 5V) so in order to control direction and PWM, all I had to do was to pulse (PWM) the L_PWM and R_PWM pins for control. This makes it super easy to implement into the rest of the system we will be using.
I started with a PWM value of 100 (255 being max) to make it a little easier on the BTS7960, and this worked fine without the chain attached to the steering column. The motor spun and everything worked great, both forwards and reverse. However, once the chain was attached, it didn’t have enough torque to move the whole steering assembly. To combat this, I simply raised the PWM value until the driver allowed enough current to flow to move the motor.
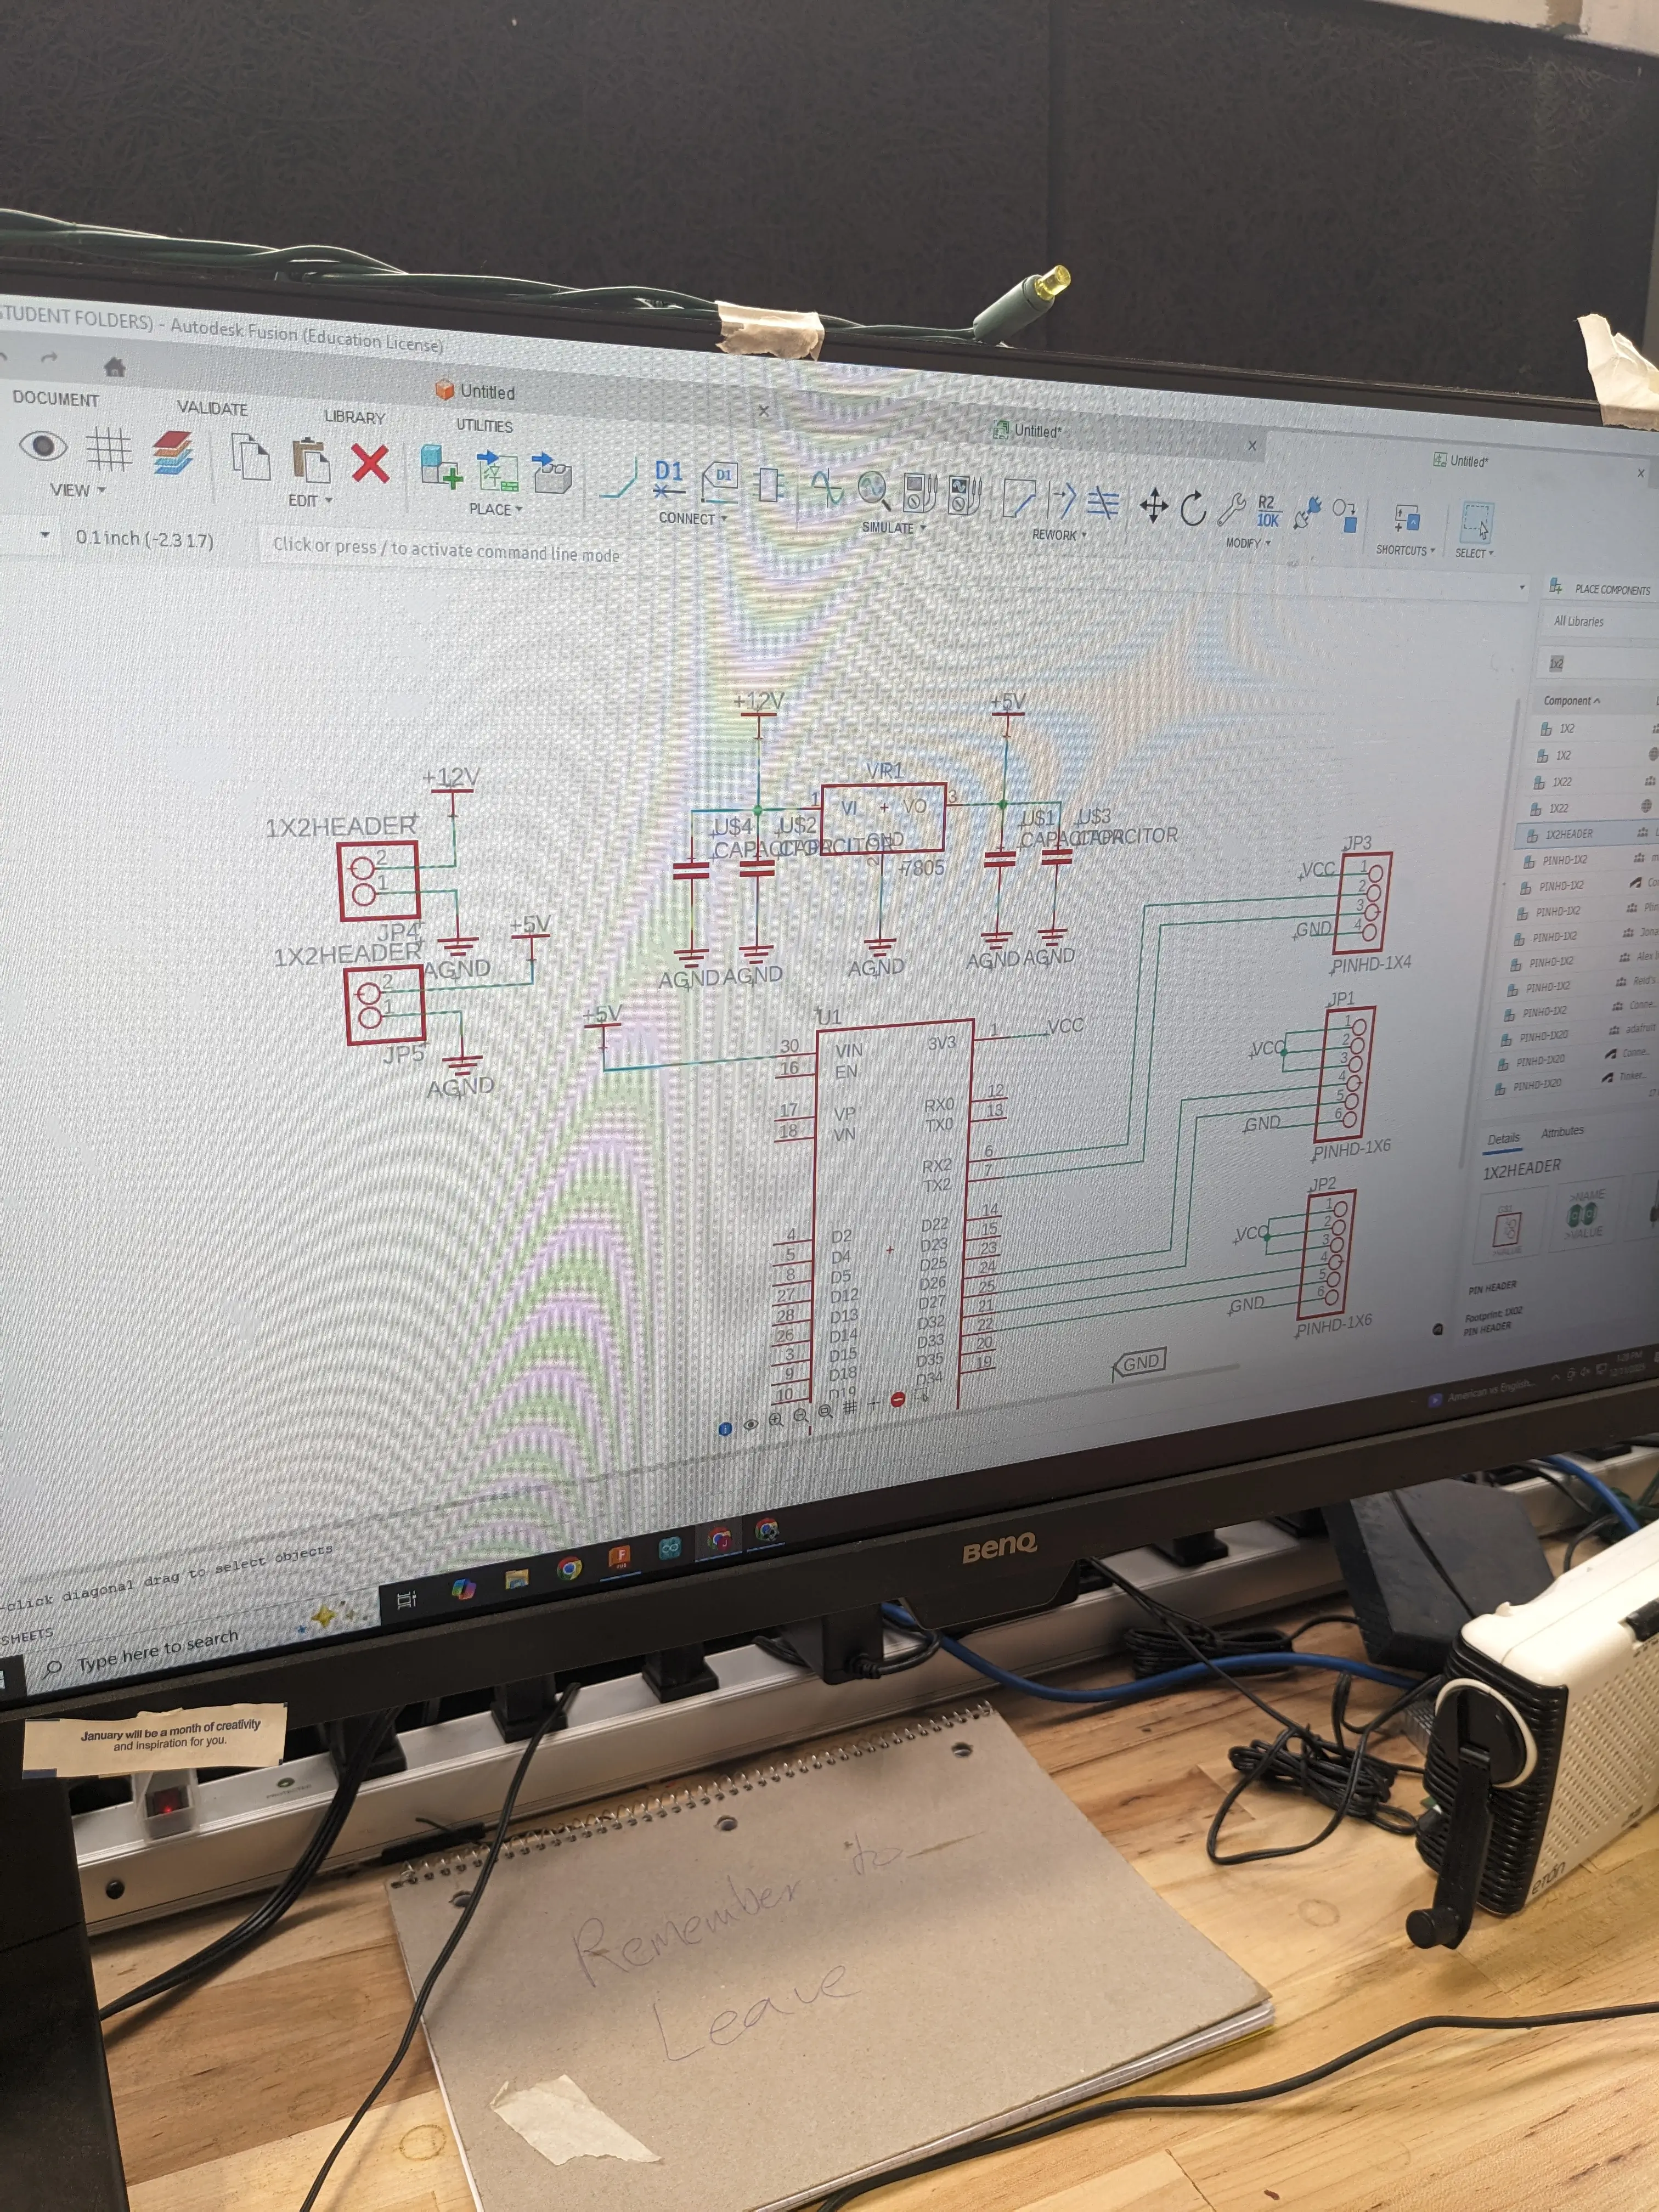
Once this worked, I decided to start working on the central MCU brain for the golf cart. This will be an ESP32 that is responsible for all logic level commands and control. Things like direct motor control (steering, braking, throttle) along with sensor feedback (current consumption, battery level, wireless radio link, etc.) I didn’t get too far on it, but I made a dent. It will be a big project that will need countless revisions, so I kept most of the design pretty surface level.
Here you can see a demonstration of the steering motor in action and being controlled by the MCU and the BTS7960 driver.
Afterward, I decided the AI needed a bit more work. Jonas and I annotated many more frames for the YOLO model, and ultimately we finished about 360 photos and trained a new model.
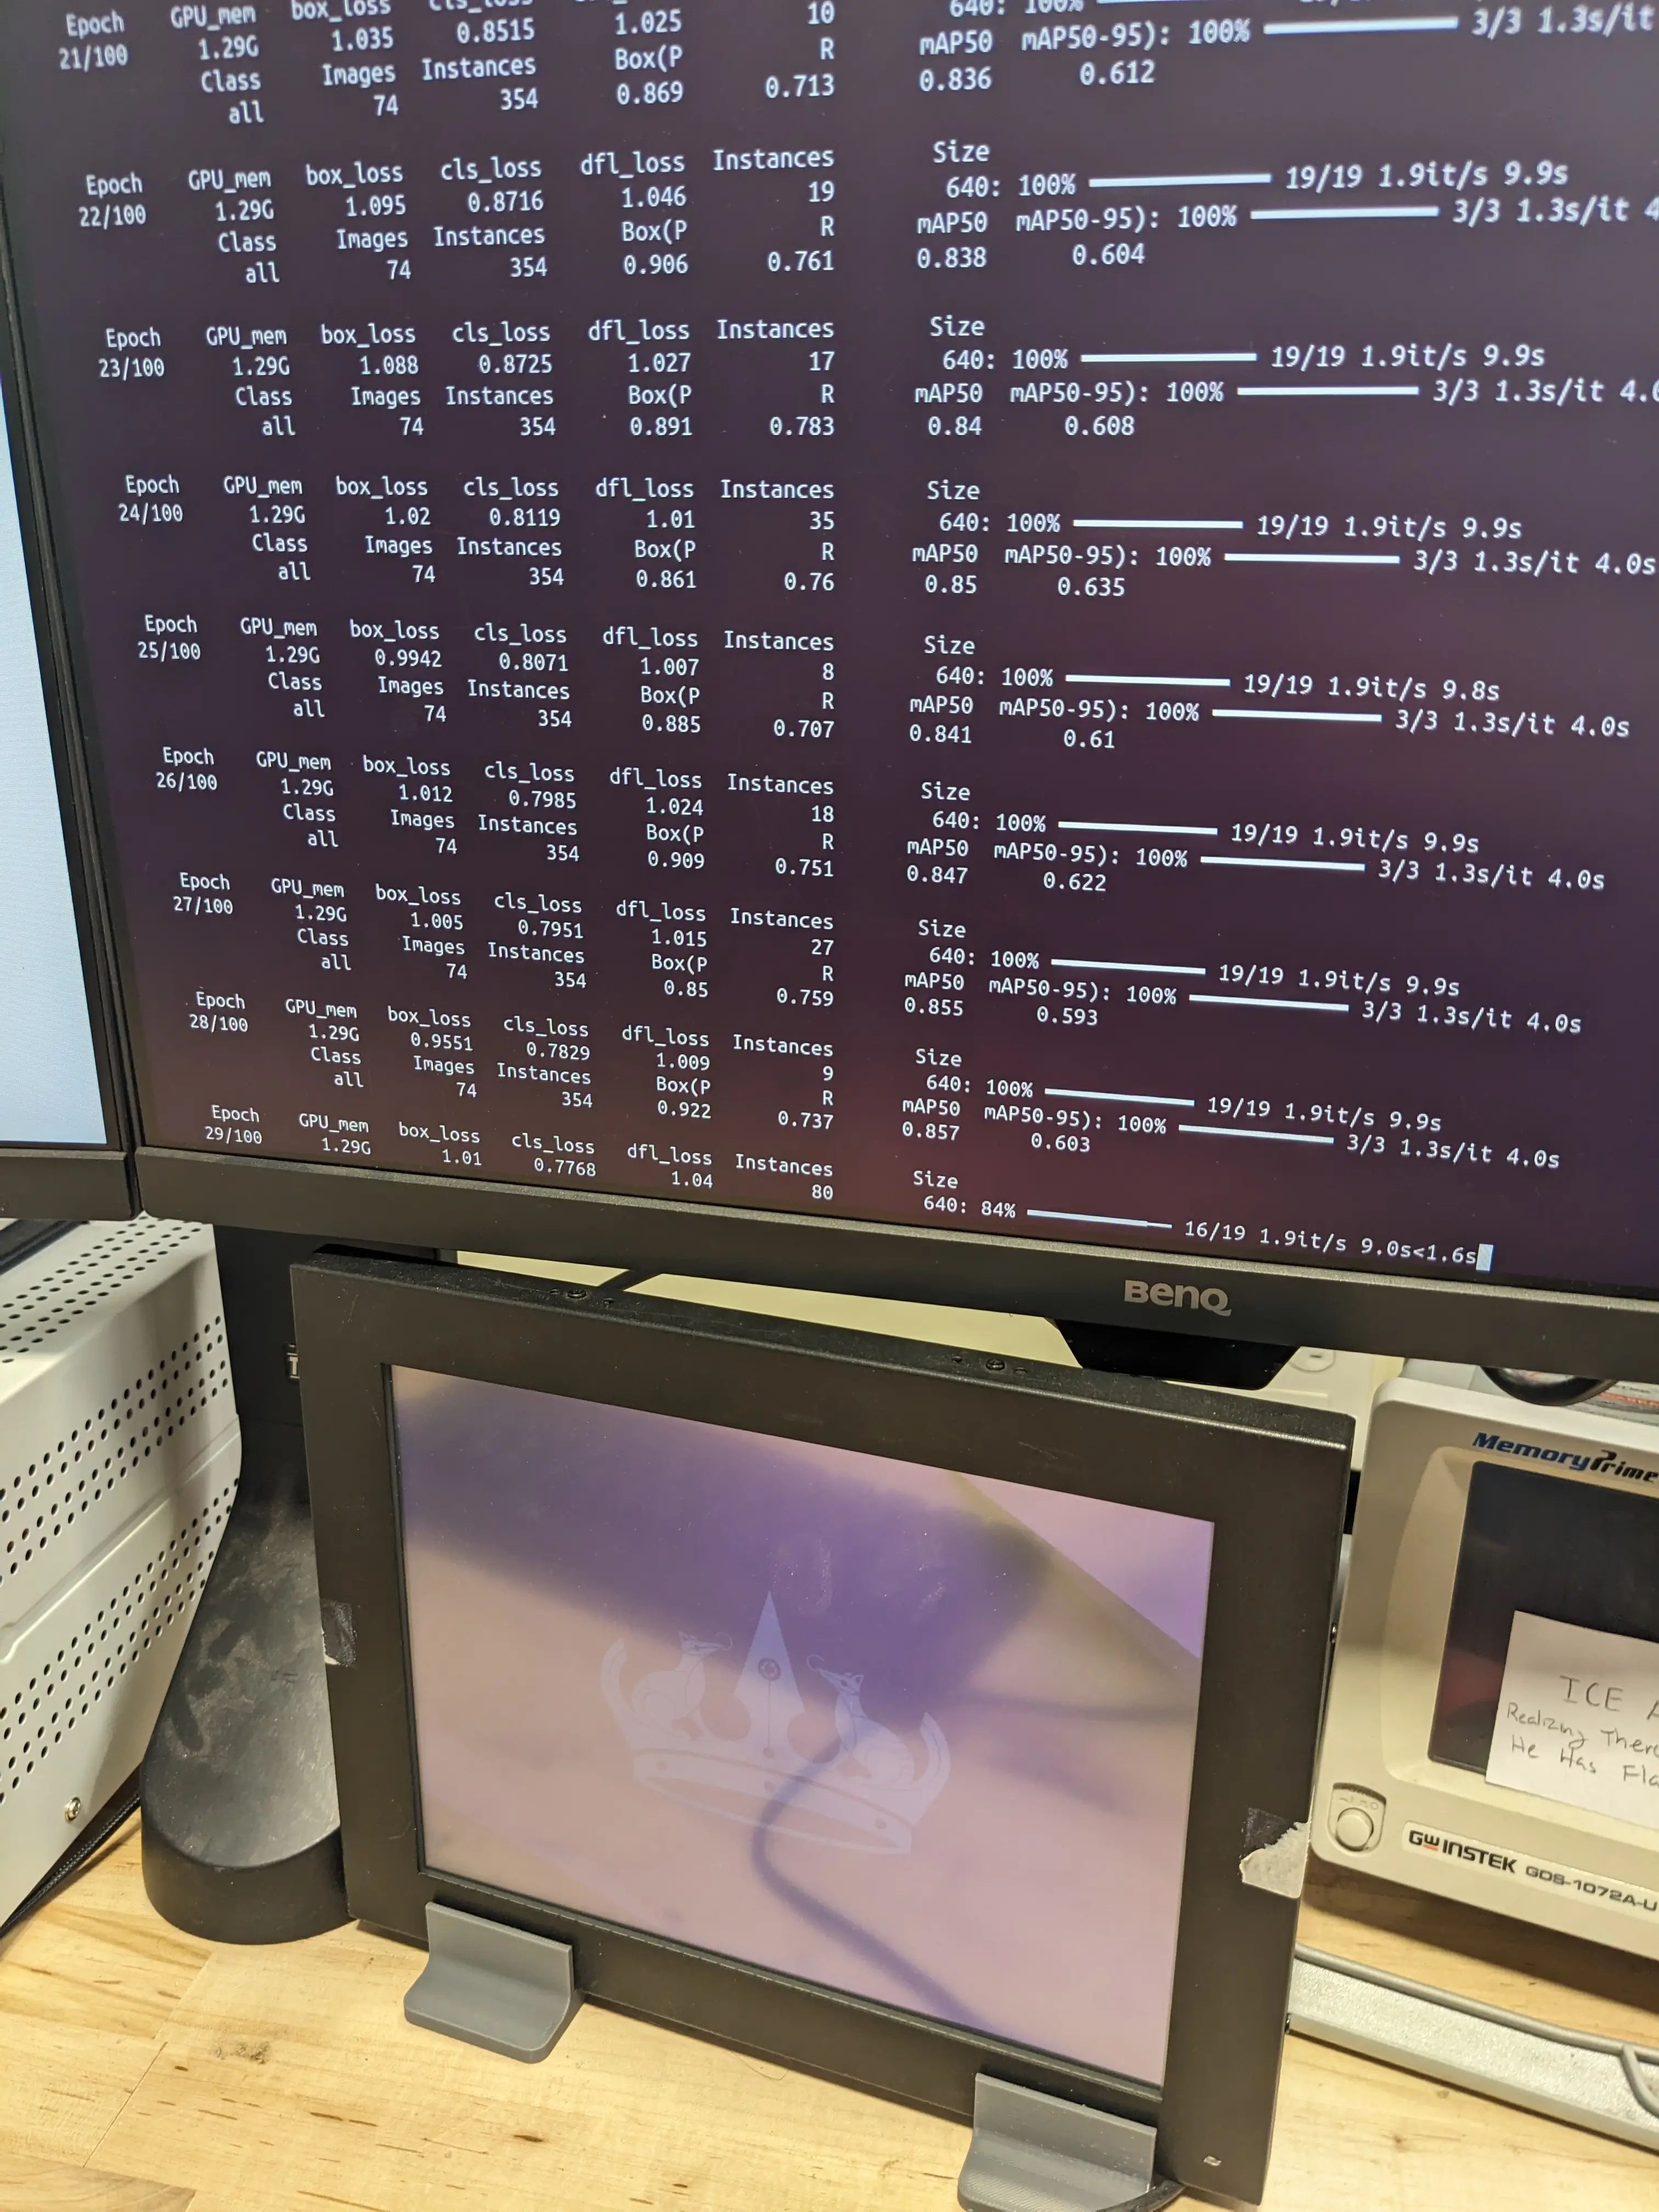
During training, I decided to opt for a lighter Python Tensor package as a base for the model, as using YOLOv11m.pt was a bit hard for the laptop running the model to handle. We would experience anywhere from 1-3 fps, which for real time obstacle avoidance, just wasn’t going to cut it.
With the new batch, I trained YOLOv11n.pt, a very popular model choice, and coincidentally, the lightest weight one.
This one yielded results far better than previously seen, even compared to the bigger models:
The model is well trained on People, Cars, Stop signs, and Crossing signs. So far, that is all we trained it on. Realistically, it should include detection for bicycles and pets, but for now, this example will suffice.
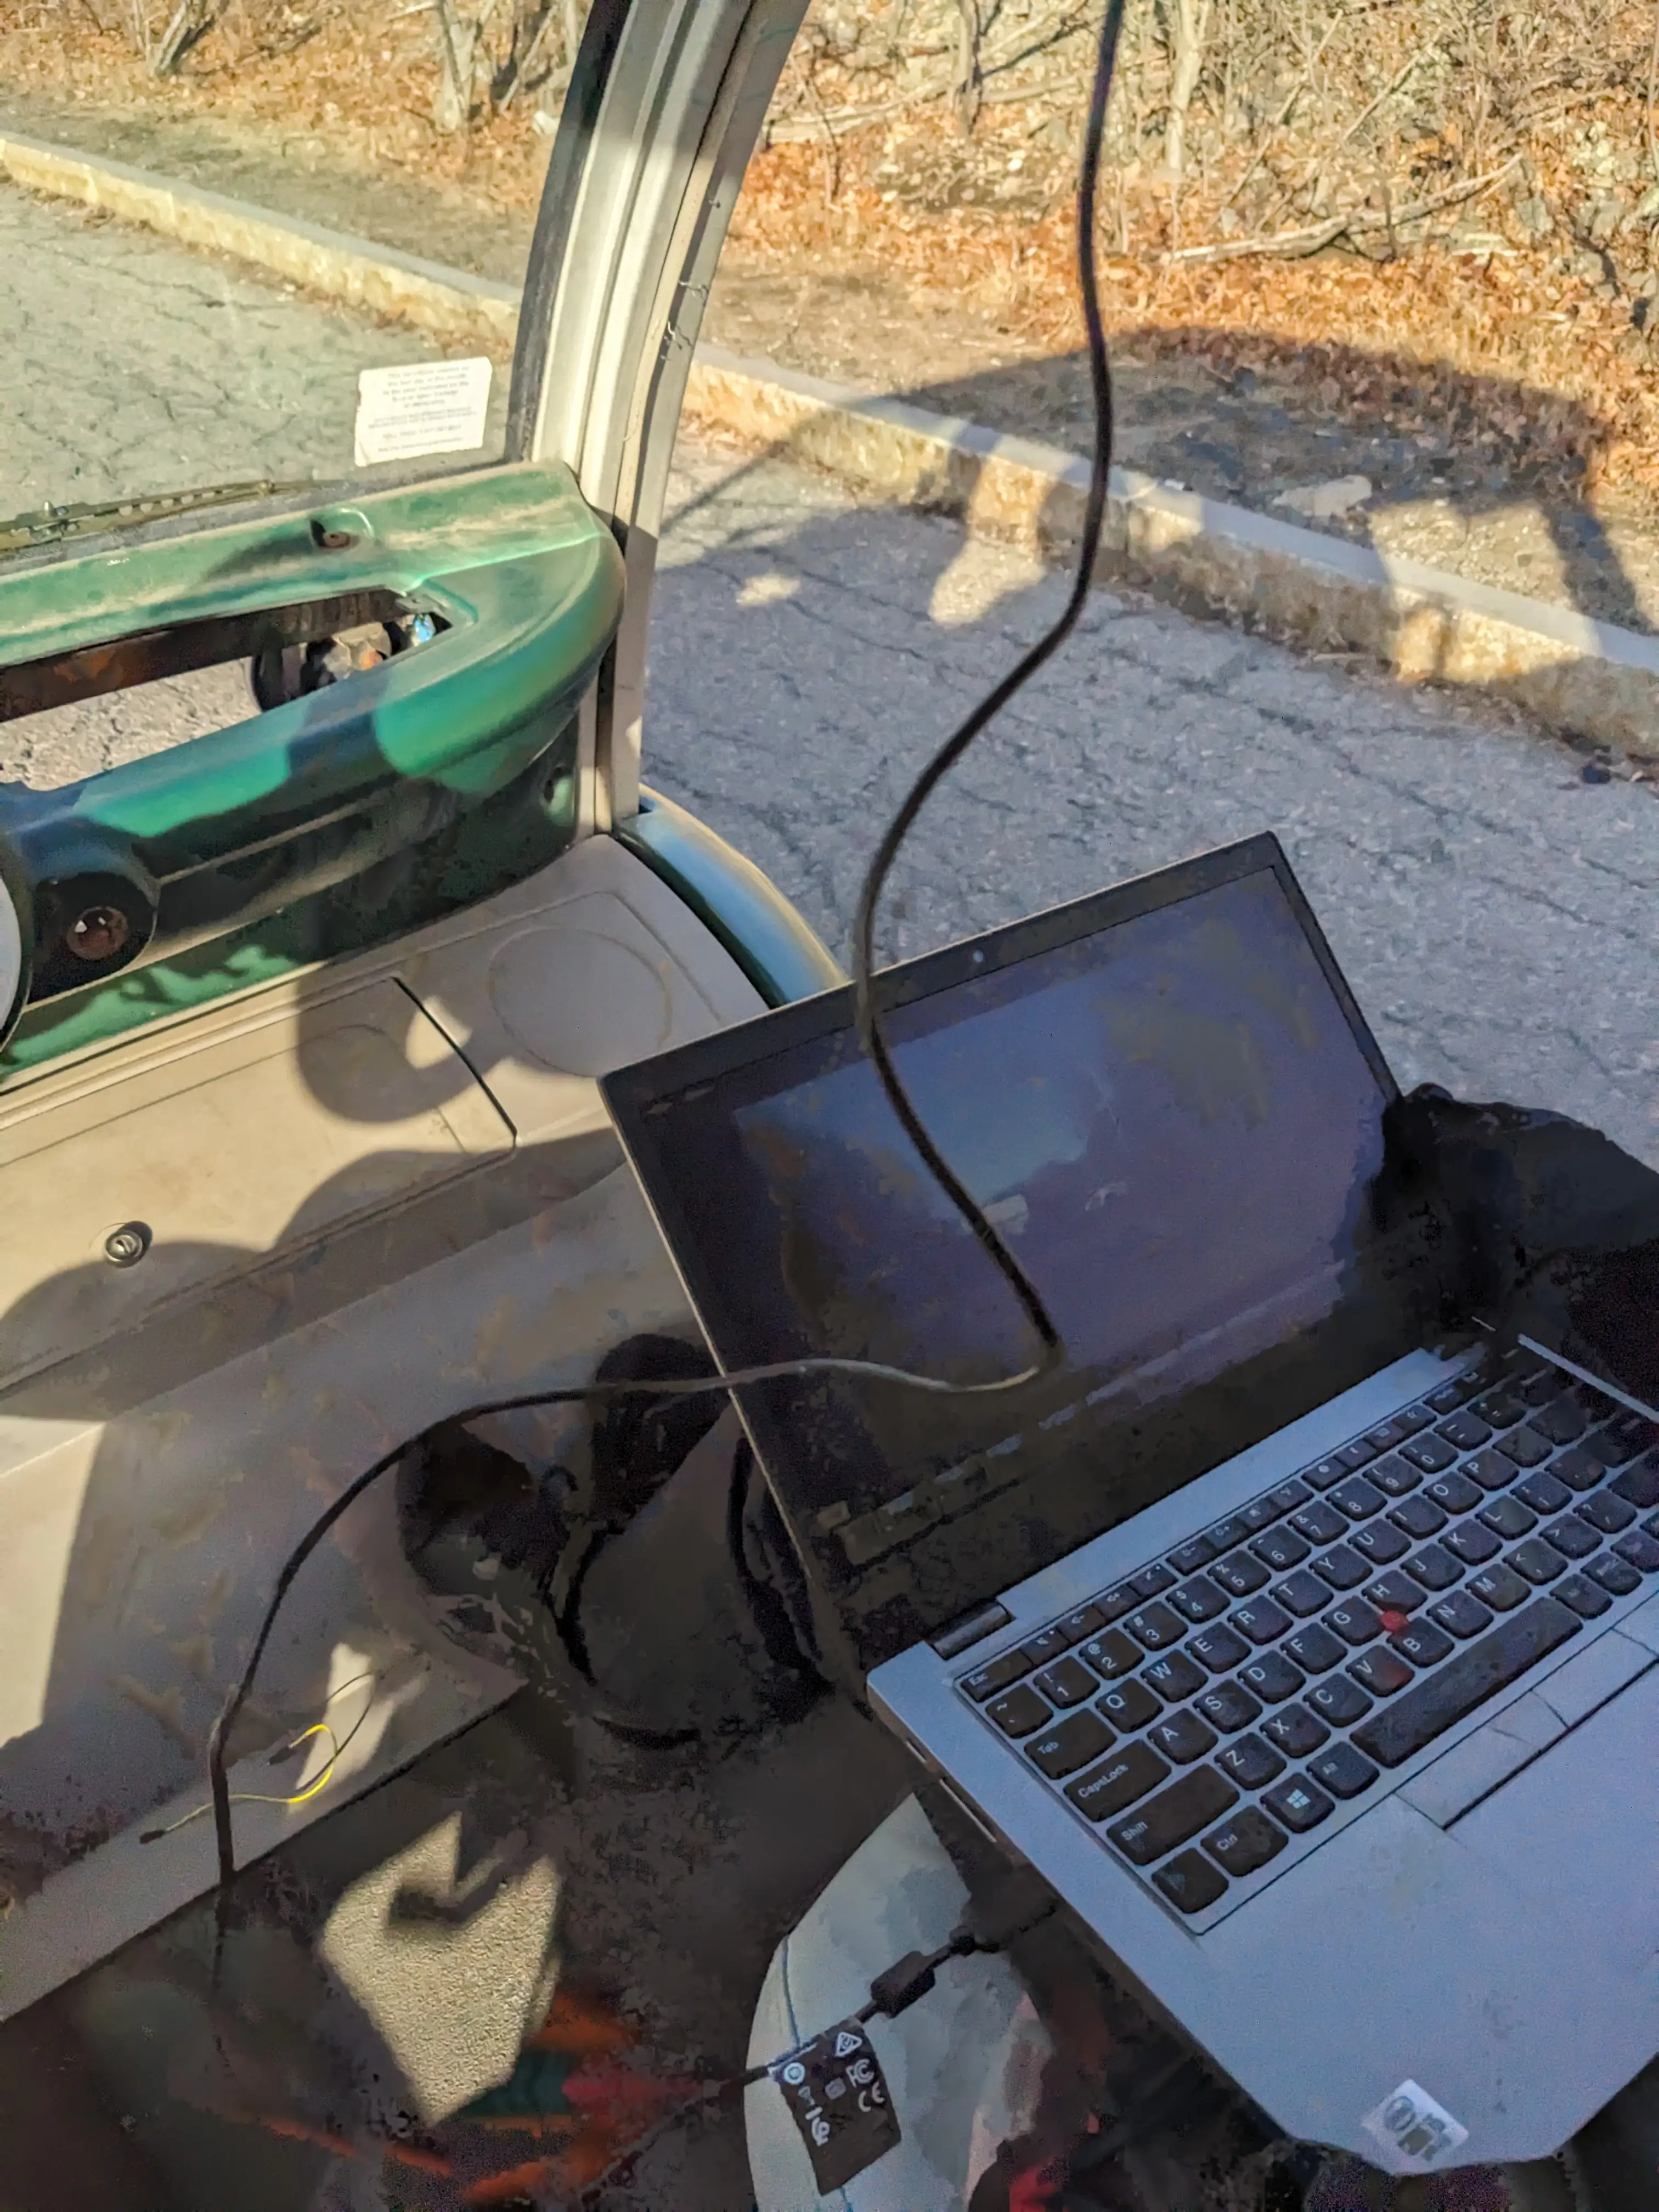
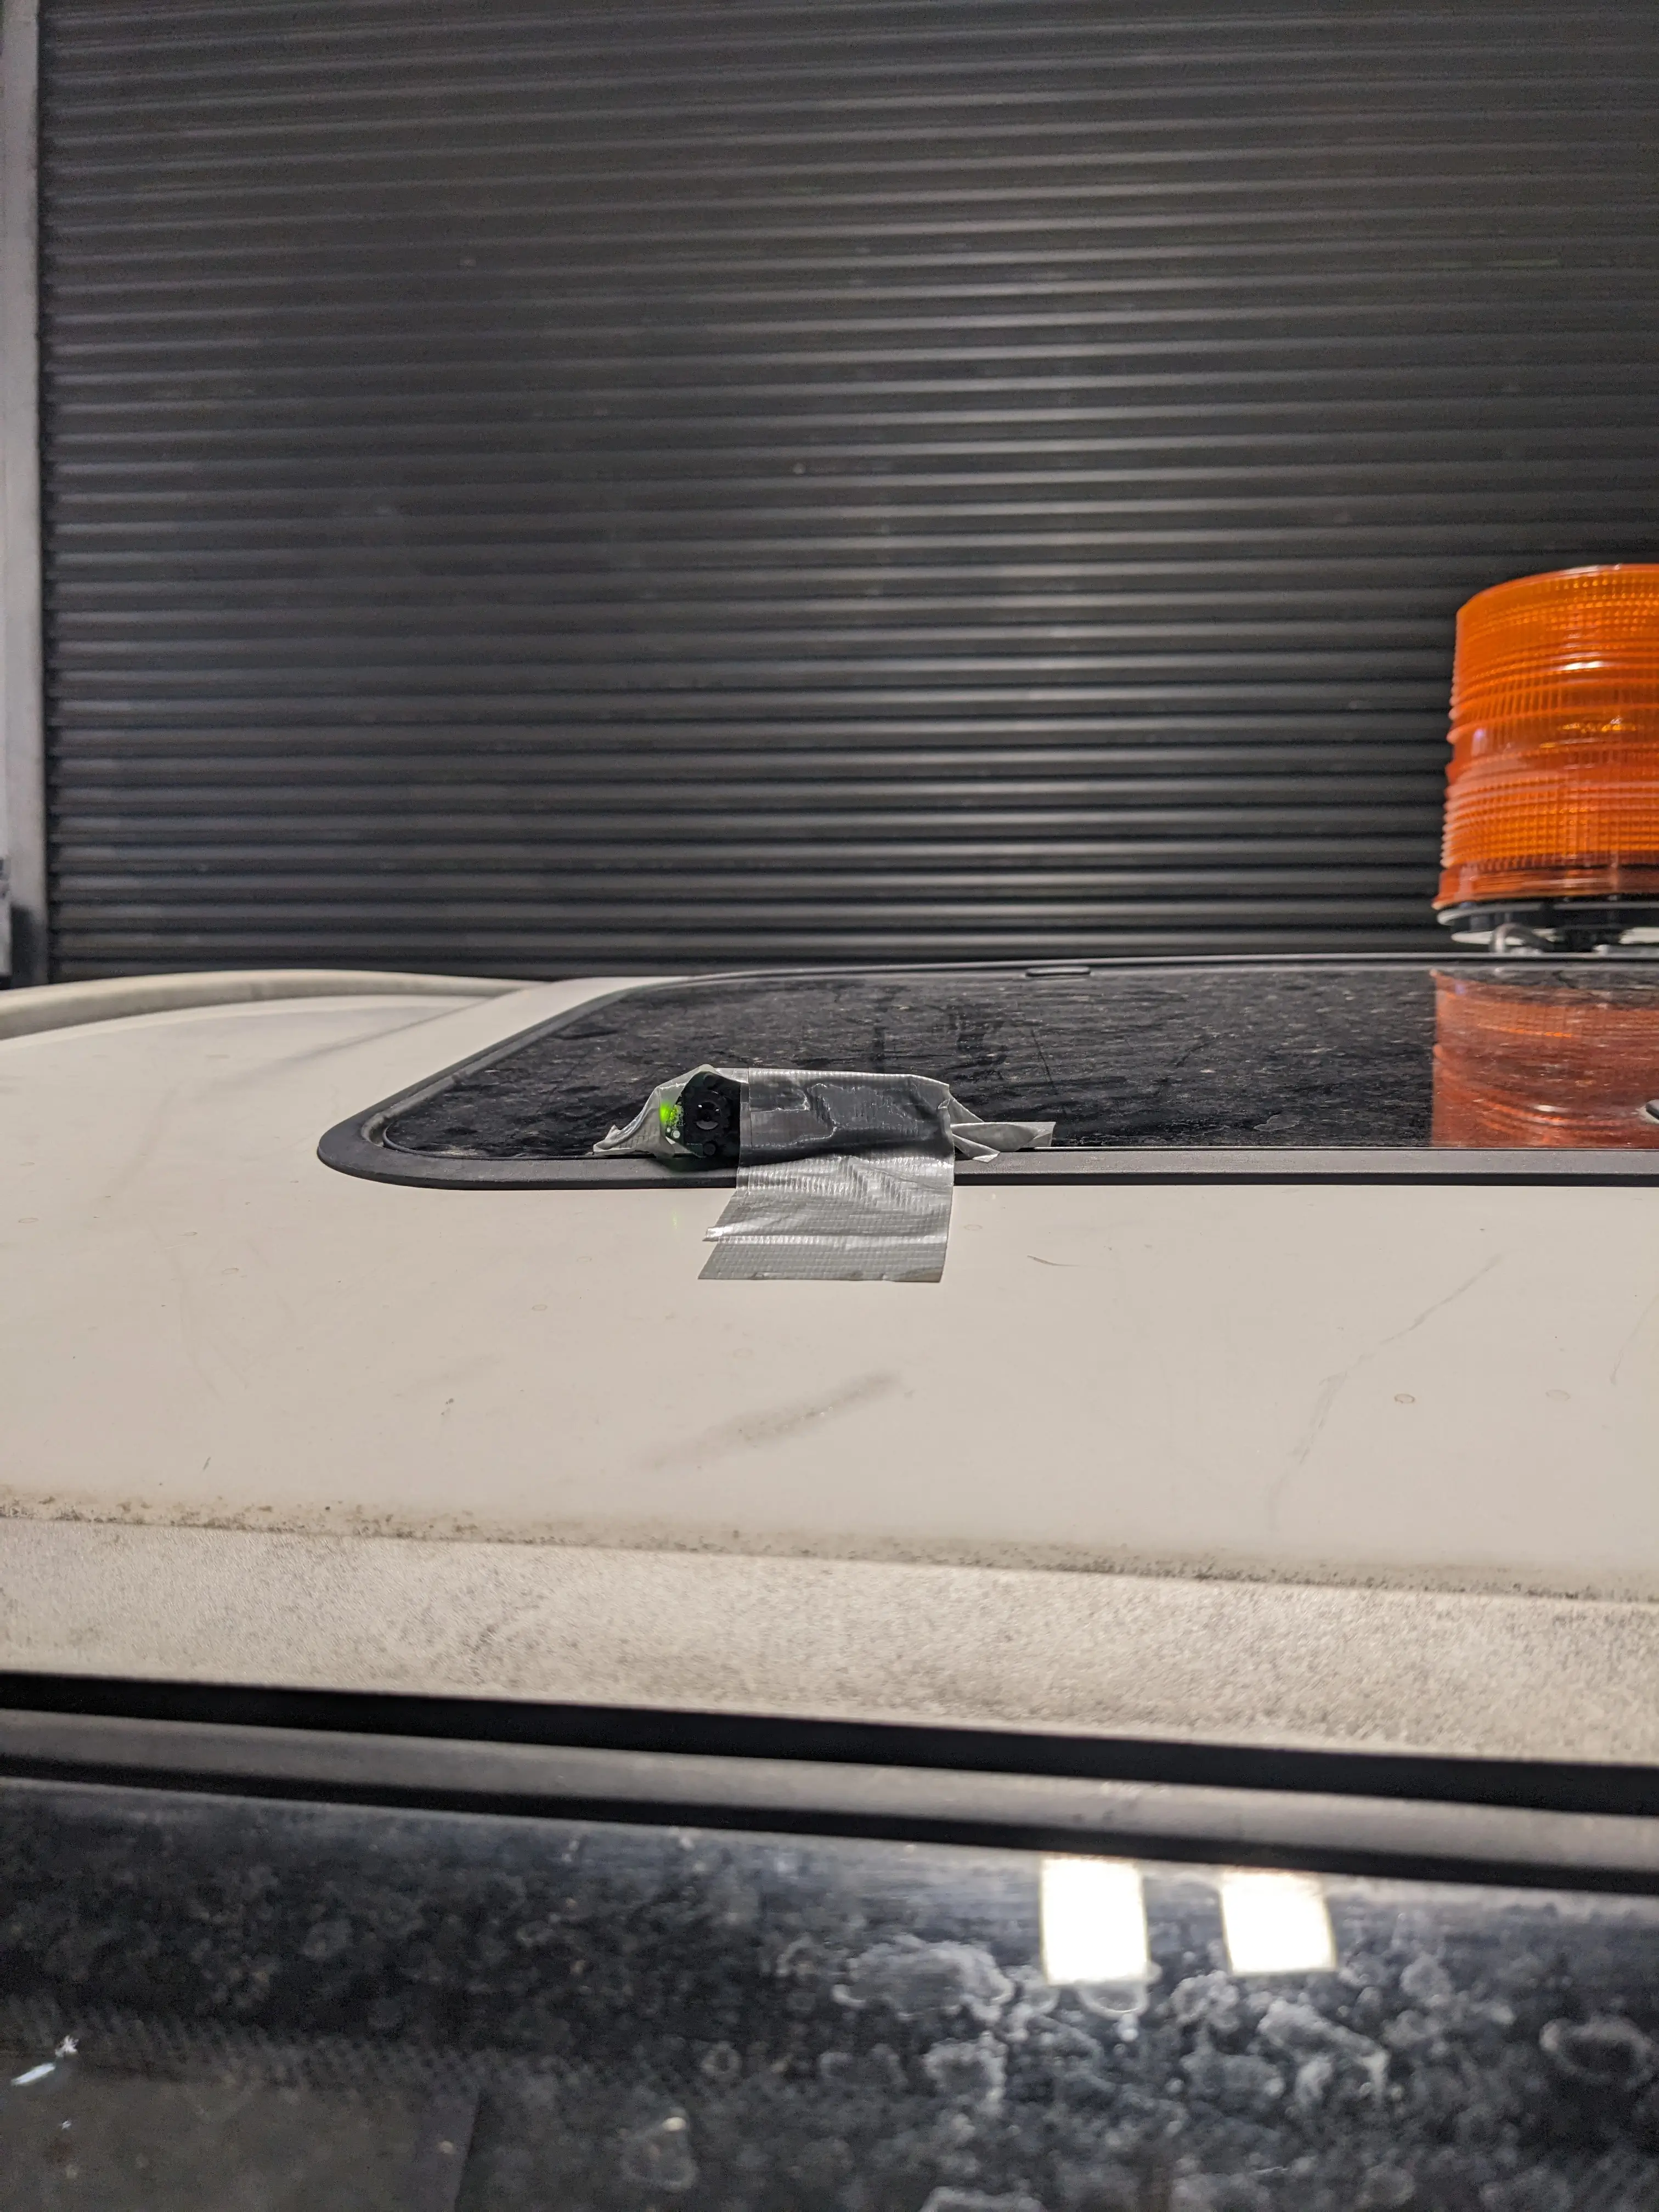
Also, because I forgot to mention this in my previous post, our camera system is horrendous. The only camera we could find was a stripped down webcam someone had taken all the plastic casing off of and left bare wires hanging out. You can see our fantastic securing job we use to keep everything in place. This is the same camera we took training photos with, and do real-time detection with. Its results are honestly impressive!
0
Views