Robotics & Engineering - Week of 1/13/25
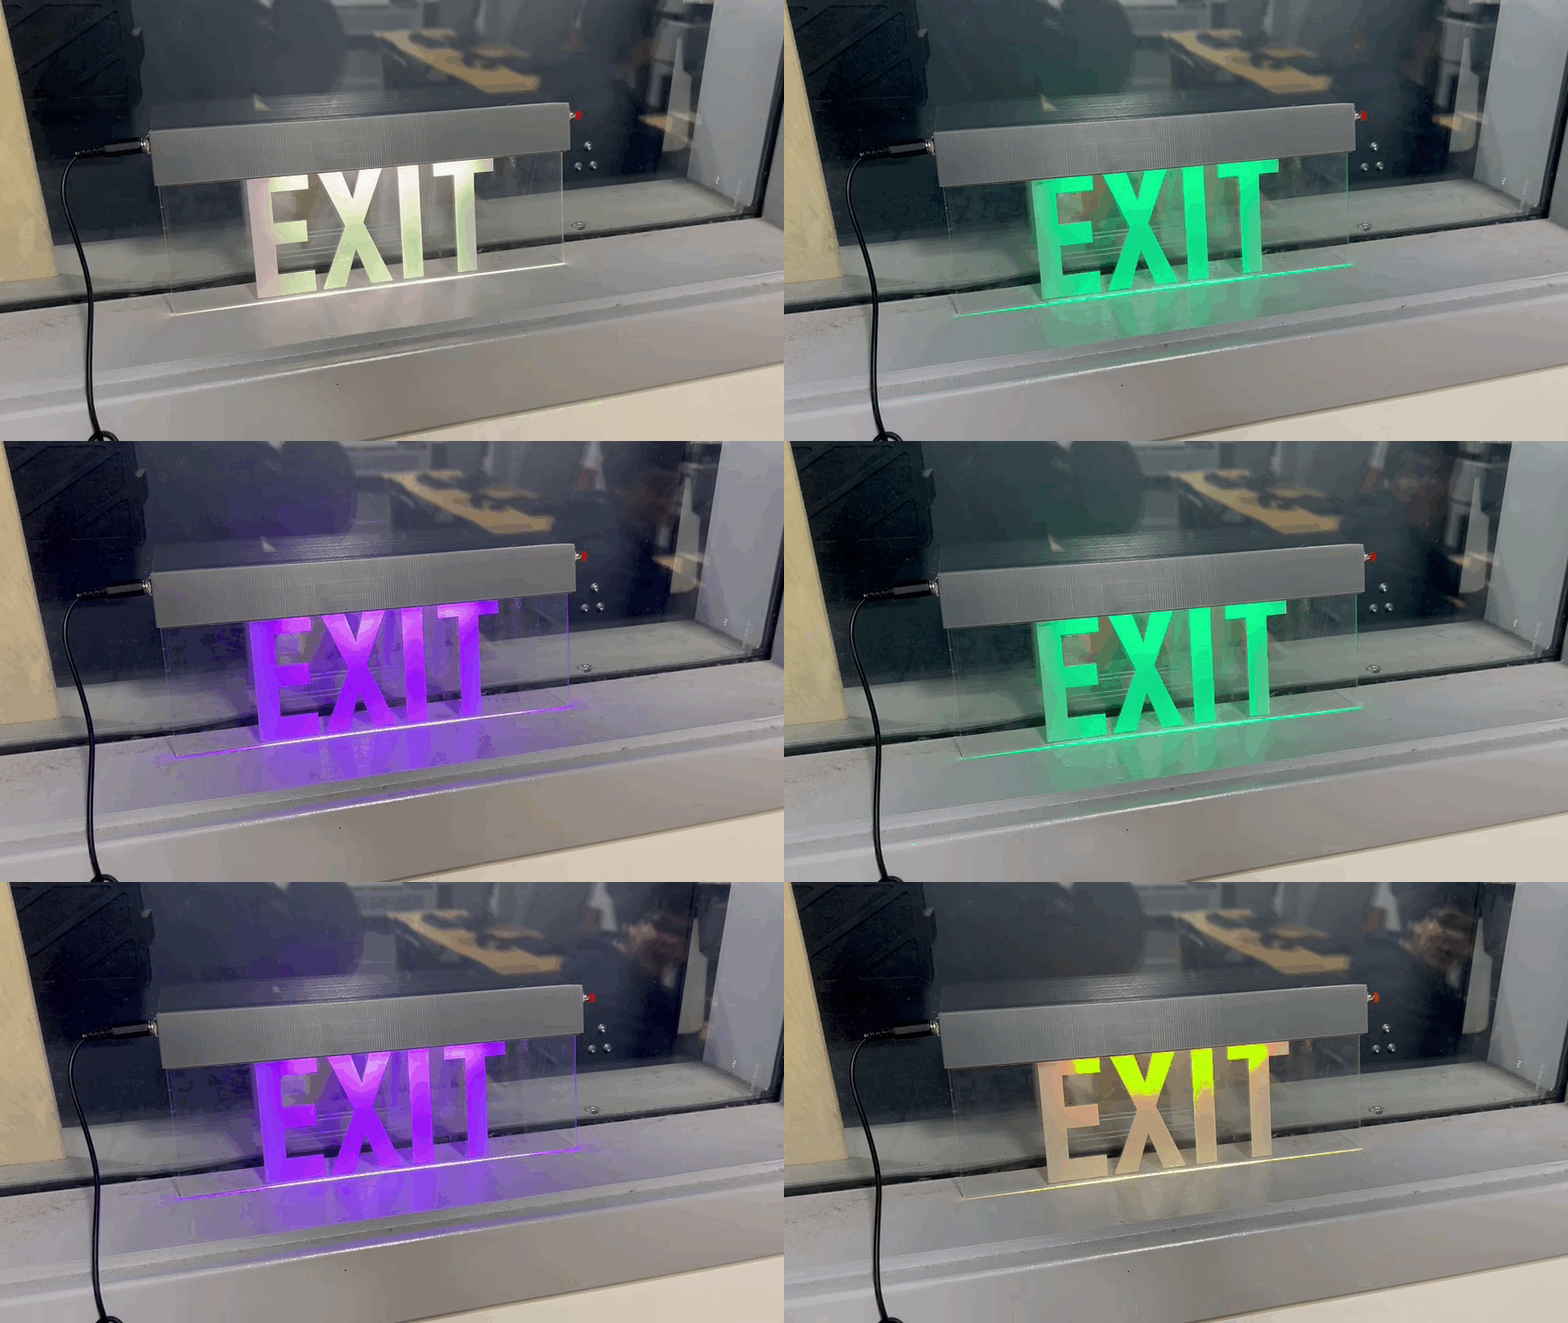
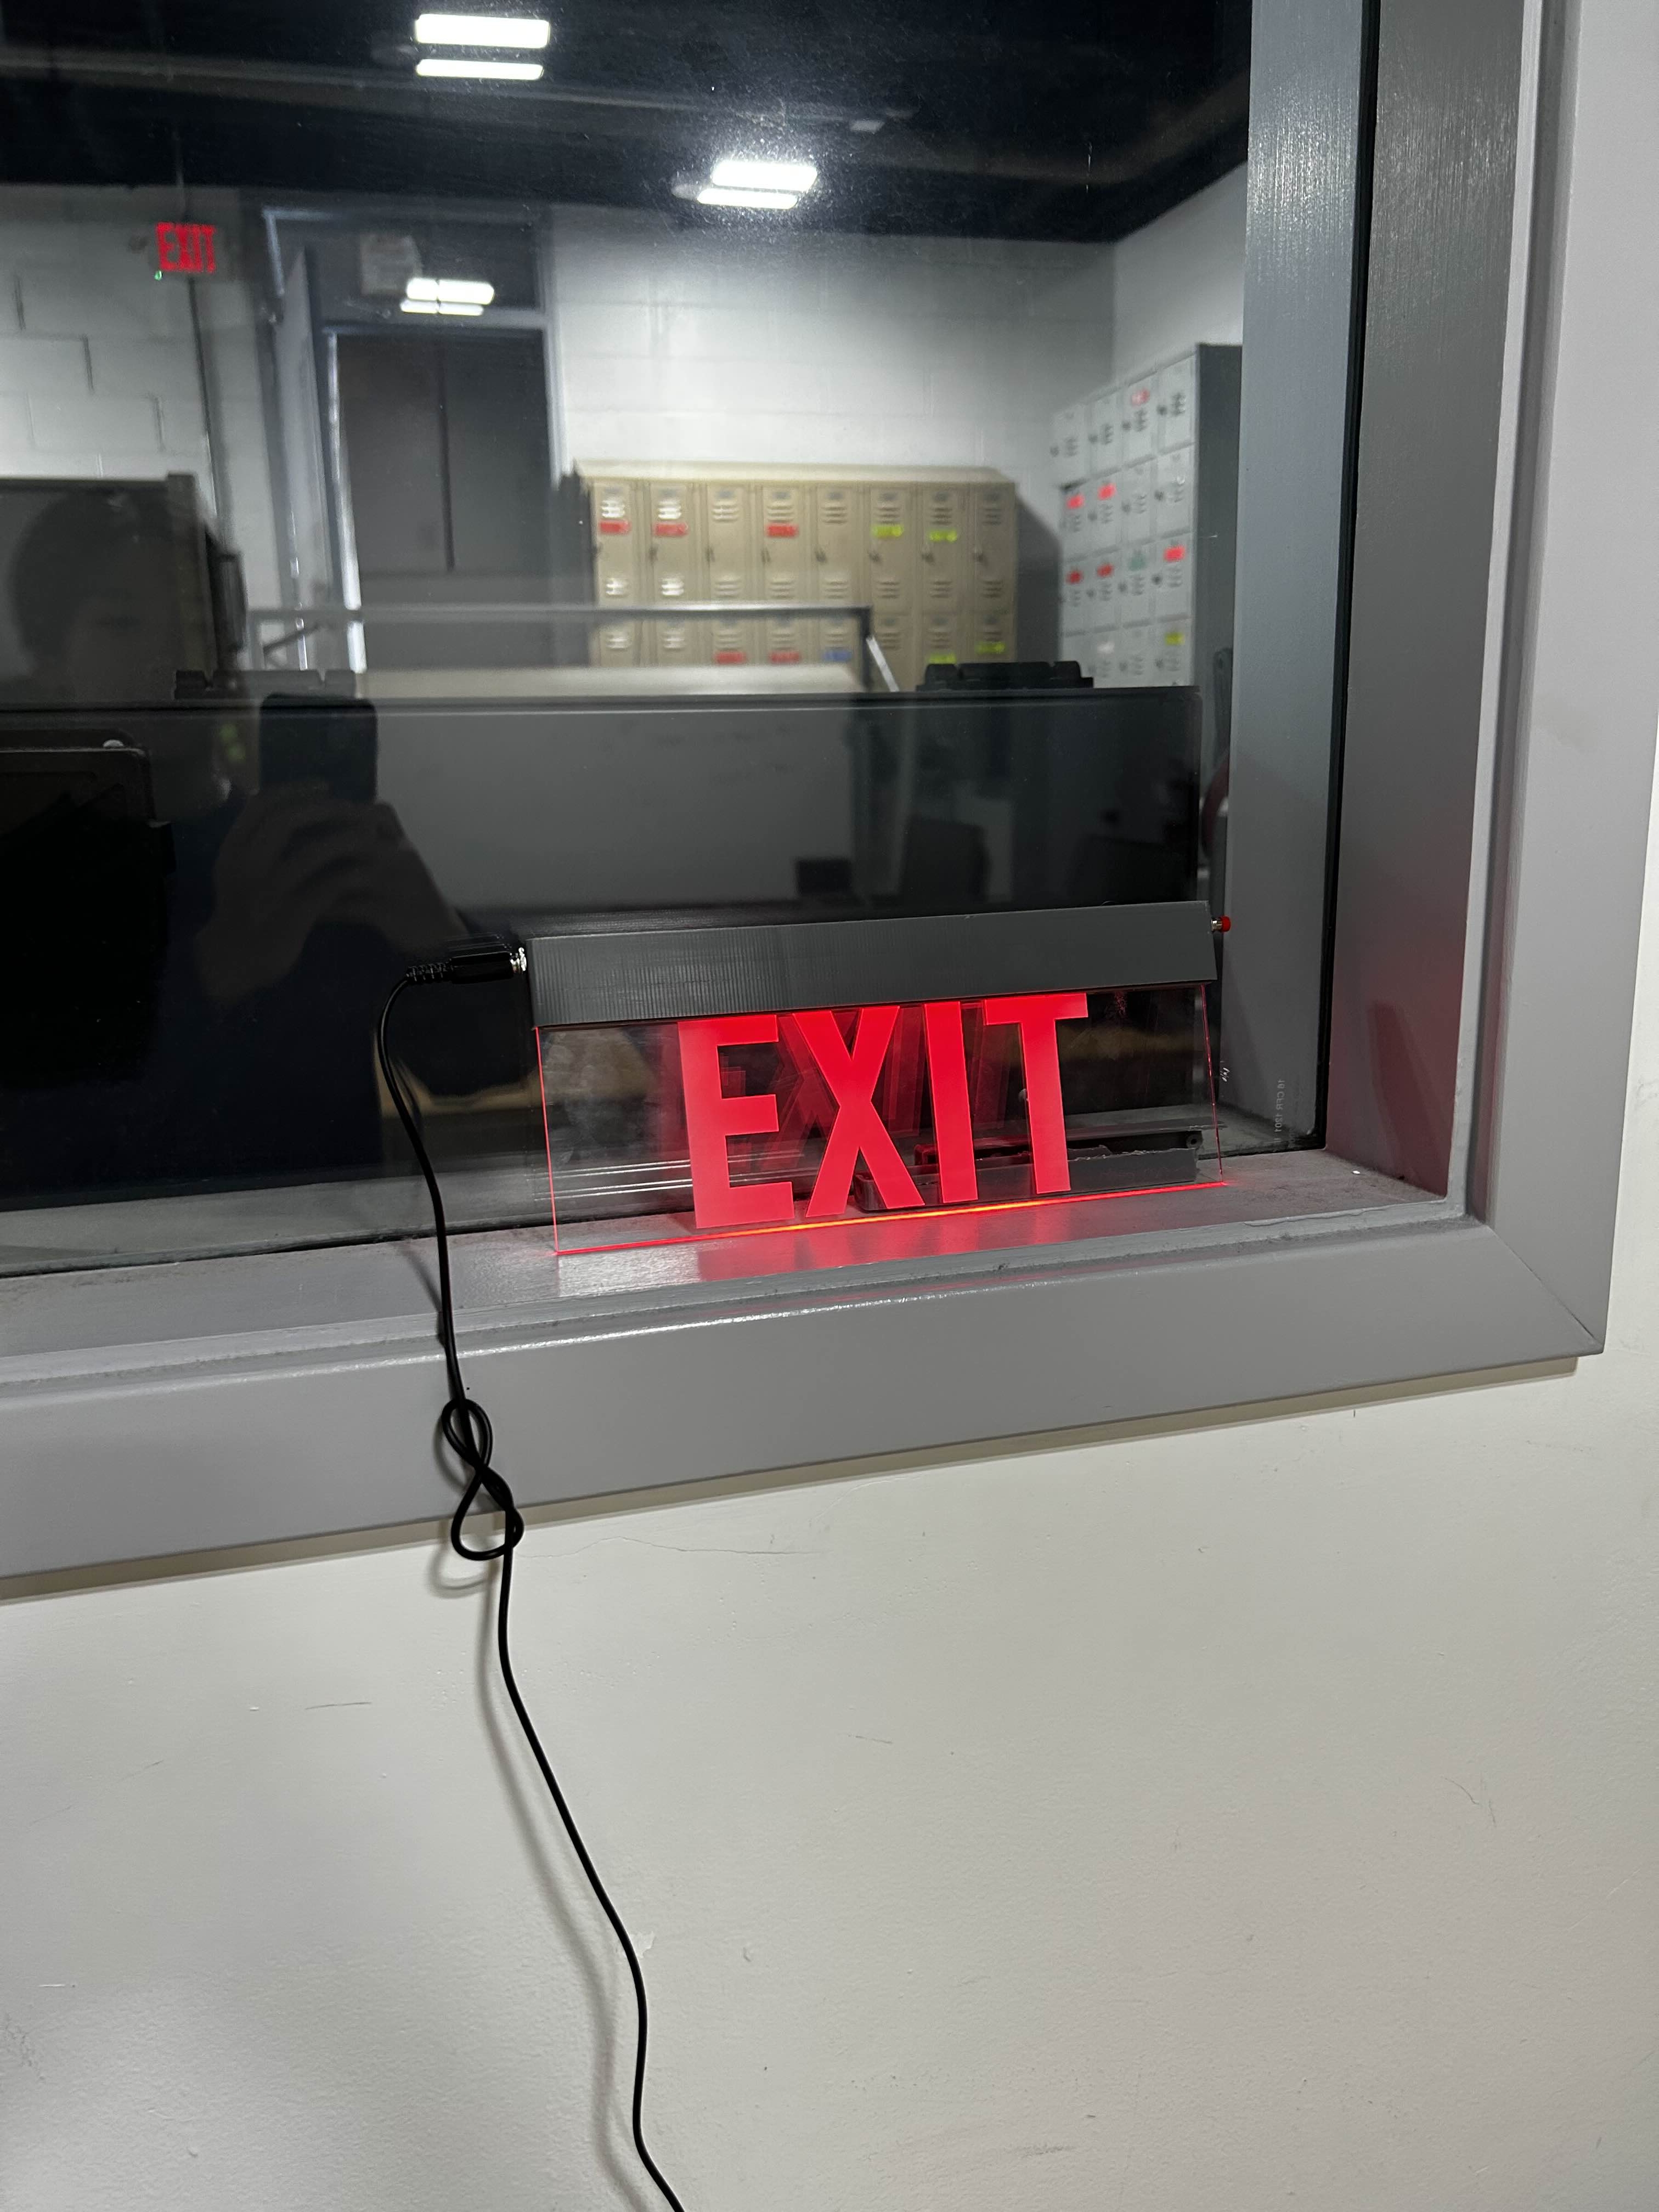
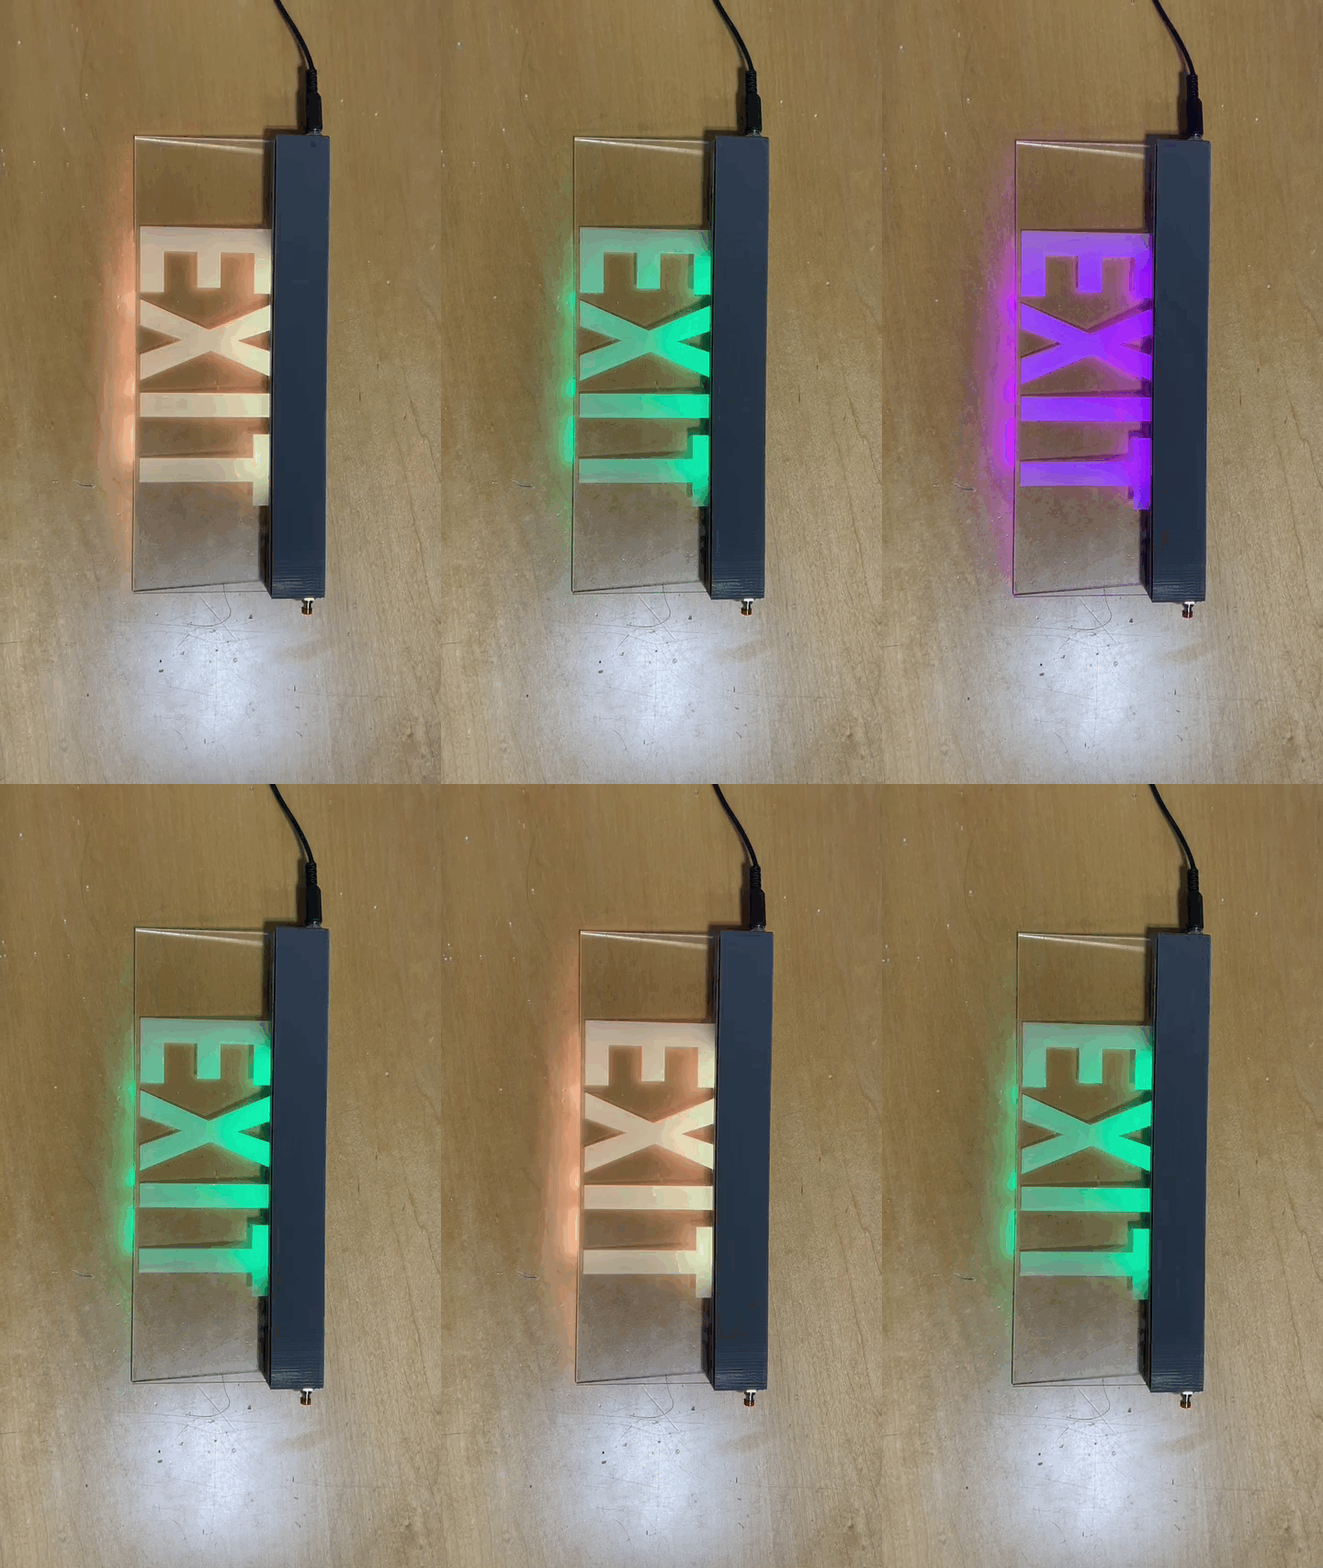
The lightbox has been finished! I designed the acrylic and manufactured it on our laser engraver/cutter. The end result was better than expected, although I had to condense (shorten) the acrylic overall to meet the max acrylic dimensions of 70 square cm.
After the transparent acrylic was finished, I screwed it into the lightbox and “force fit” everything together as designed. Luckily my tolerances and dimensions matched perfectly.
The acrylic had to be custom designed to fit the screw holes and the box geometry.
It was cut out of 1/8" clear acrylic on a FusionPro by Epilog Laser
The PDF found below is ready to use. Simply utilize the “split by color” tool to seperate the engraved text (black), the cutout holes (blue), and the outline (red). The order in which they are made is crucial in the part quality. Here, I opted to engrave first, then cut out the holes, and finally cut the outline last. If you were to cut the outline first, the part may shift and make your part not dimensionally accurate, or look funny.


0
Views
