
Robotics & Engineering - Week of 01/27/25
This week consisted of a combination of activities both during shop-time and during robotics club. I spent the majority of my shop time helping my classmates with their light boxes. This included anything from crimping connectors to soldering small parts onto PCBs. I also spent some time optimizing the ROV in terms of performance and reliability, which included setting up a systemd service to automatically start the main ROV software. This eliminates the need to ssh into the RPi 5 and manually start the server.
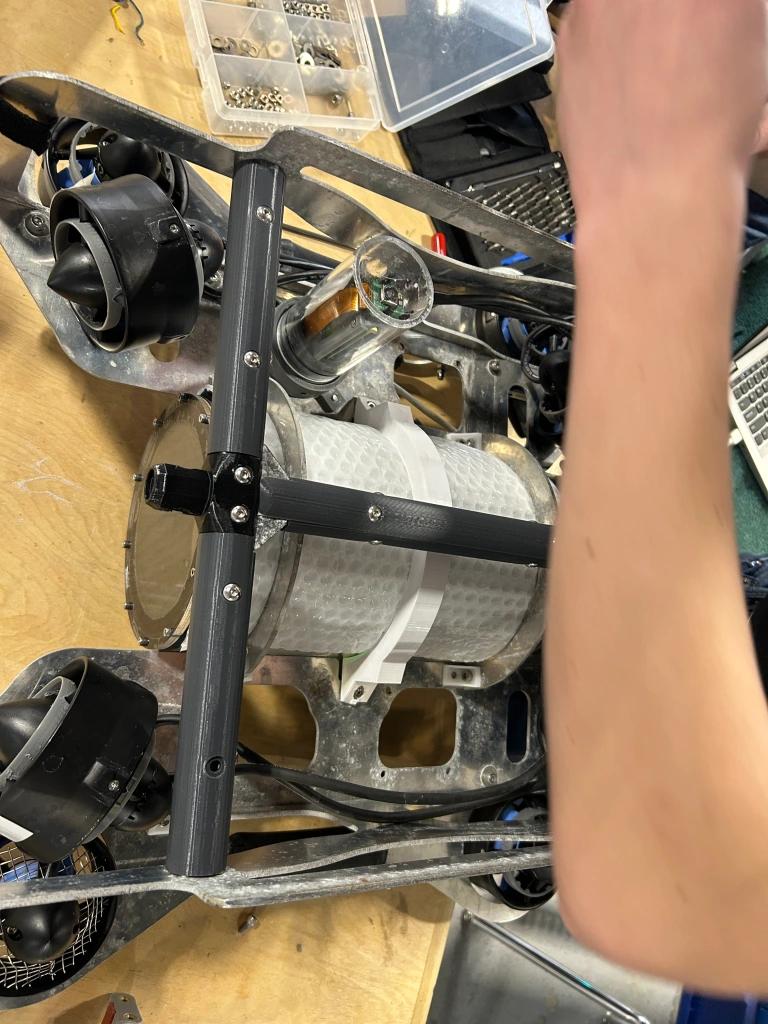
 Greasing the tube in hopes of eliminating leakage.
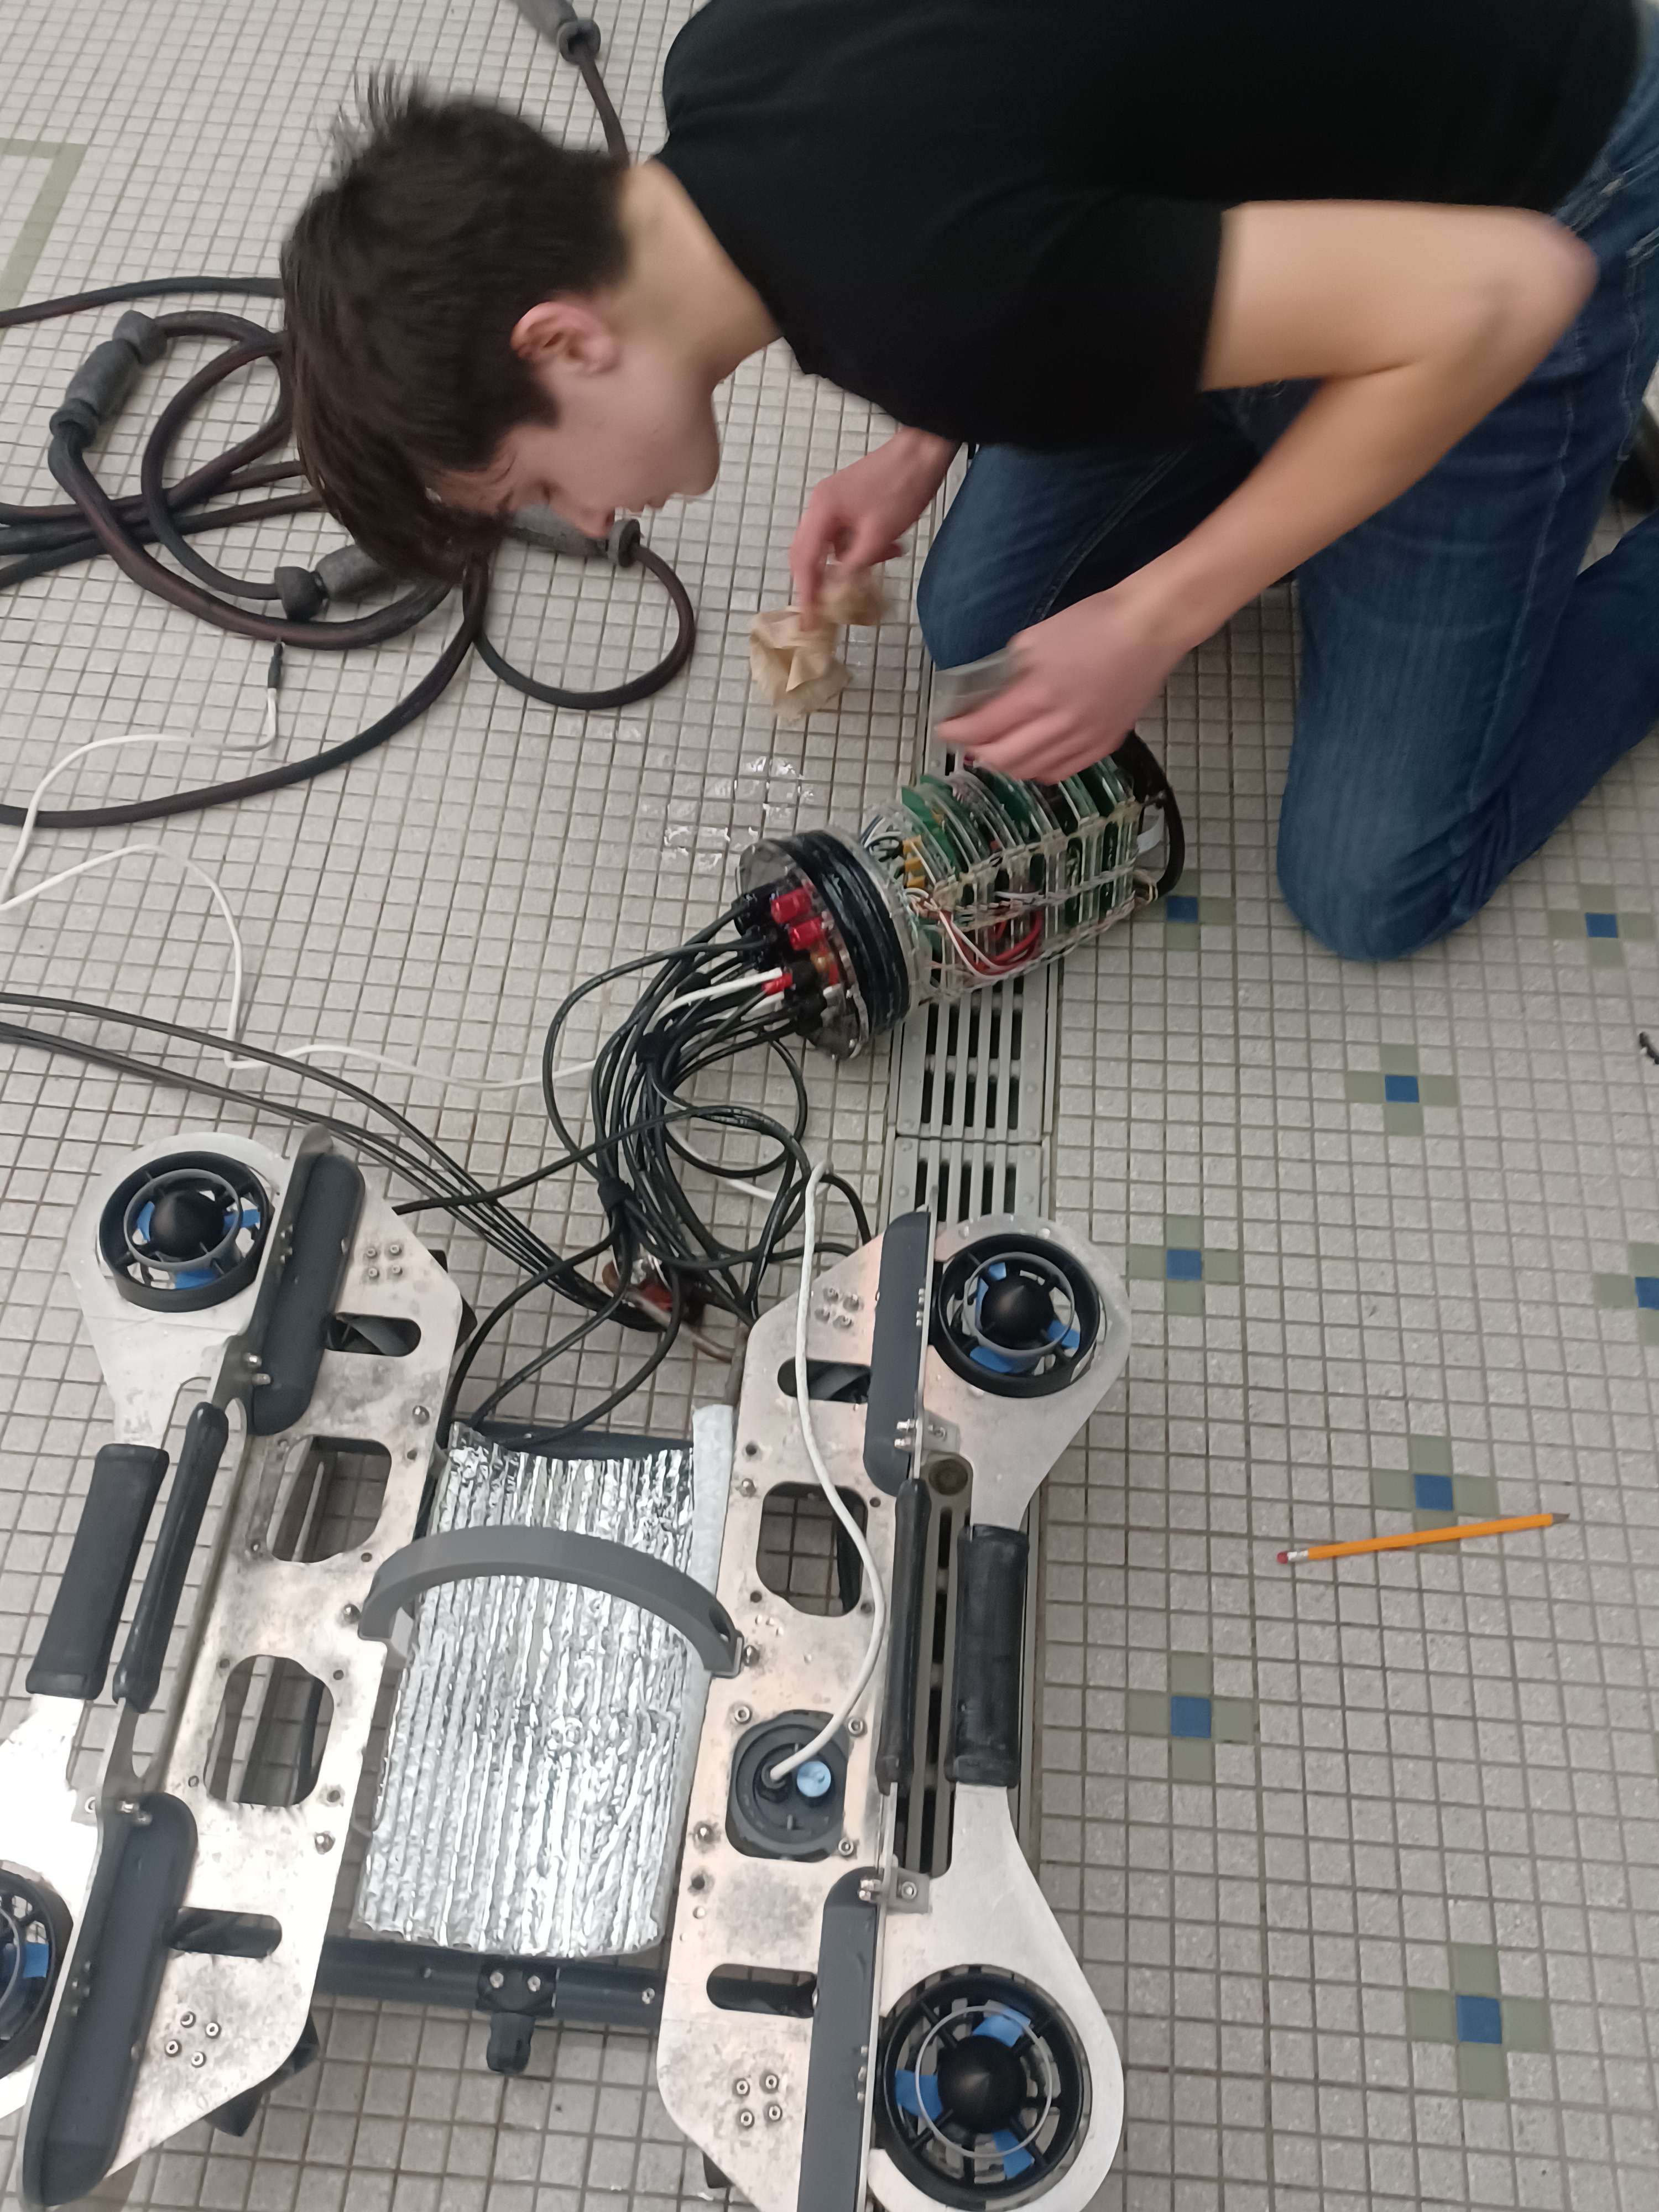
During our extended robotics time (the robotics club), Tim, Jonas, and I headed up to the pool to test out the ROV. We examined it for any possible flaws or potential bugs, which I did find in the form of some wet electronics. The trusty electronics tube did appear to have a leak somewhere, allowing water to get in. Miraculously, the electronics were unphased. Nonetheless, I had Jonas continue piloting it as the PCBs have reasonable clearance from the bottom of the tube where the water was collecting.
In terms of performance, we found no issues. The only thing I noticed was that the whole Pi 5 took a (what seems like) long time to boot up. And even after it had, the independent cameras (Pi 4 and Pi Zero 2W) took even longer to appear on the dashboard’s feed.
After concluding our tests, we focused the rest of the day on identifying the cause of the leak. We brought the robot back down to the stop and took the tube apart. Tim and I rebuilt it and I submerged it in a bucket of water for over 30 minutes without a drop of water entering. This confirmed our suspicions, and we thought it was likely coming from the rear penetrators, where the cables come into the electronics tube. An ethernet cable penetrator was recently redone for the rear-facing camera, which is likely the source of the water intrusion.
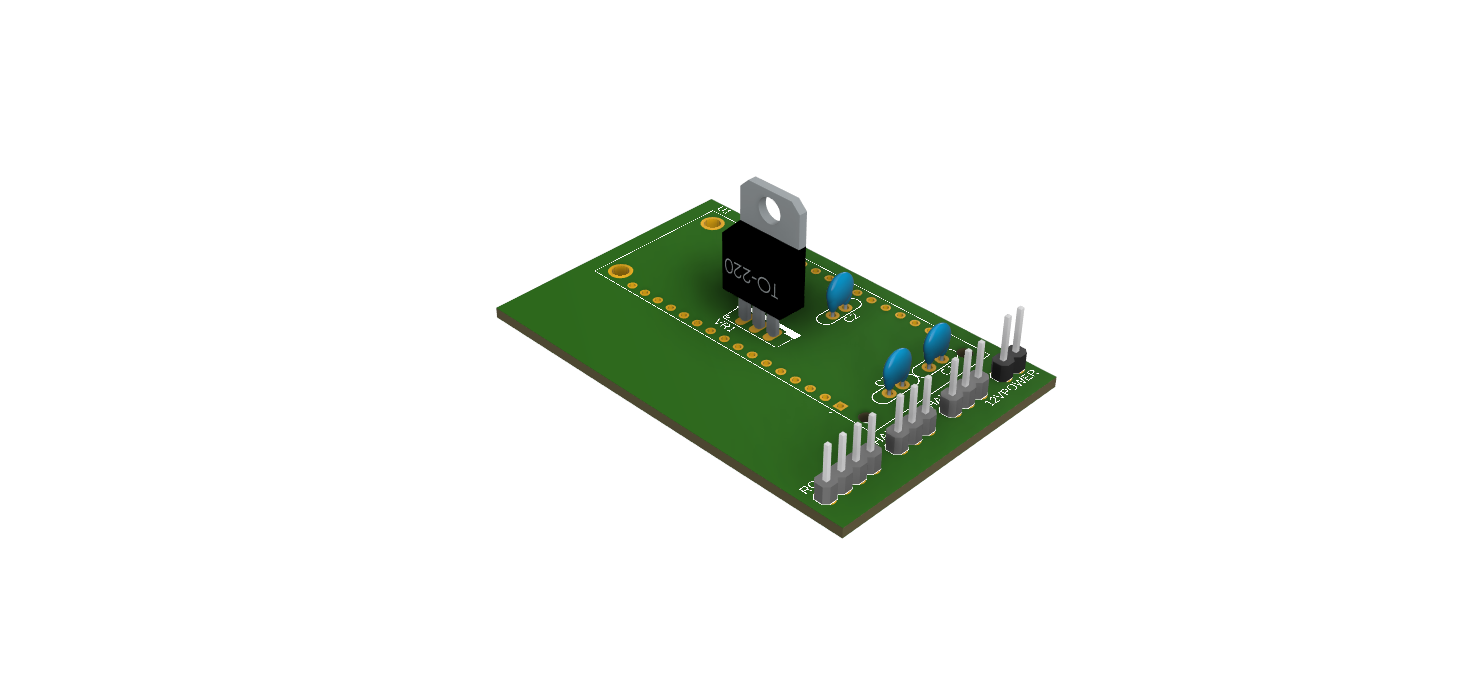 3D Model of the 2025 Float PCB rendering.
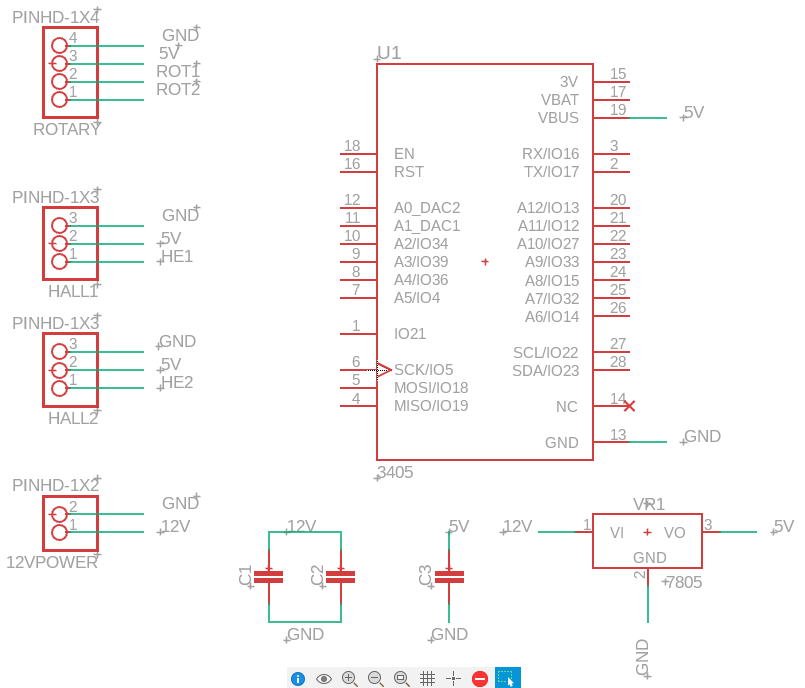
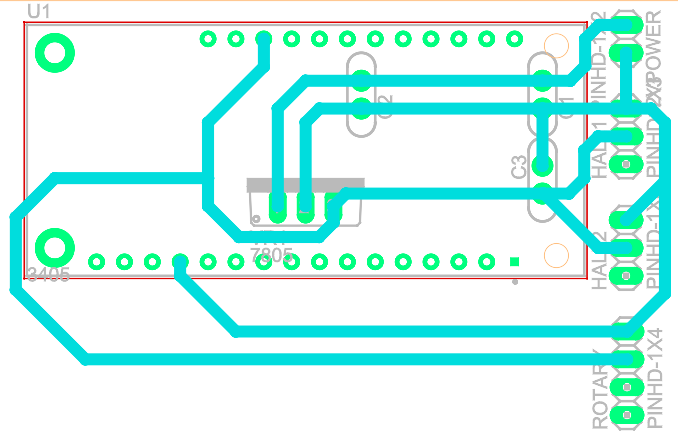
Near the end of the week, I spent some time during a teacher’s absence in lecture hall to work on the Float for the 2025 MATE ROV Competition. The 2024 board for the float was completely oversized, and the electronics were not configured or used in a particularly robust manner. This above redesign is a base model that can be further tweaked to tailor to the software and the layout of the float once the hardware is finished. This board will be milled on our in-shop Bantam Tools PCB mills, and once solid, will be sent to be made professionally. Once made professionally, it will have a sleek looking design with our company logo and some text on the board. Then, the mounting holes will fit into the float and make allow it to screw together to form a rigid design.
Although this board is not fully functional and ready to be manufactured, it sets the stage for a super modular design that accomodates for any future updates or changes that may be made to the float electronics. For example, this new revision contains a fourth connector (bottom right in the right picture) that will be used for connecting a rotary encoder to the float’s motor. This will make it easy to track where the motor is, at all times.
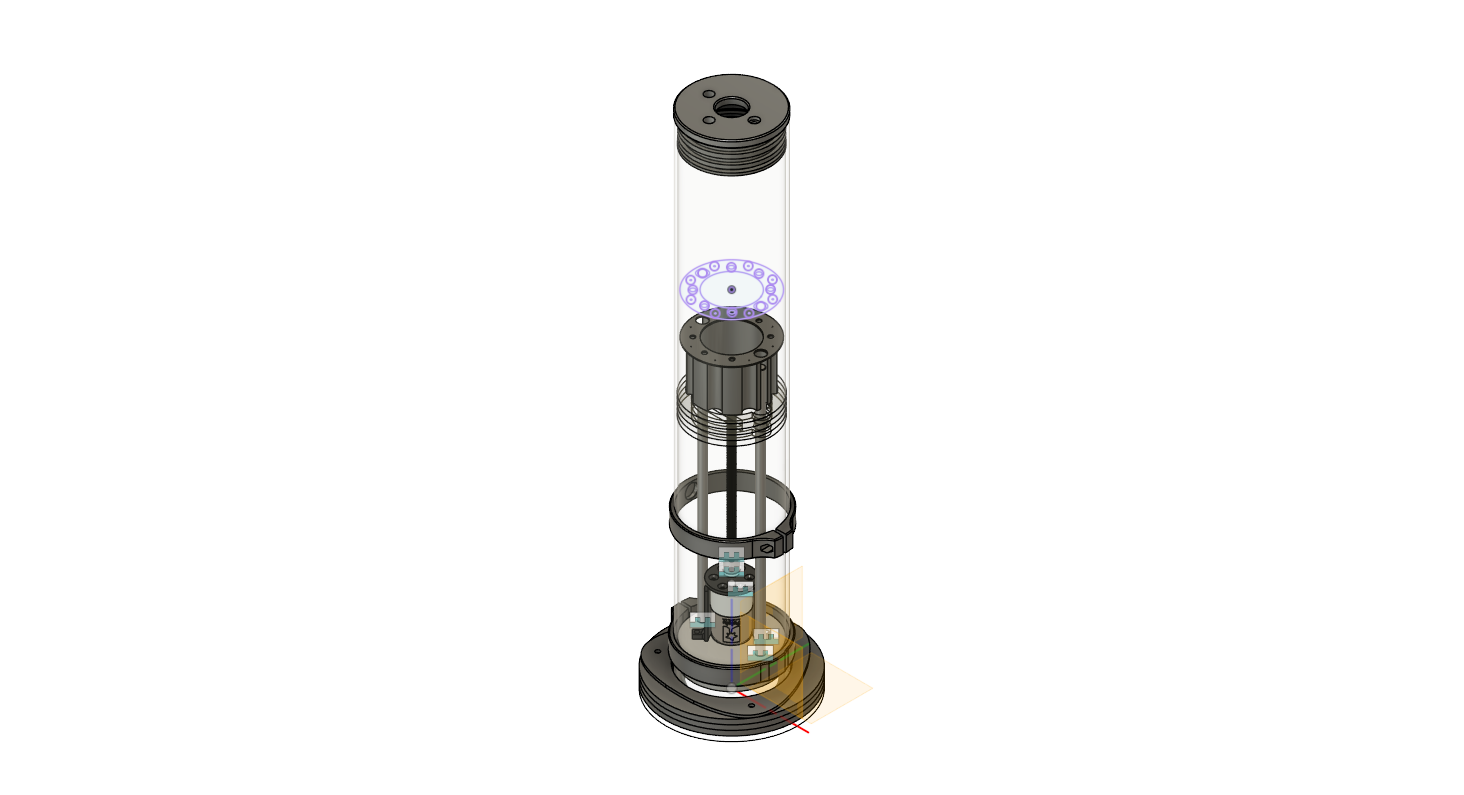 3D Model of the 2025 Float
0
Views