
Robotics & Engineering - Week of 01/26/26
This week was another short one. We had two snow-days on Monday and Tuesday so we were reduced to three working days.
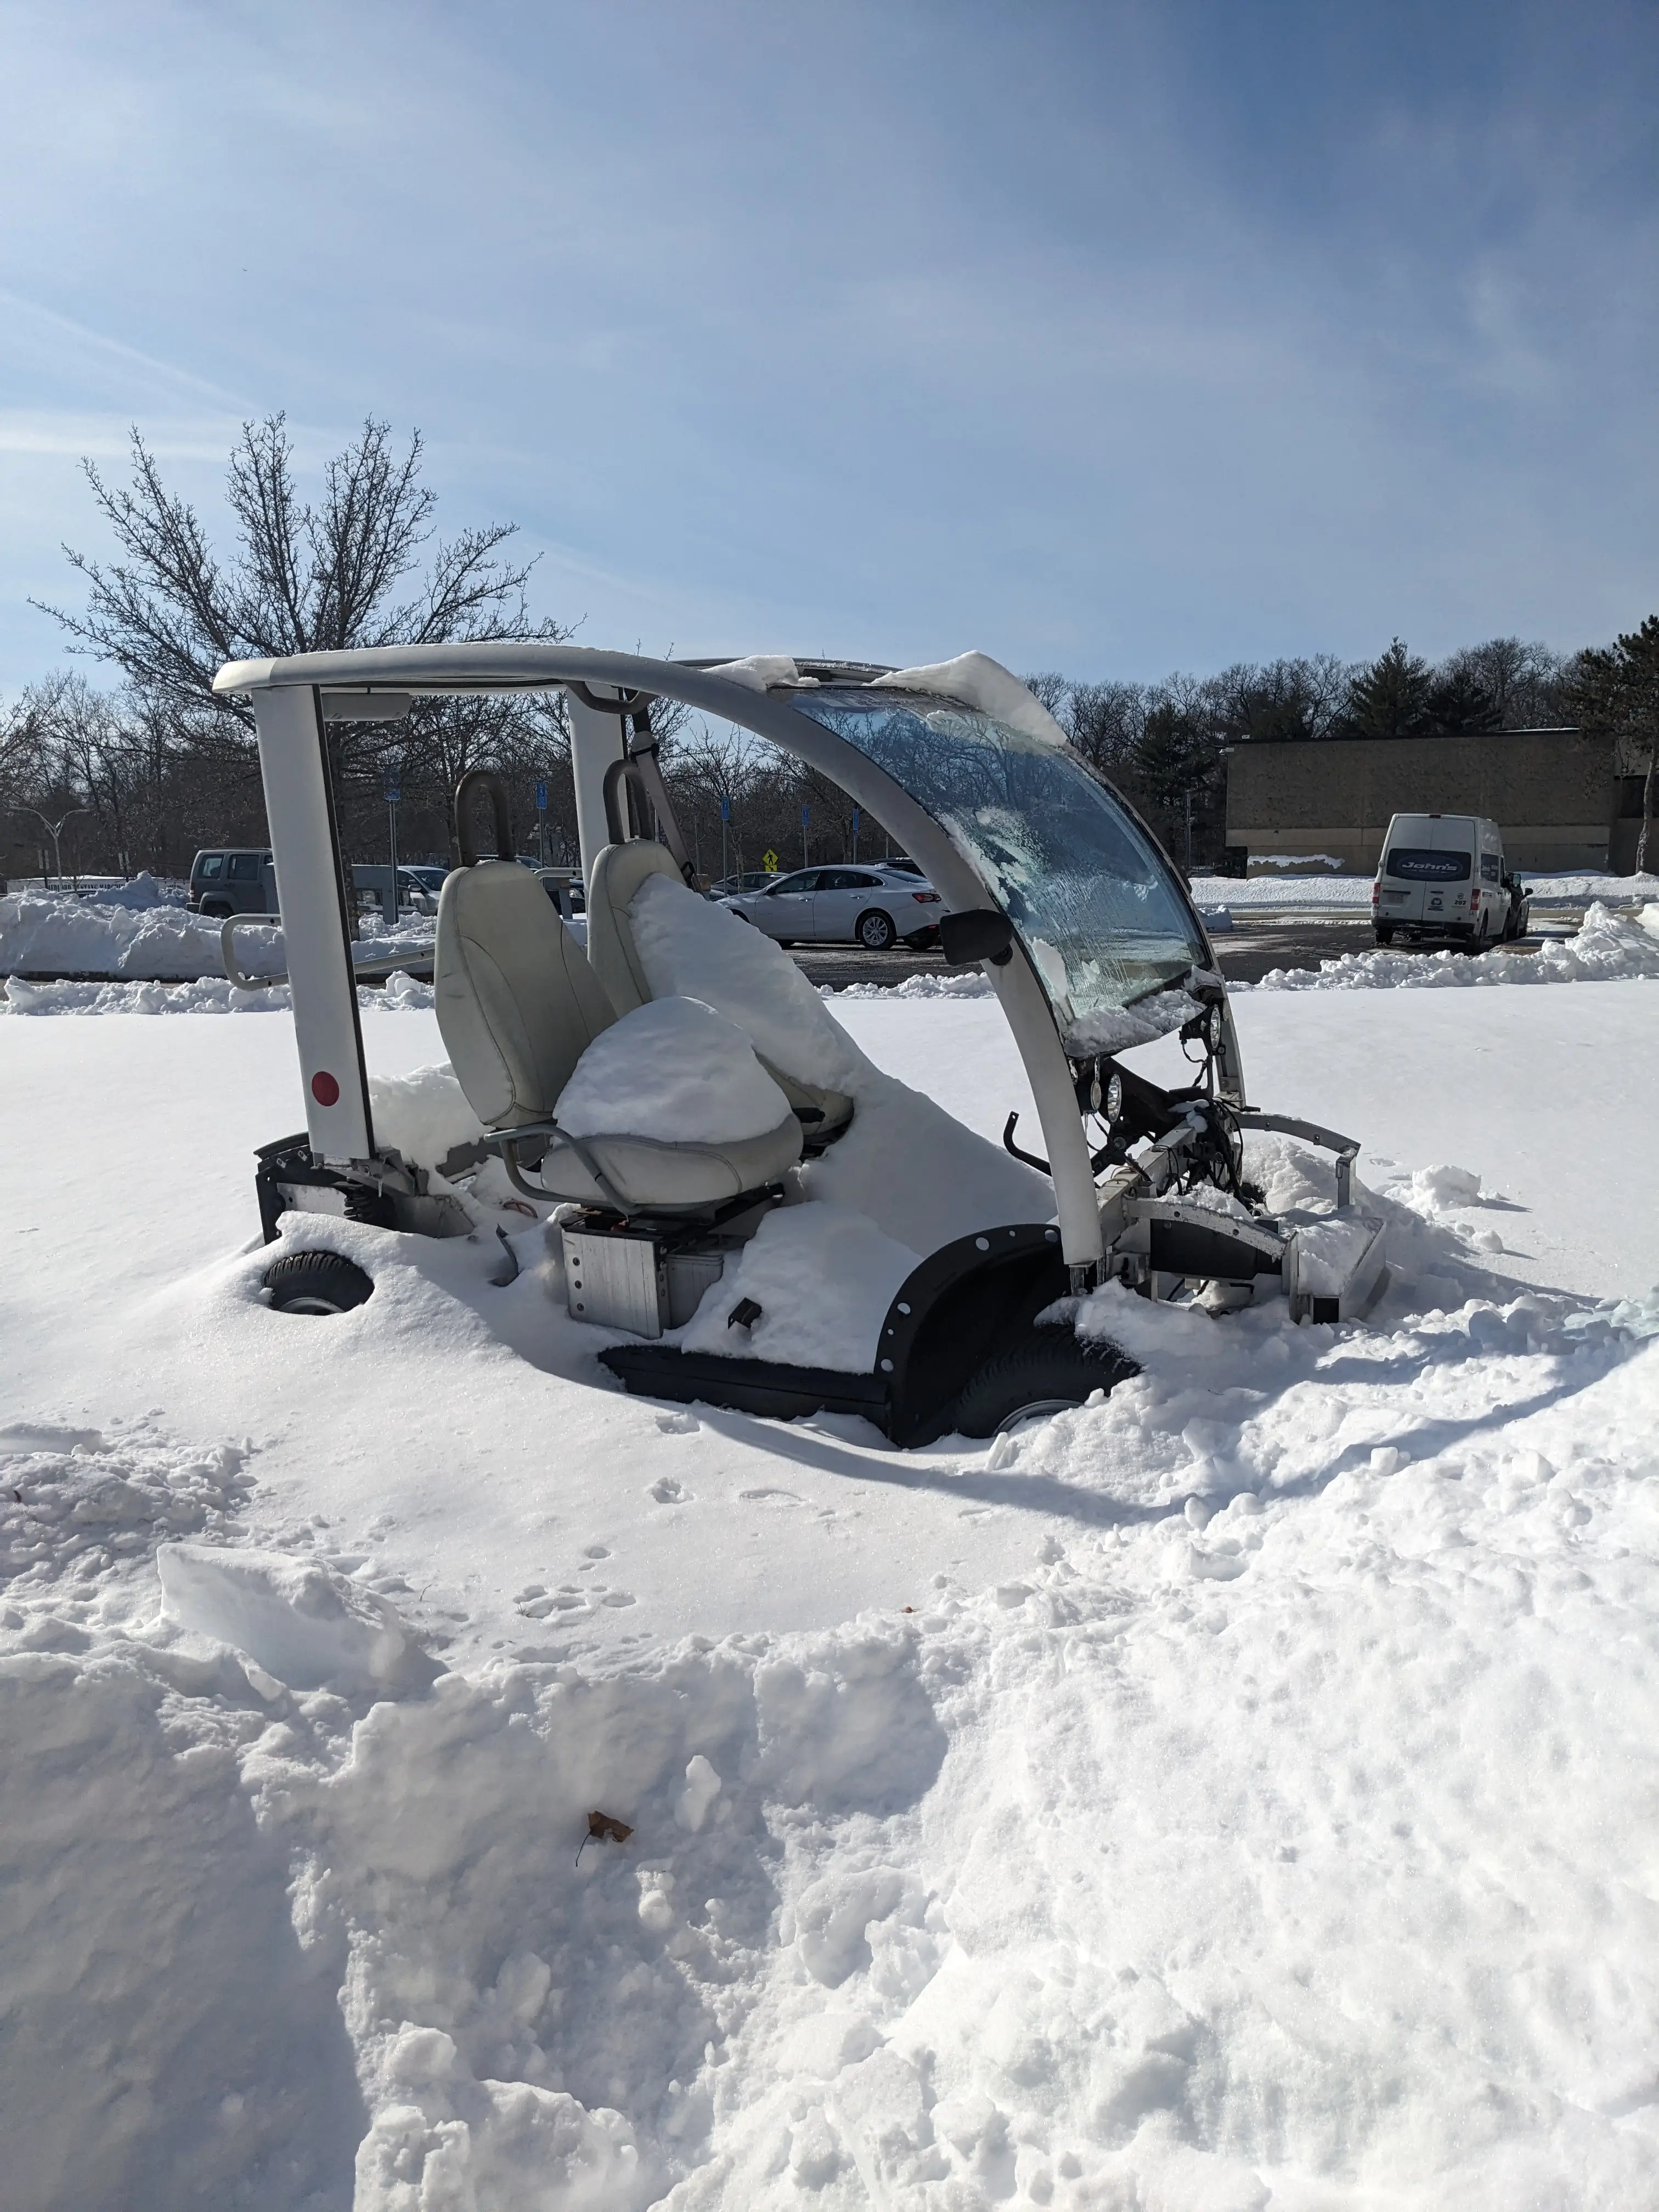
Like last week, this one was full of horror and dumb mistakes made that set the whole golf cart project further back in time.
On Wednesday, Mr. L had Jonas and I shovel out the driveway to allow for the mandoor to open fully. This ended up taking longer than we planned, so we spent a decent chunk of our shop time shoveling and throwing snowballs.
The other two golf carts we’re using for parts were pretty buried!

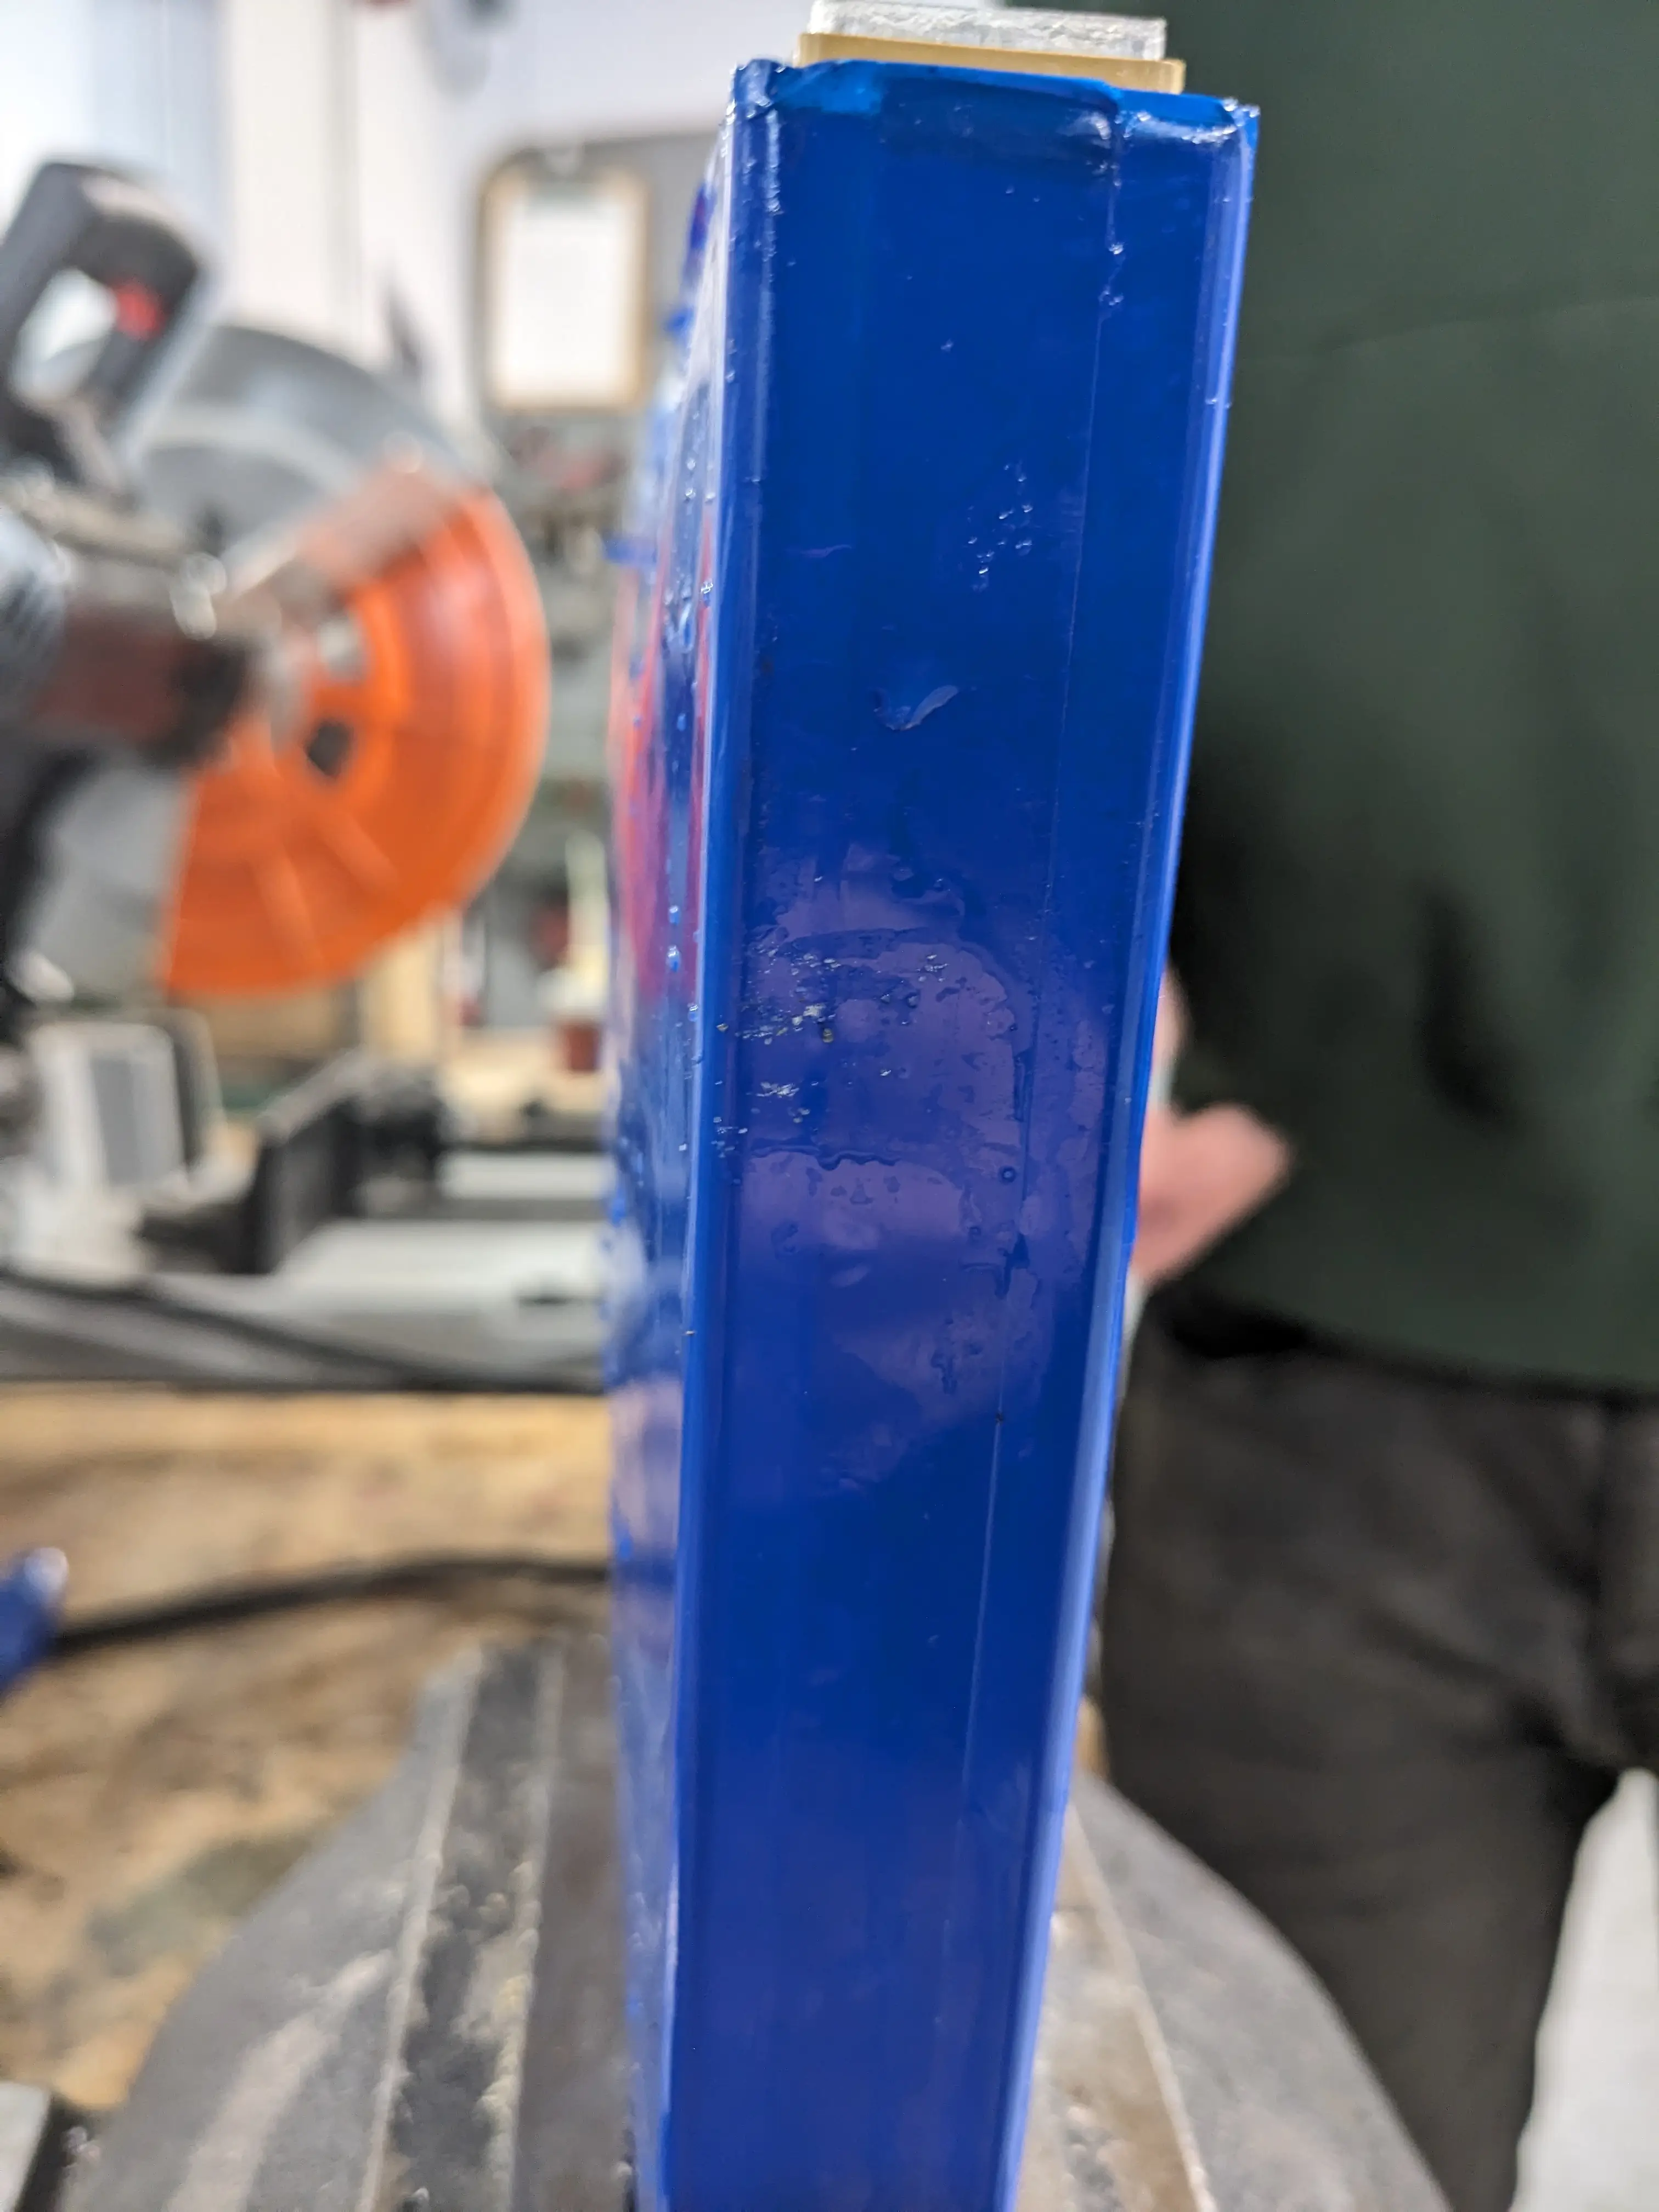
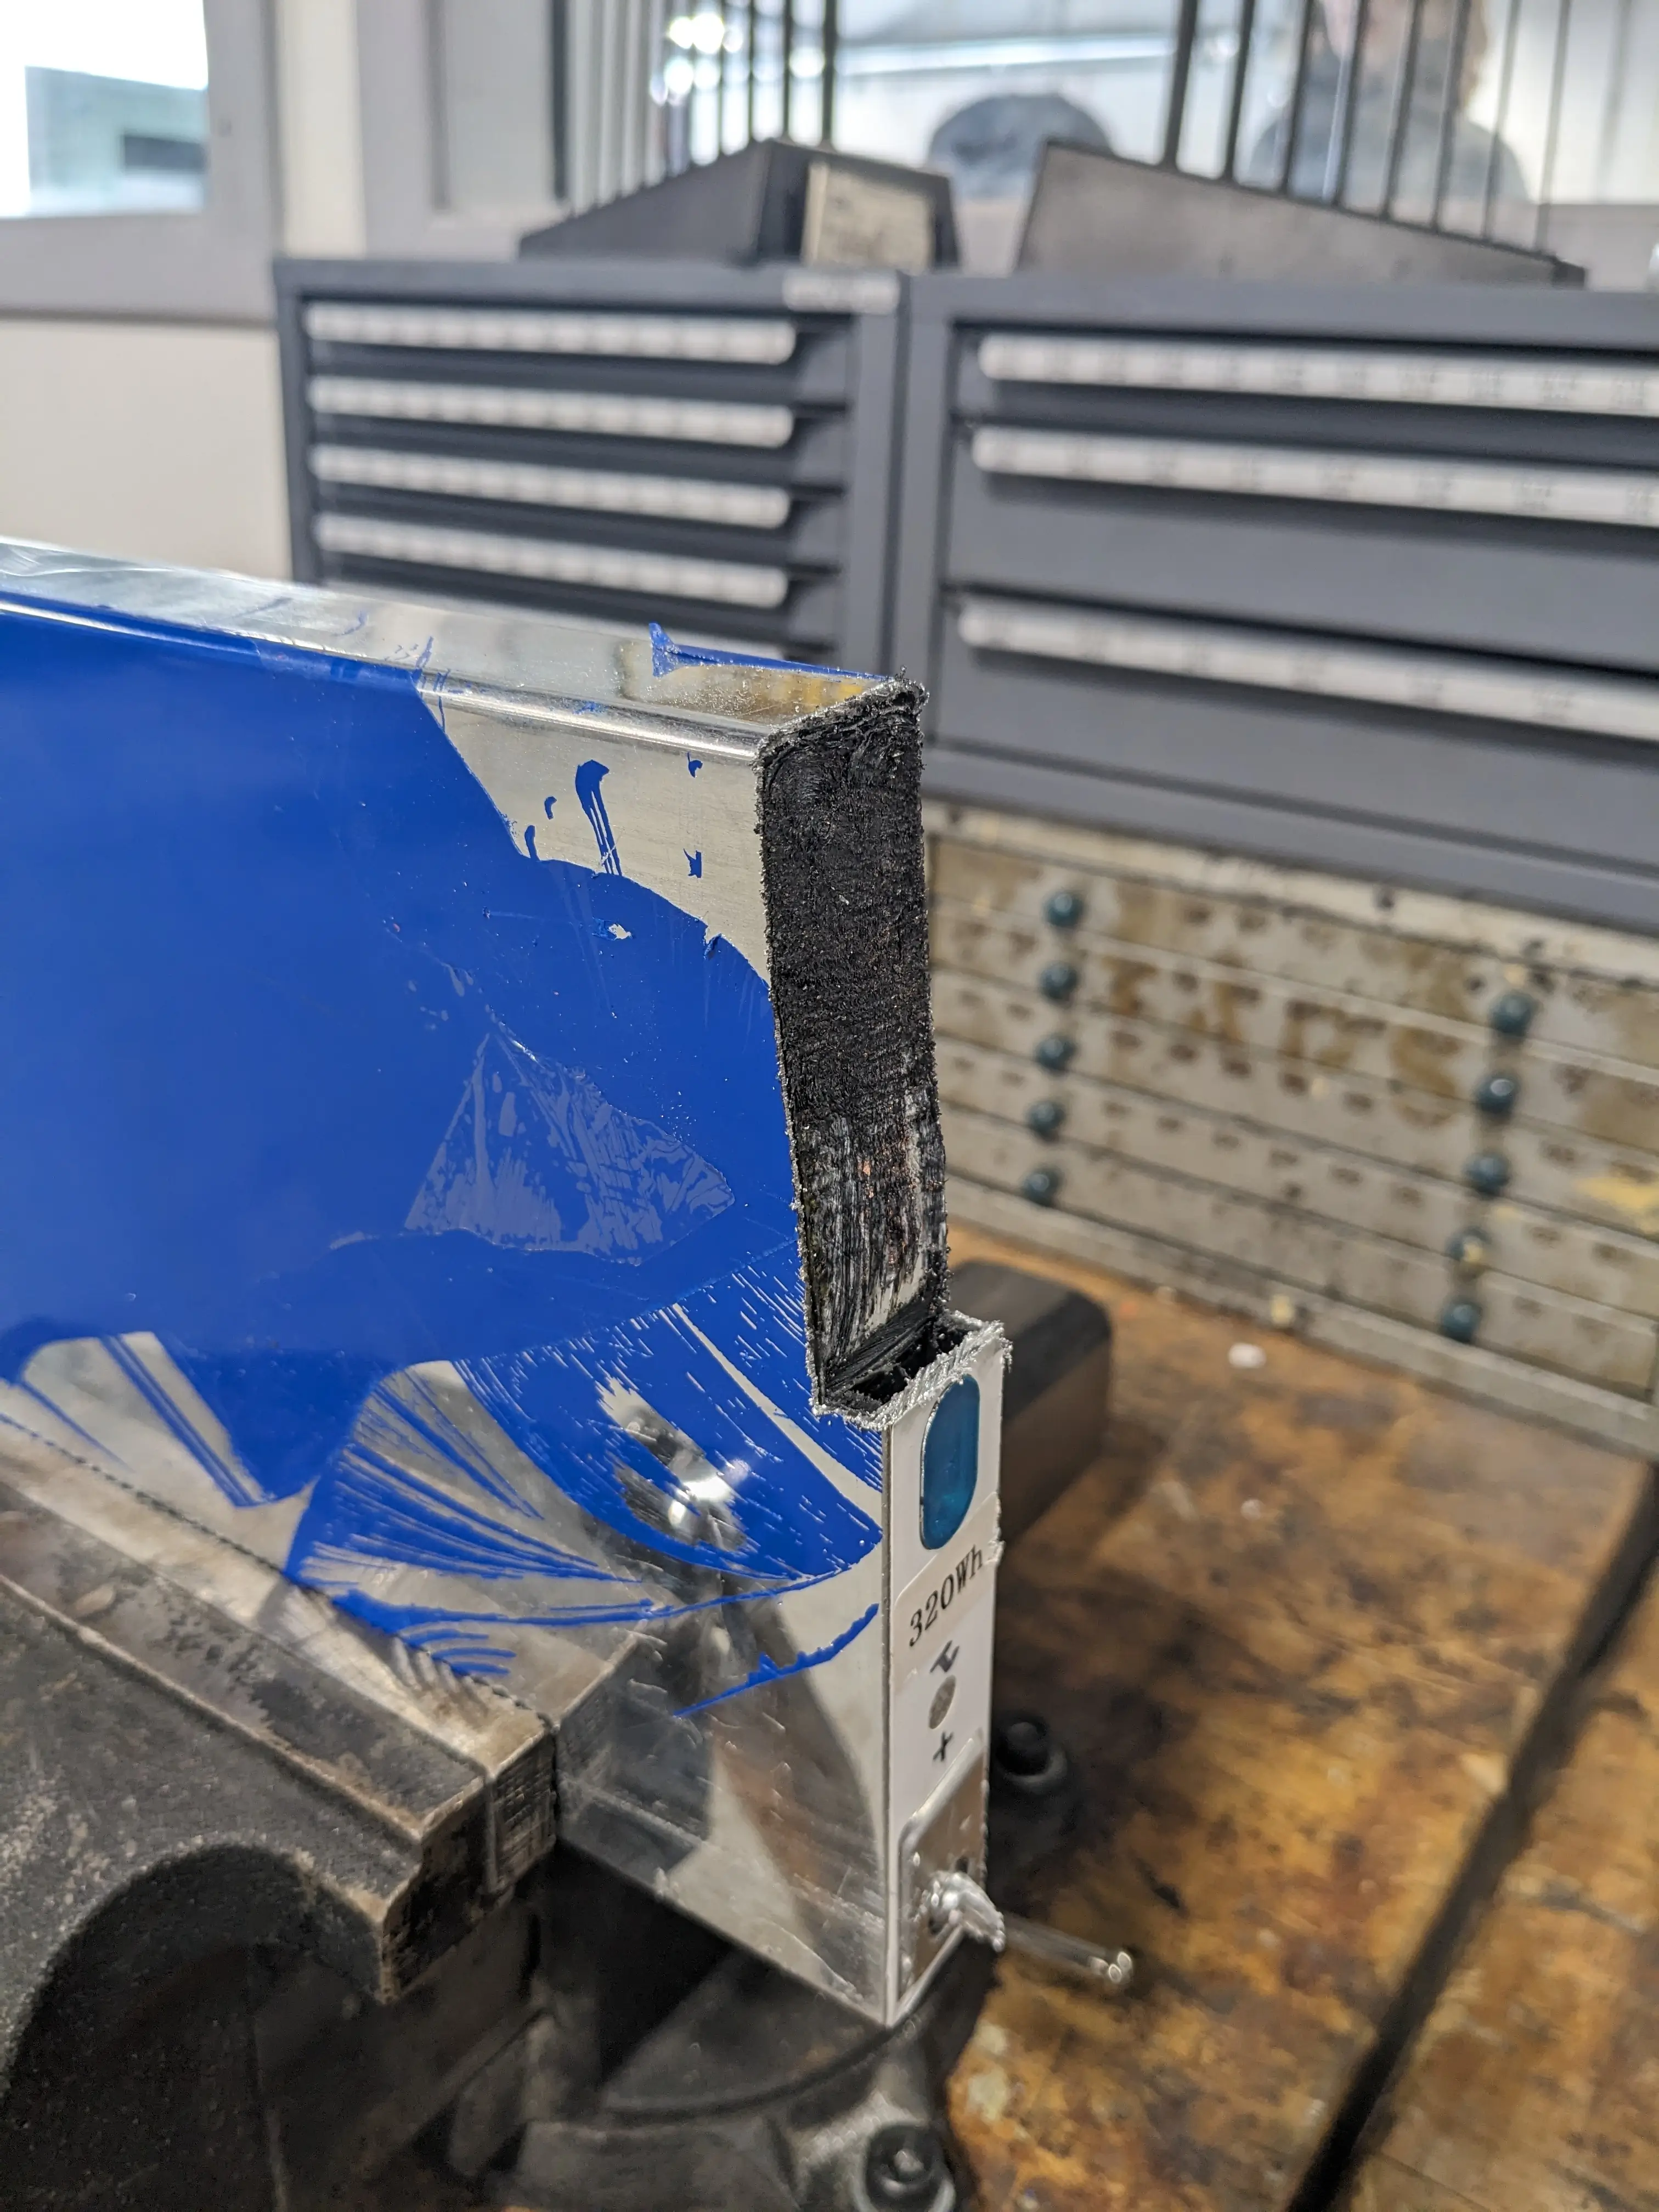
After this joyous activity, I realized that I accidentally left my discharge resistor on one of the LiFePO4 cells over the long weekend. I had set this up on Friday of last week to calculate the capacity in this (possibly slightly damaged) cell to determine whether it was worth reinstalling into the golf cart battery pack. Upon returning, I noticed that the cell had swollen up significantly, and when probed with a multimeter, I found it to be at around 400mv of charge. There is no recovering that, which unfortunately rendered that cell completely useless.
This mistake unfortunately cost me $50 out of pocket, as I bought two more of the cells and had them shipped just to have spares.
The photos below highlight the immense swelling and internal damage that occured to the battery by letting it drain to 0.3v
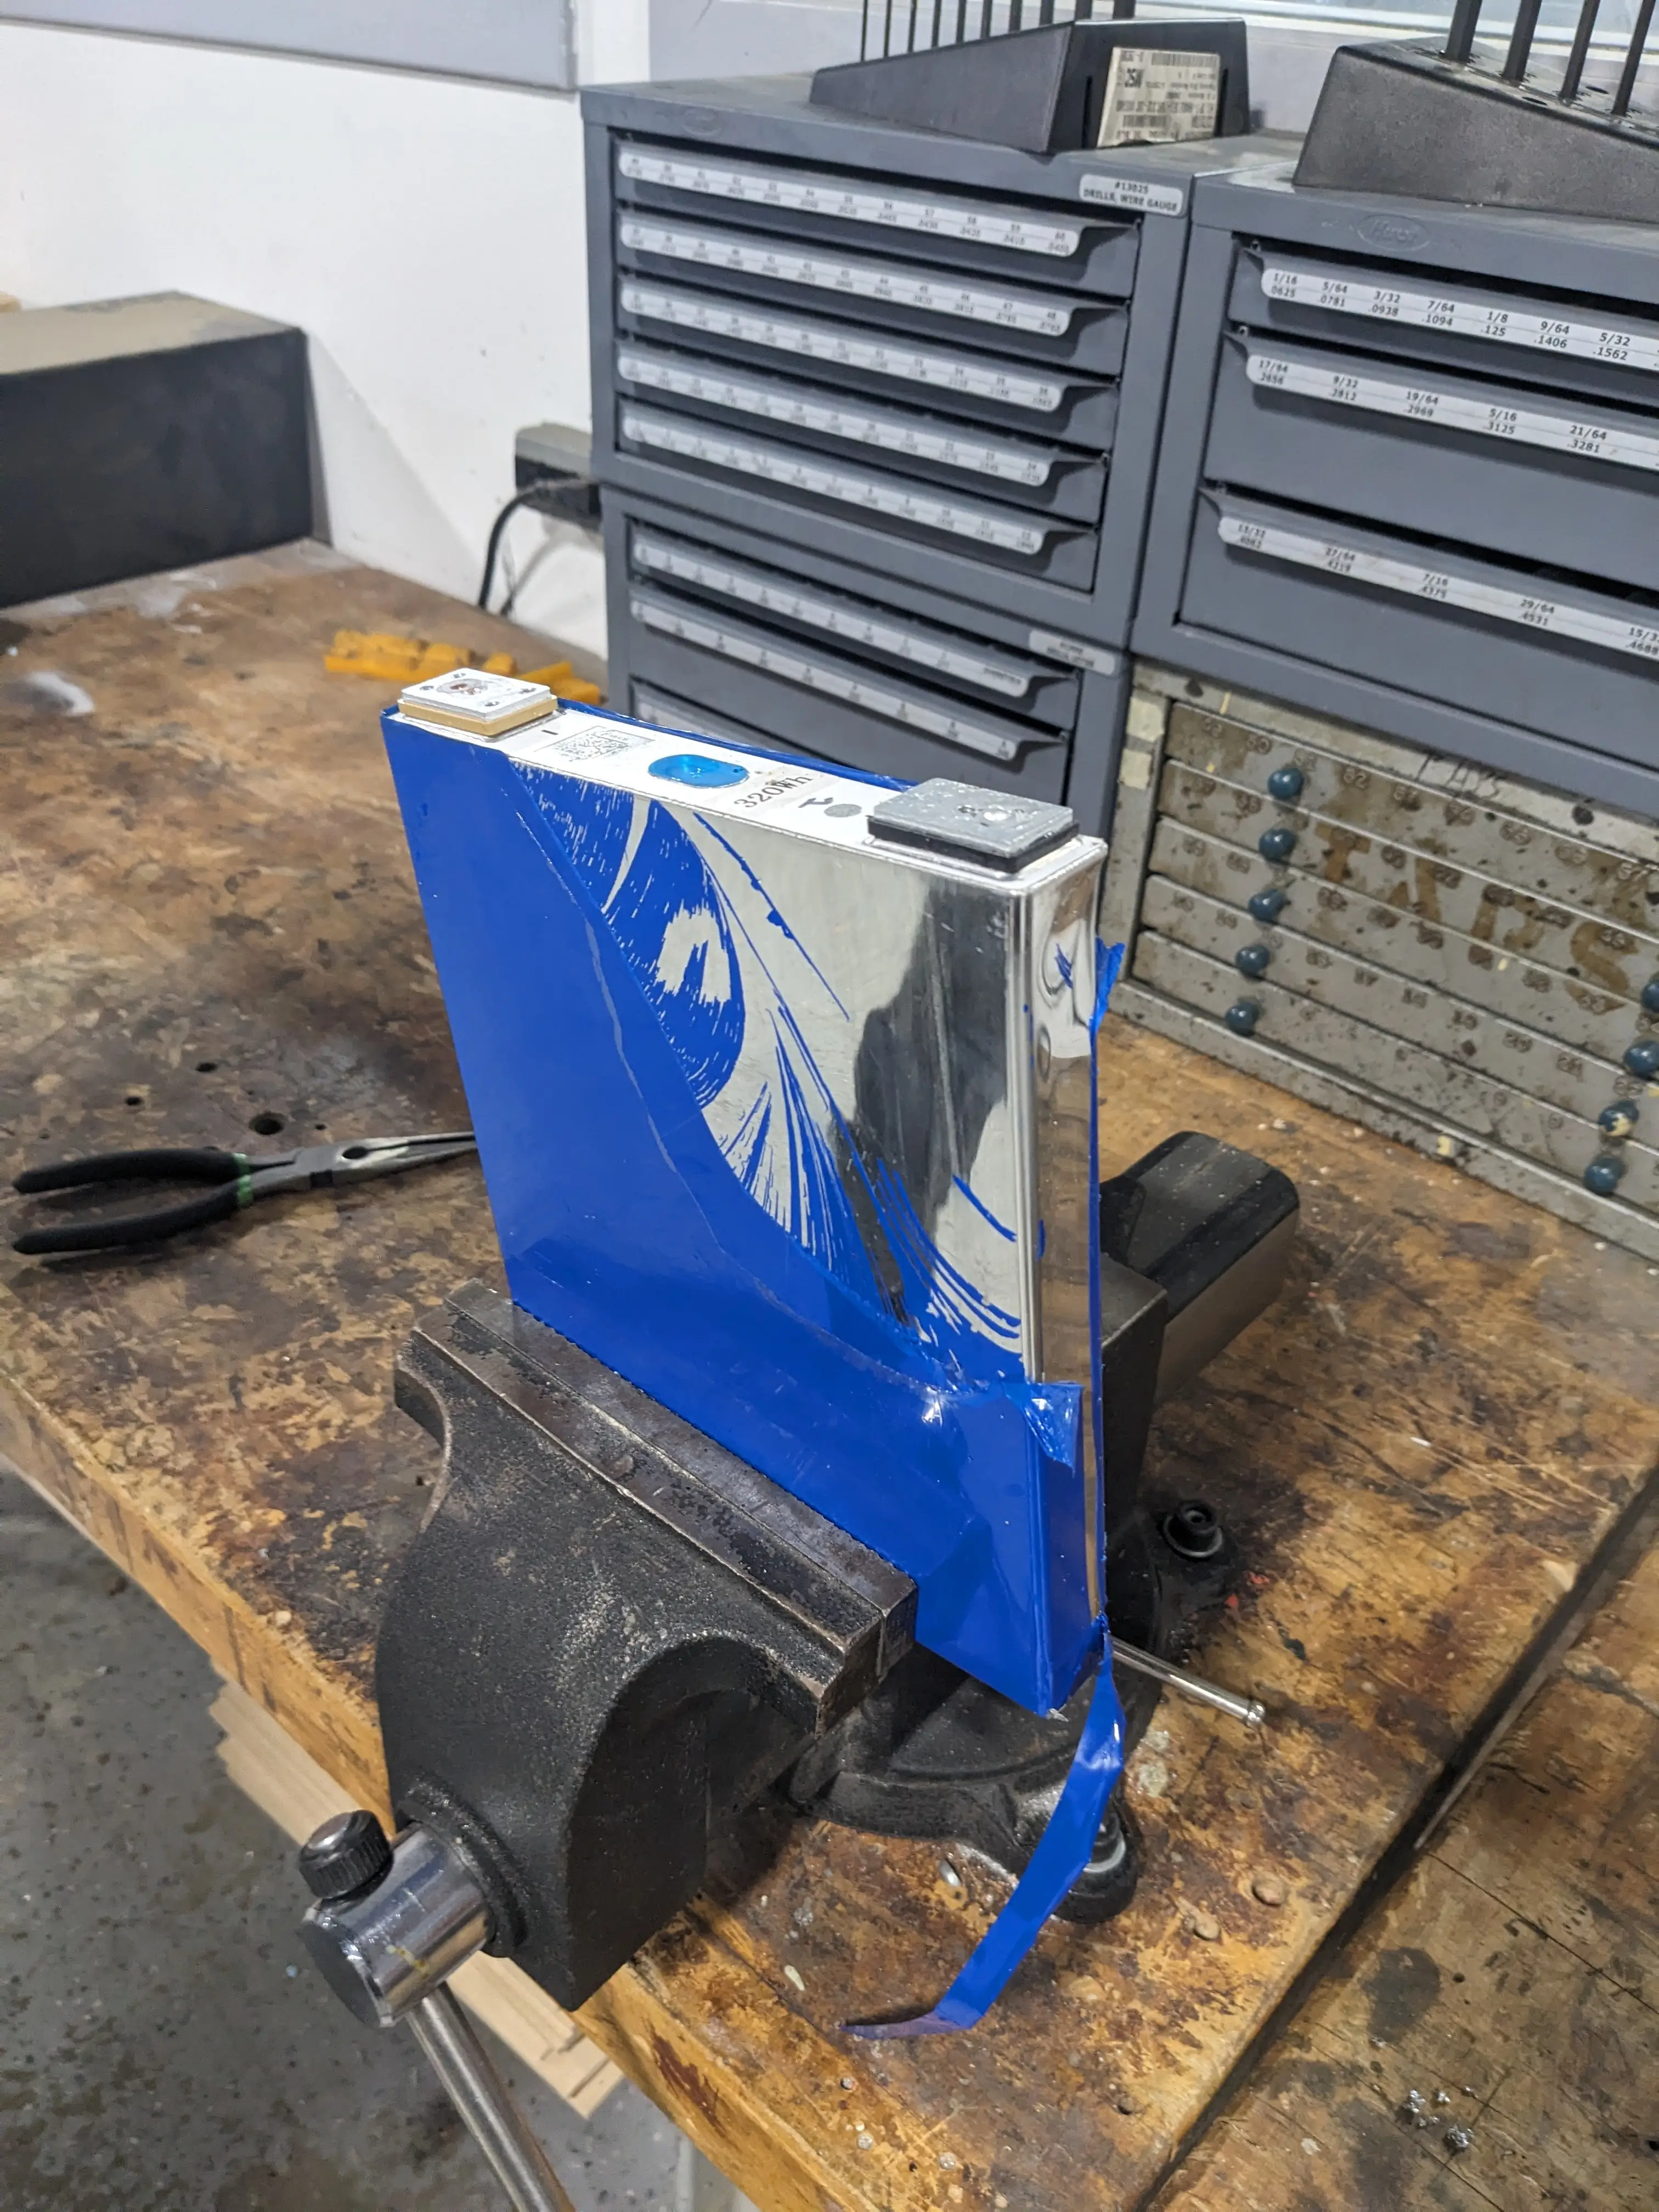
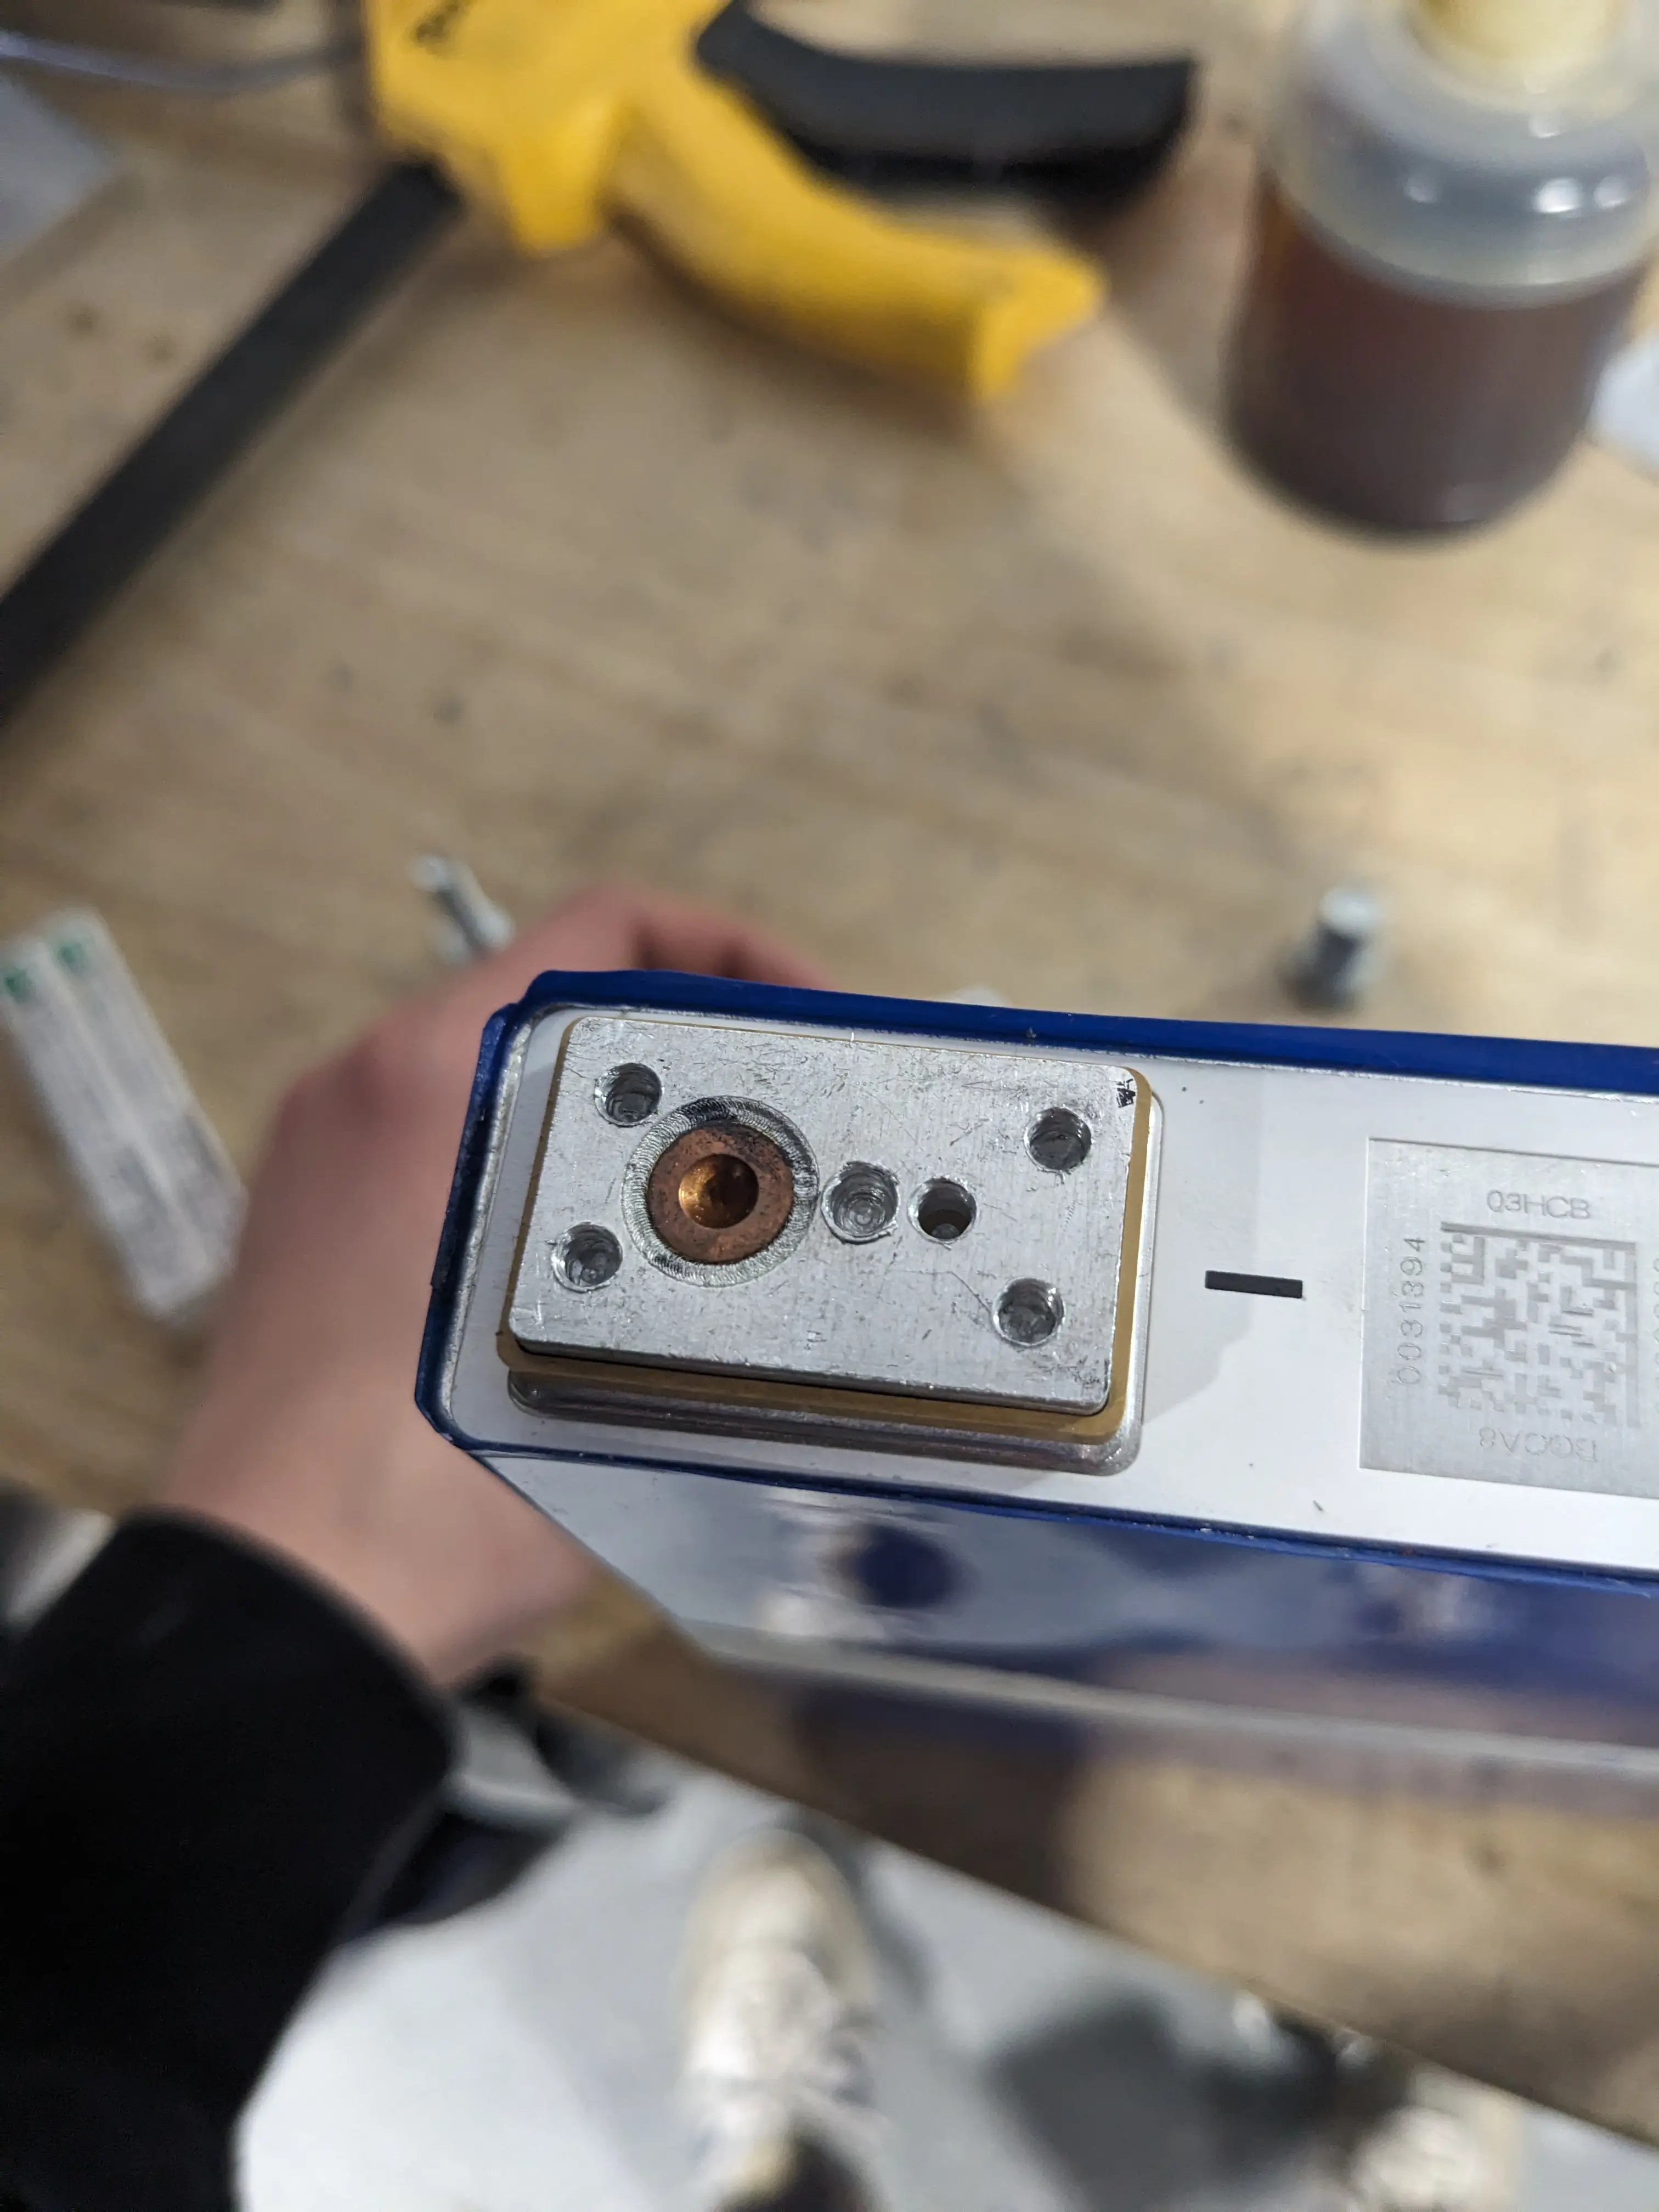
We ultimately decided not to just toss the battery, as I thought it would be nice to know how the internal structure of the batteries looks. This would allow us to see if drilling deeper and adding more threads to the bus bar would be safely possible.
Due to the fact that the battery was fully and utterly discharged, cutting directly into the battery had no threat of explosion. So, we did exactly that.
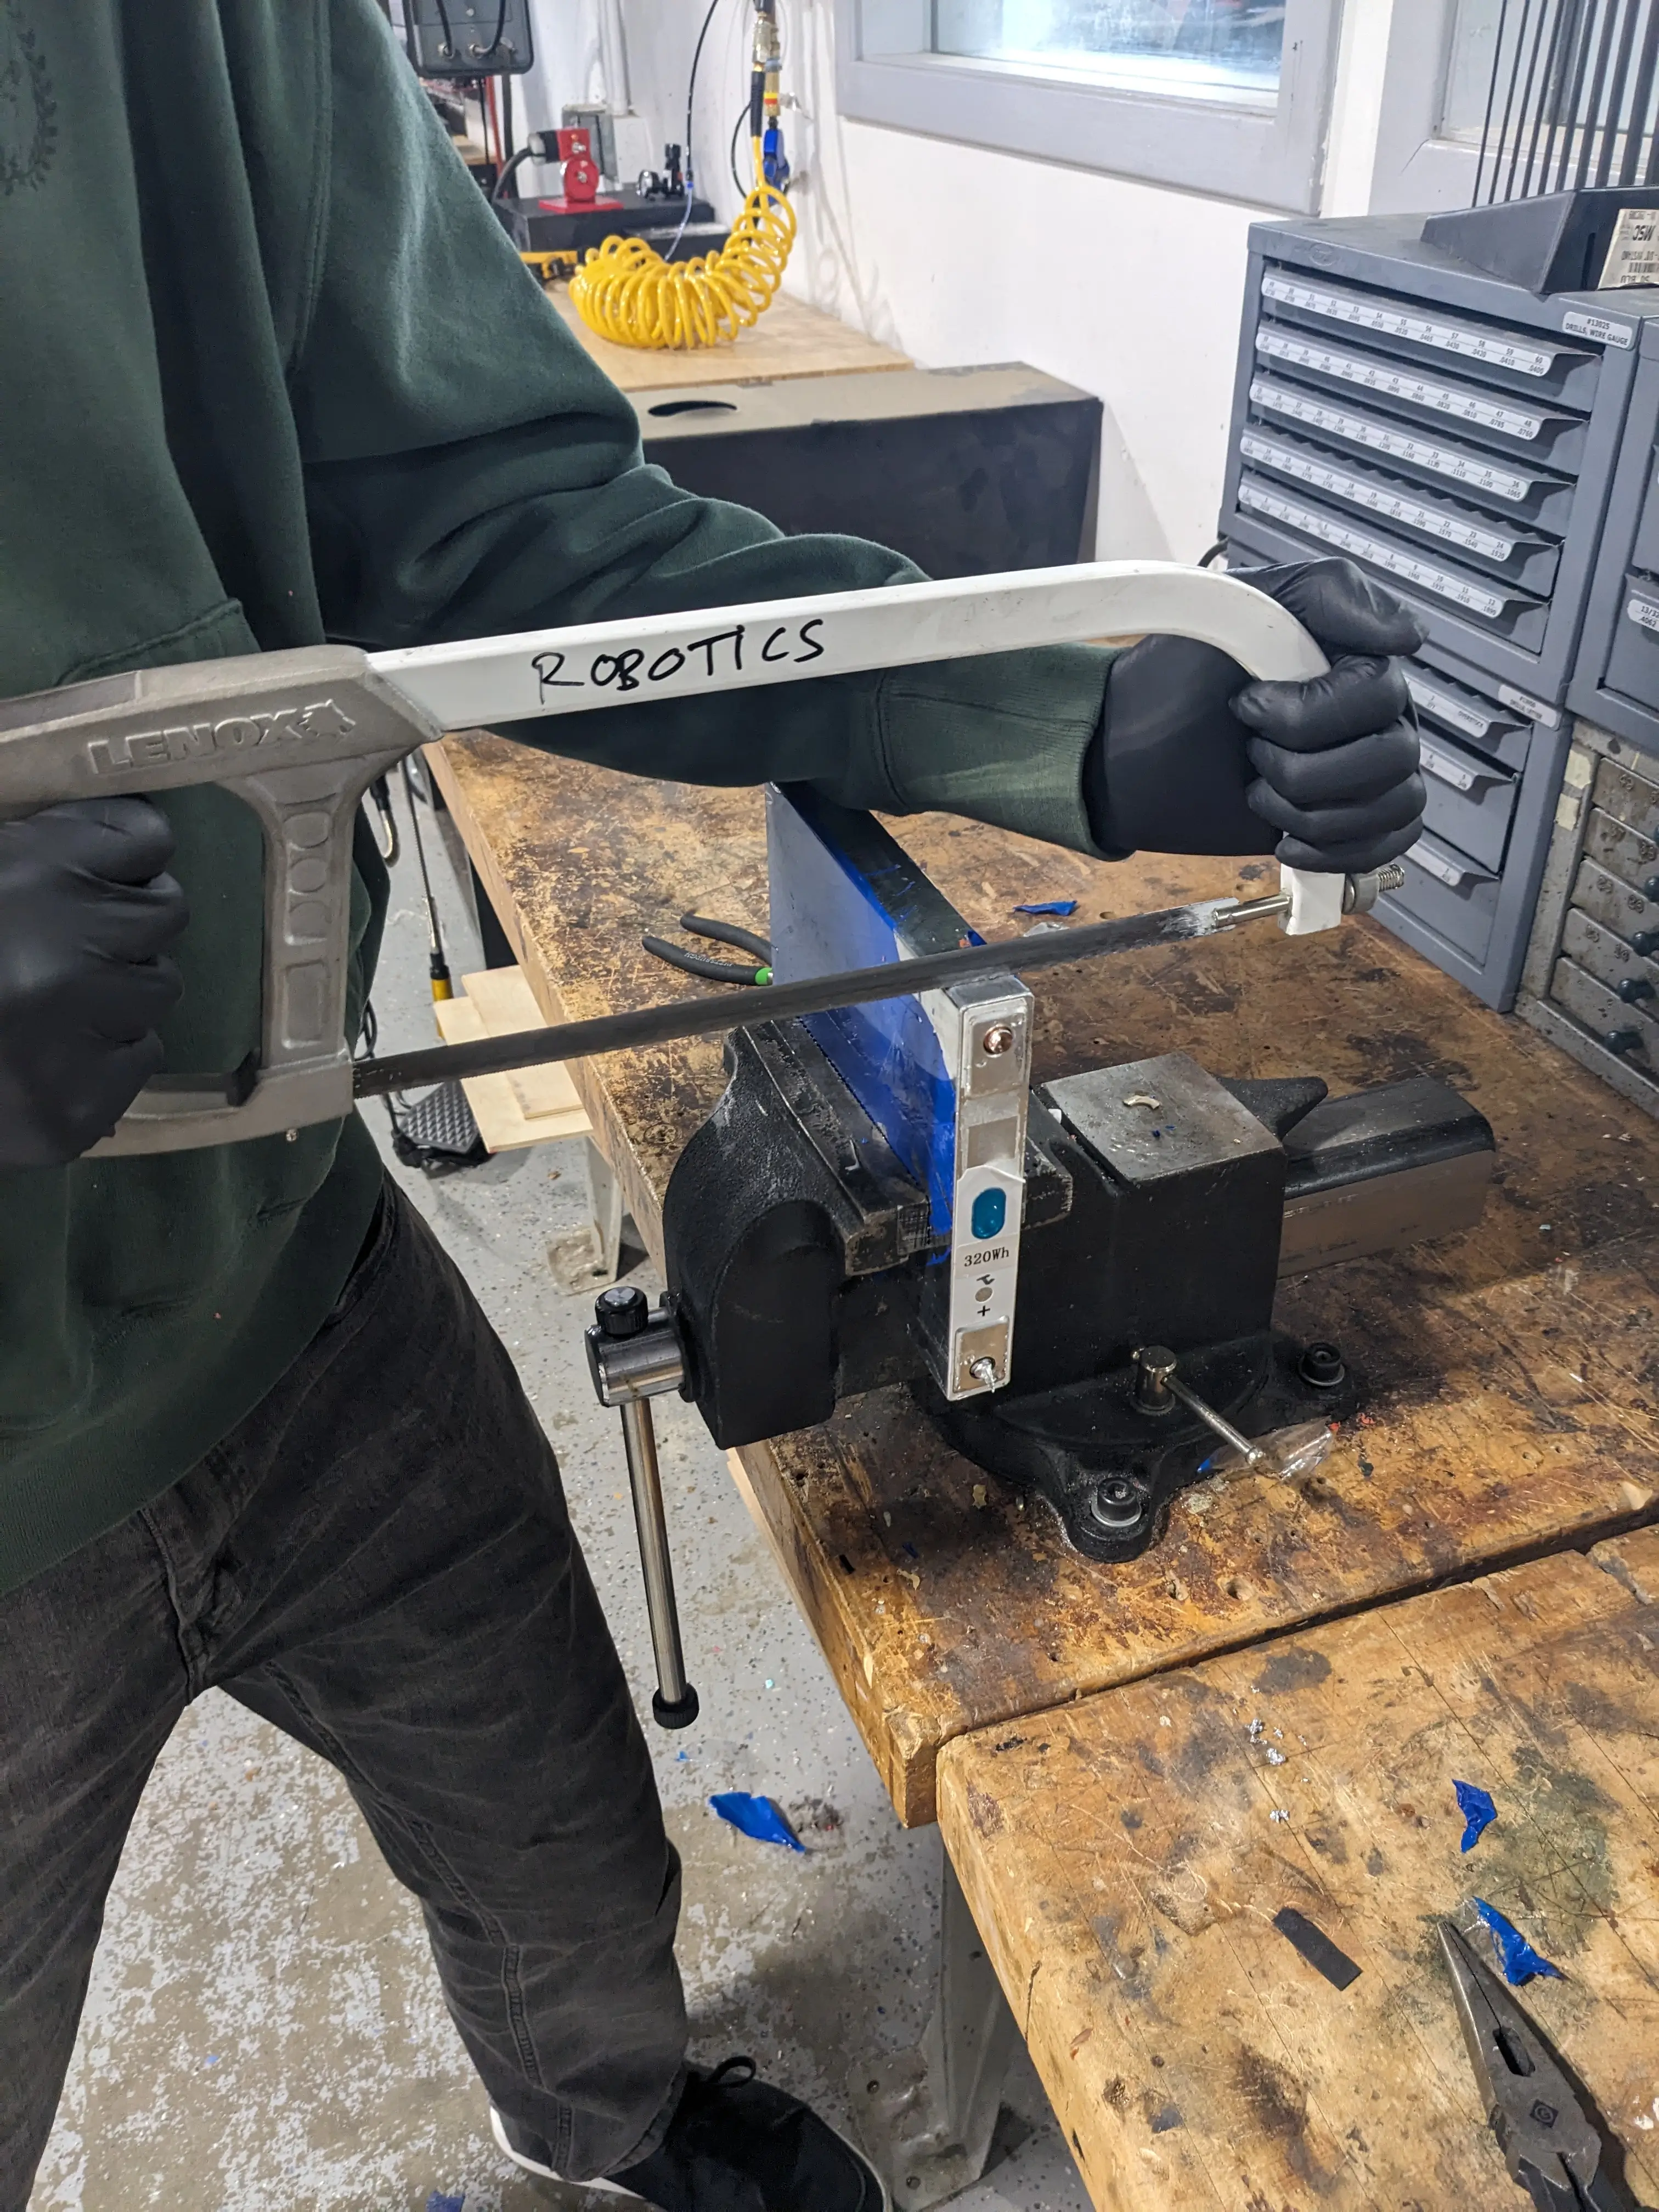
Inside the battery, we discovered that it would not be safely possible to drill further into the battery than what we were already doing without posing a safety risk to the batteries internal chemistry.
However, I did learn a thing or two about how lithium batteries work, and what makes them dangerous… so not a complete loss.
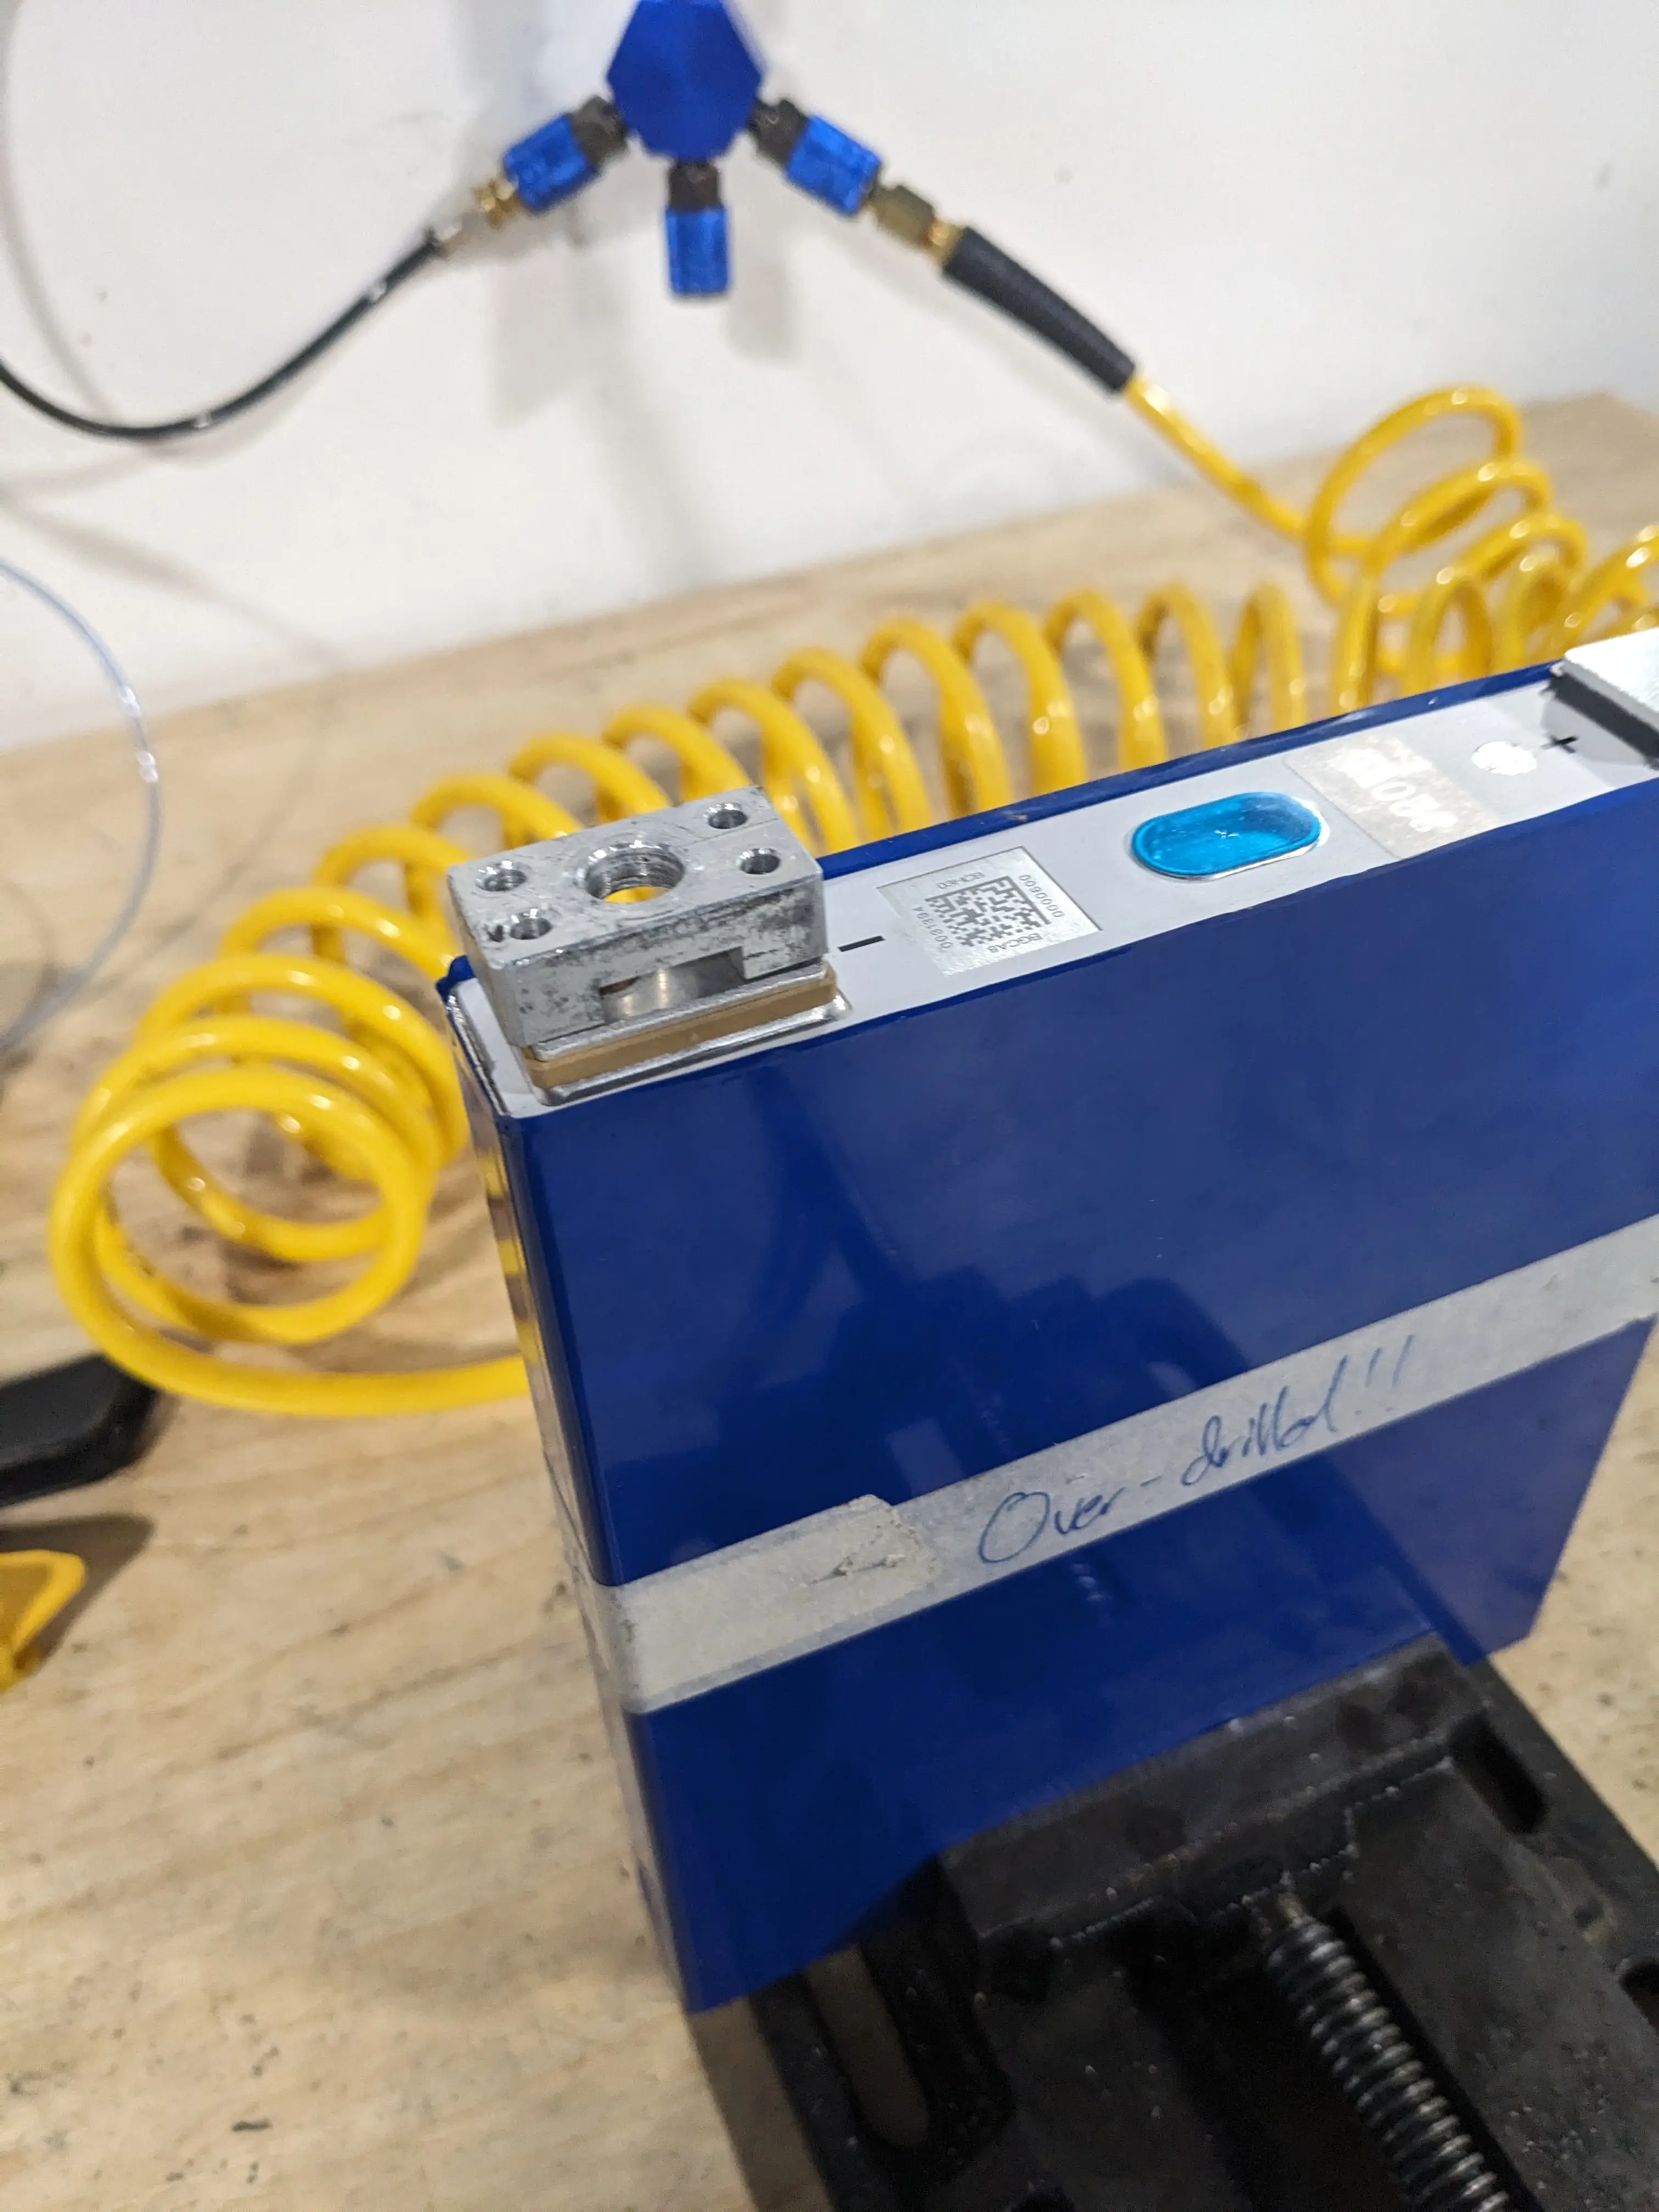
On Thursday, I got our only spare battery and began prepping it to take the place of our recently fallen comrade.
To begin, I marked where I wanted the main negative terminal to be mounted, and marked it out on the cell’s terminal. After this, I was able to drill the holes and tap them.
After this, I decided to sand the terminals of the battery to try to maximize the connection. Having any sort of resistance in the bus bars or contacts can pose a major loss of energy and is very hard to trace.
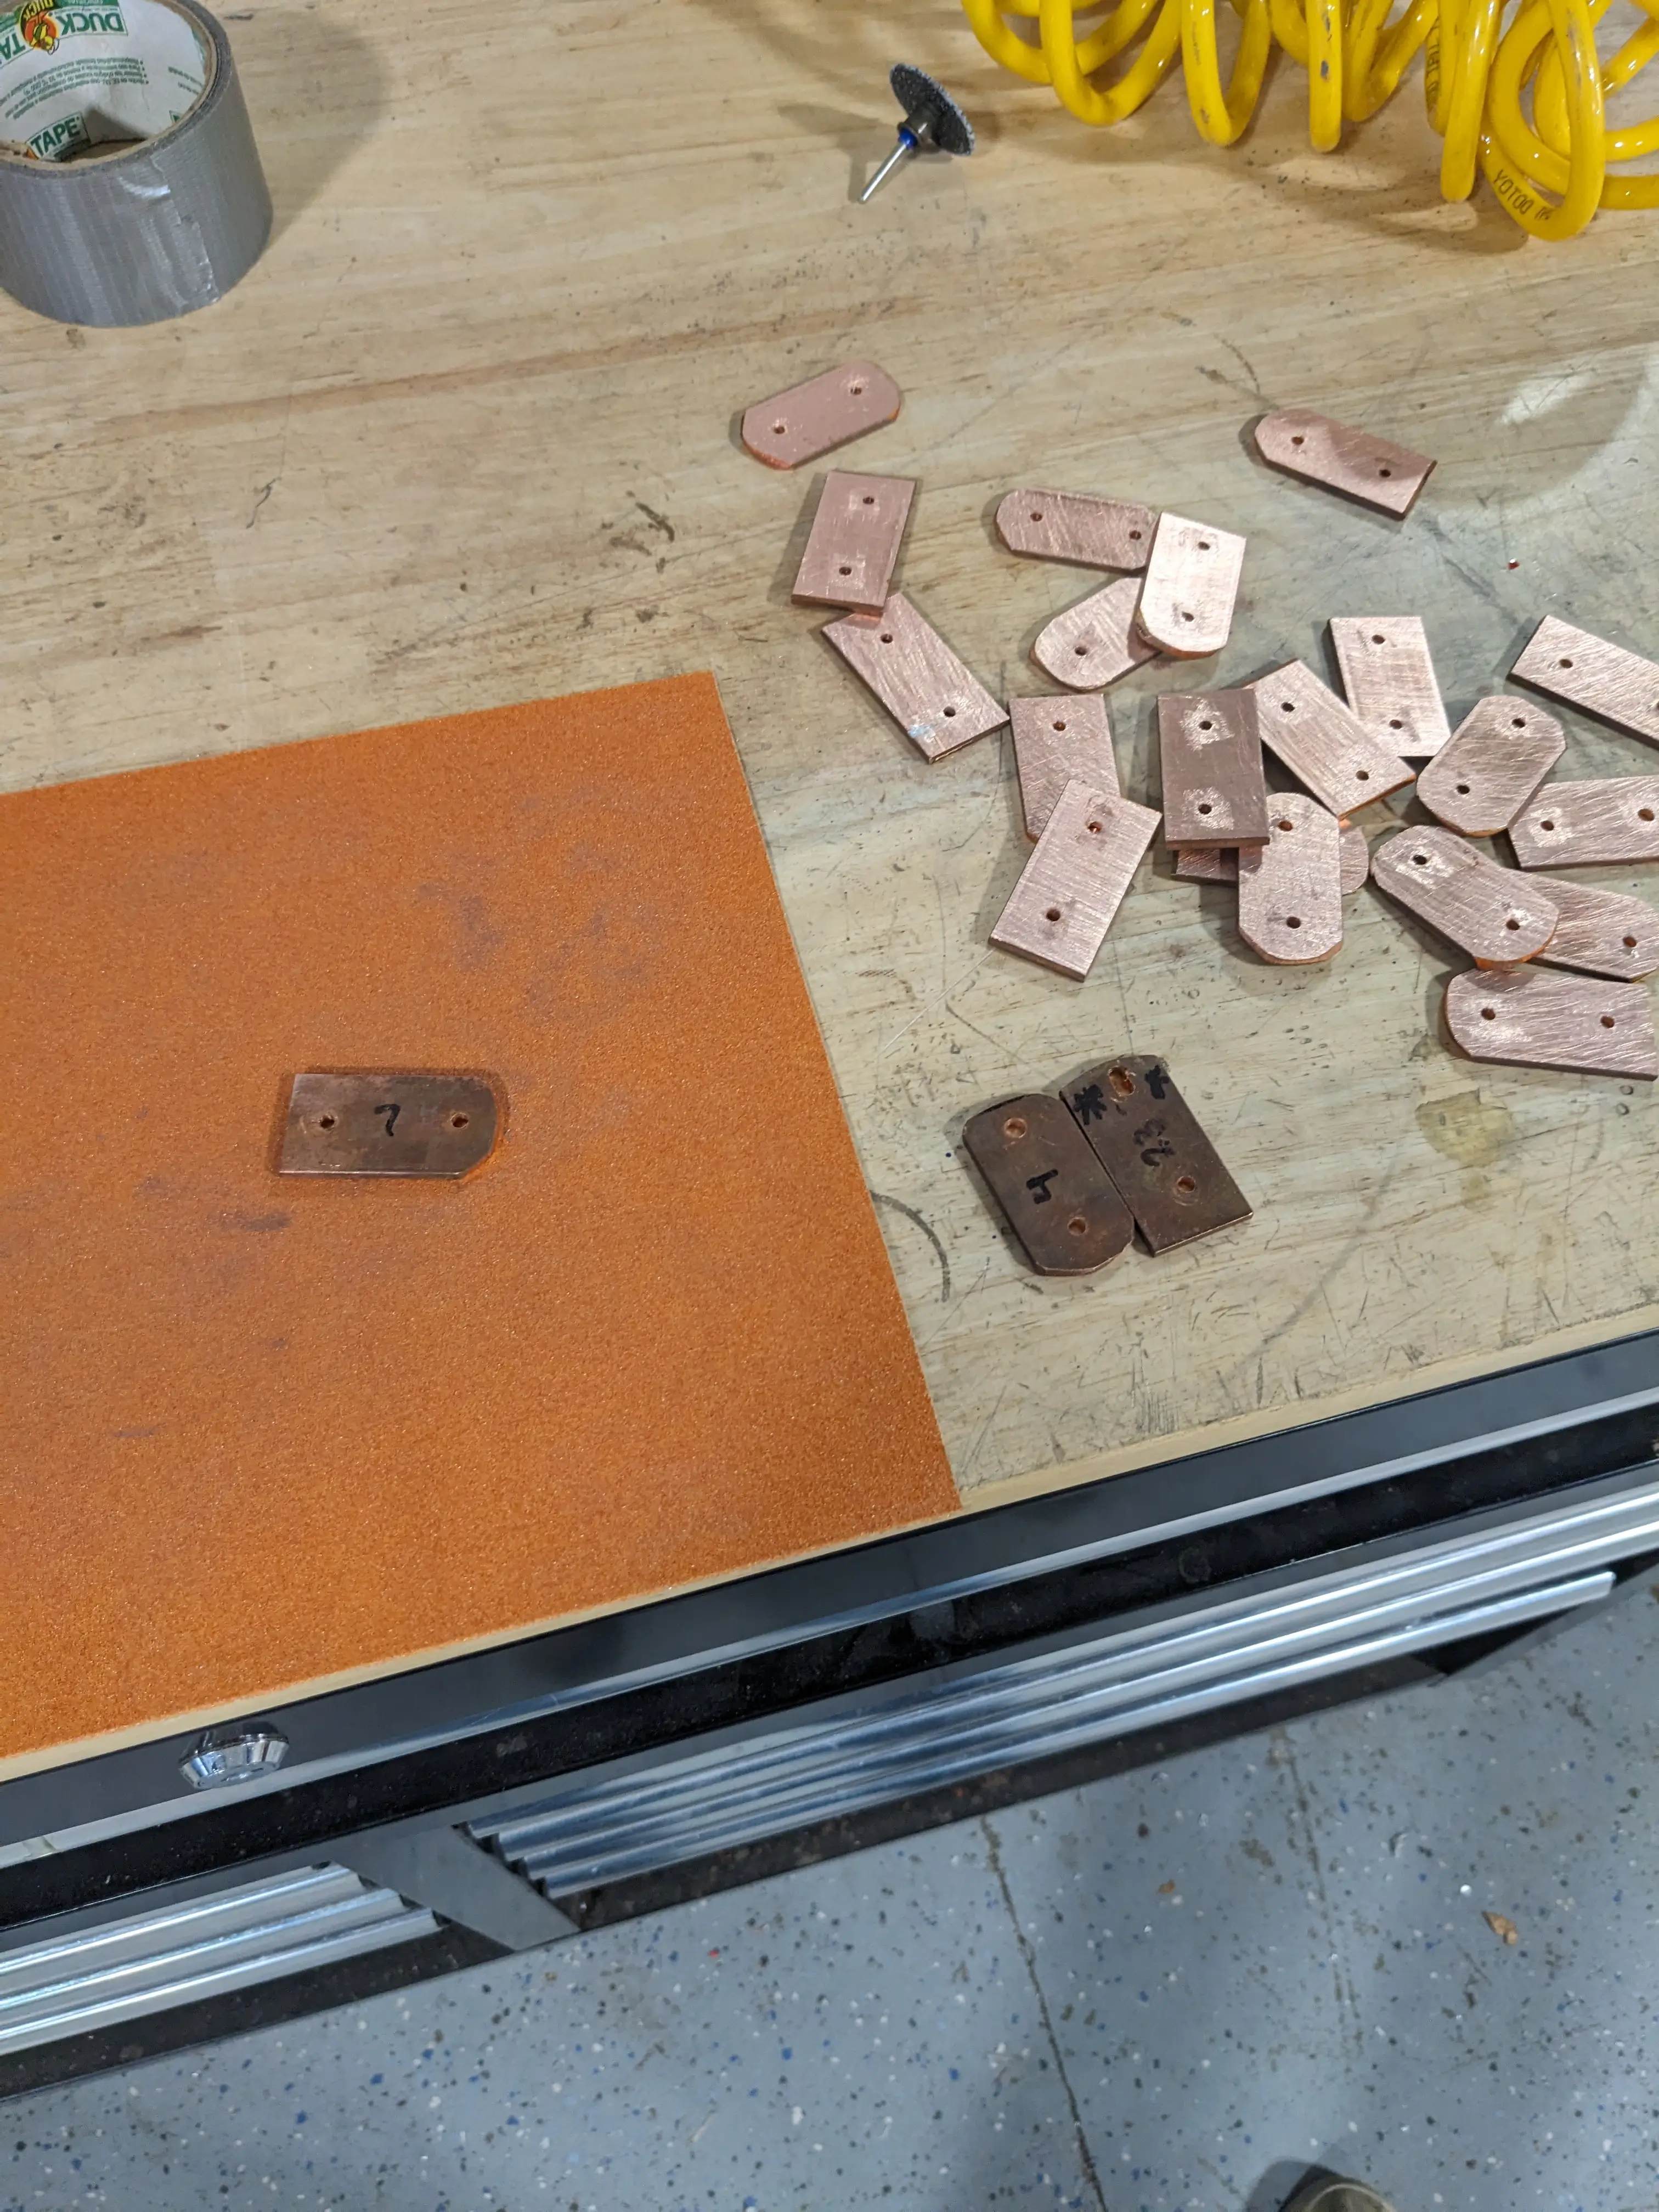
I then decided to put in the effort (by using Jonas for manual labor) of sanding and cleaning all 24 bus bars and 48 battery terminals to ensure optimal connection. Hopefully, this will reduce any potential voltage drop that I didn’t account for when I first assembled the battery.
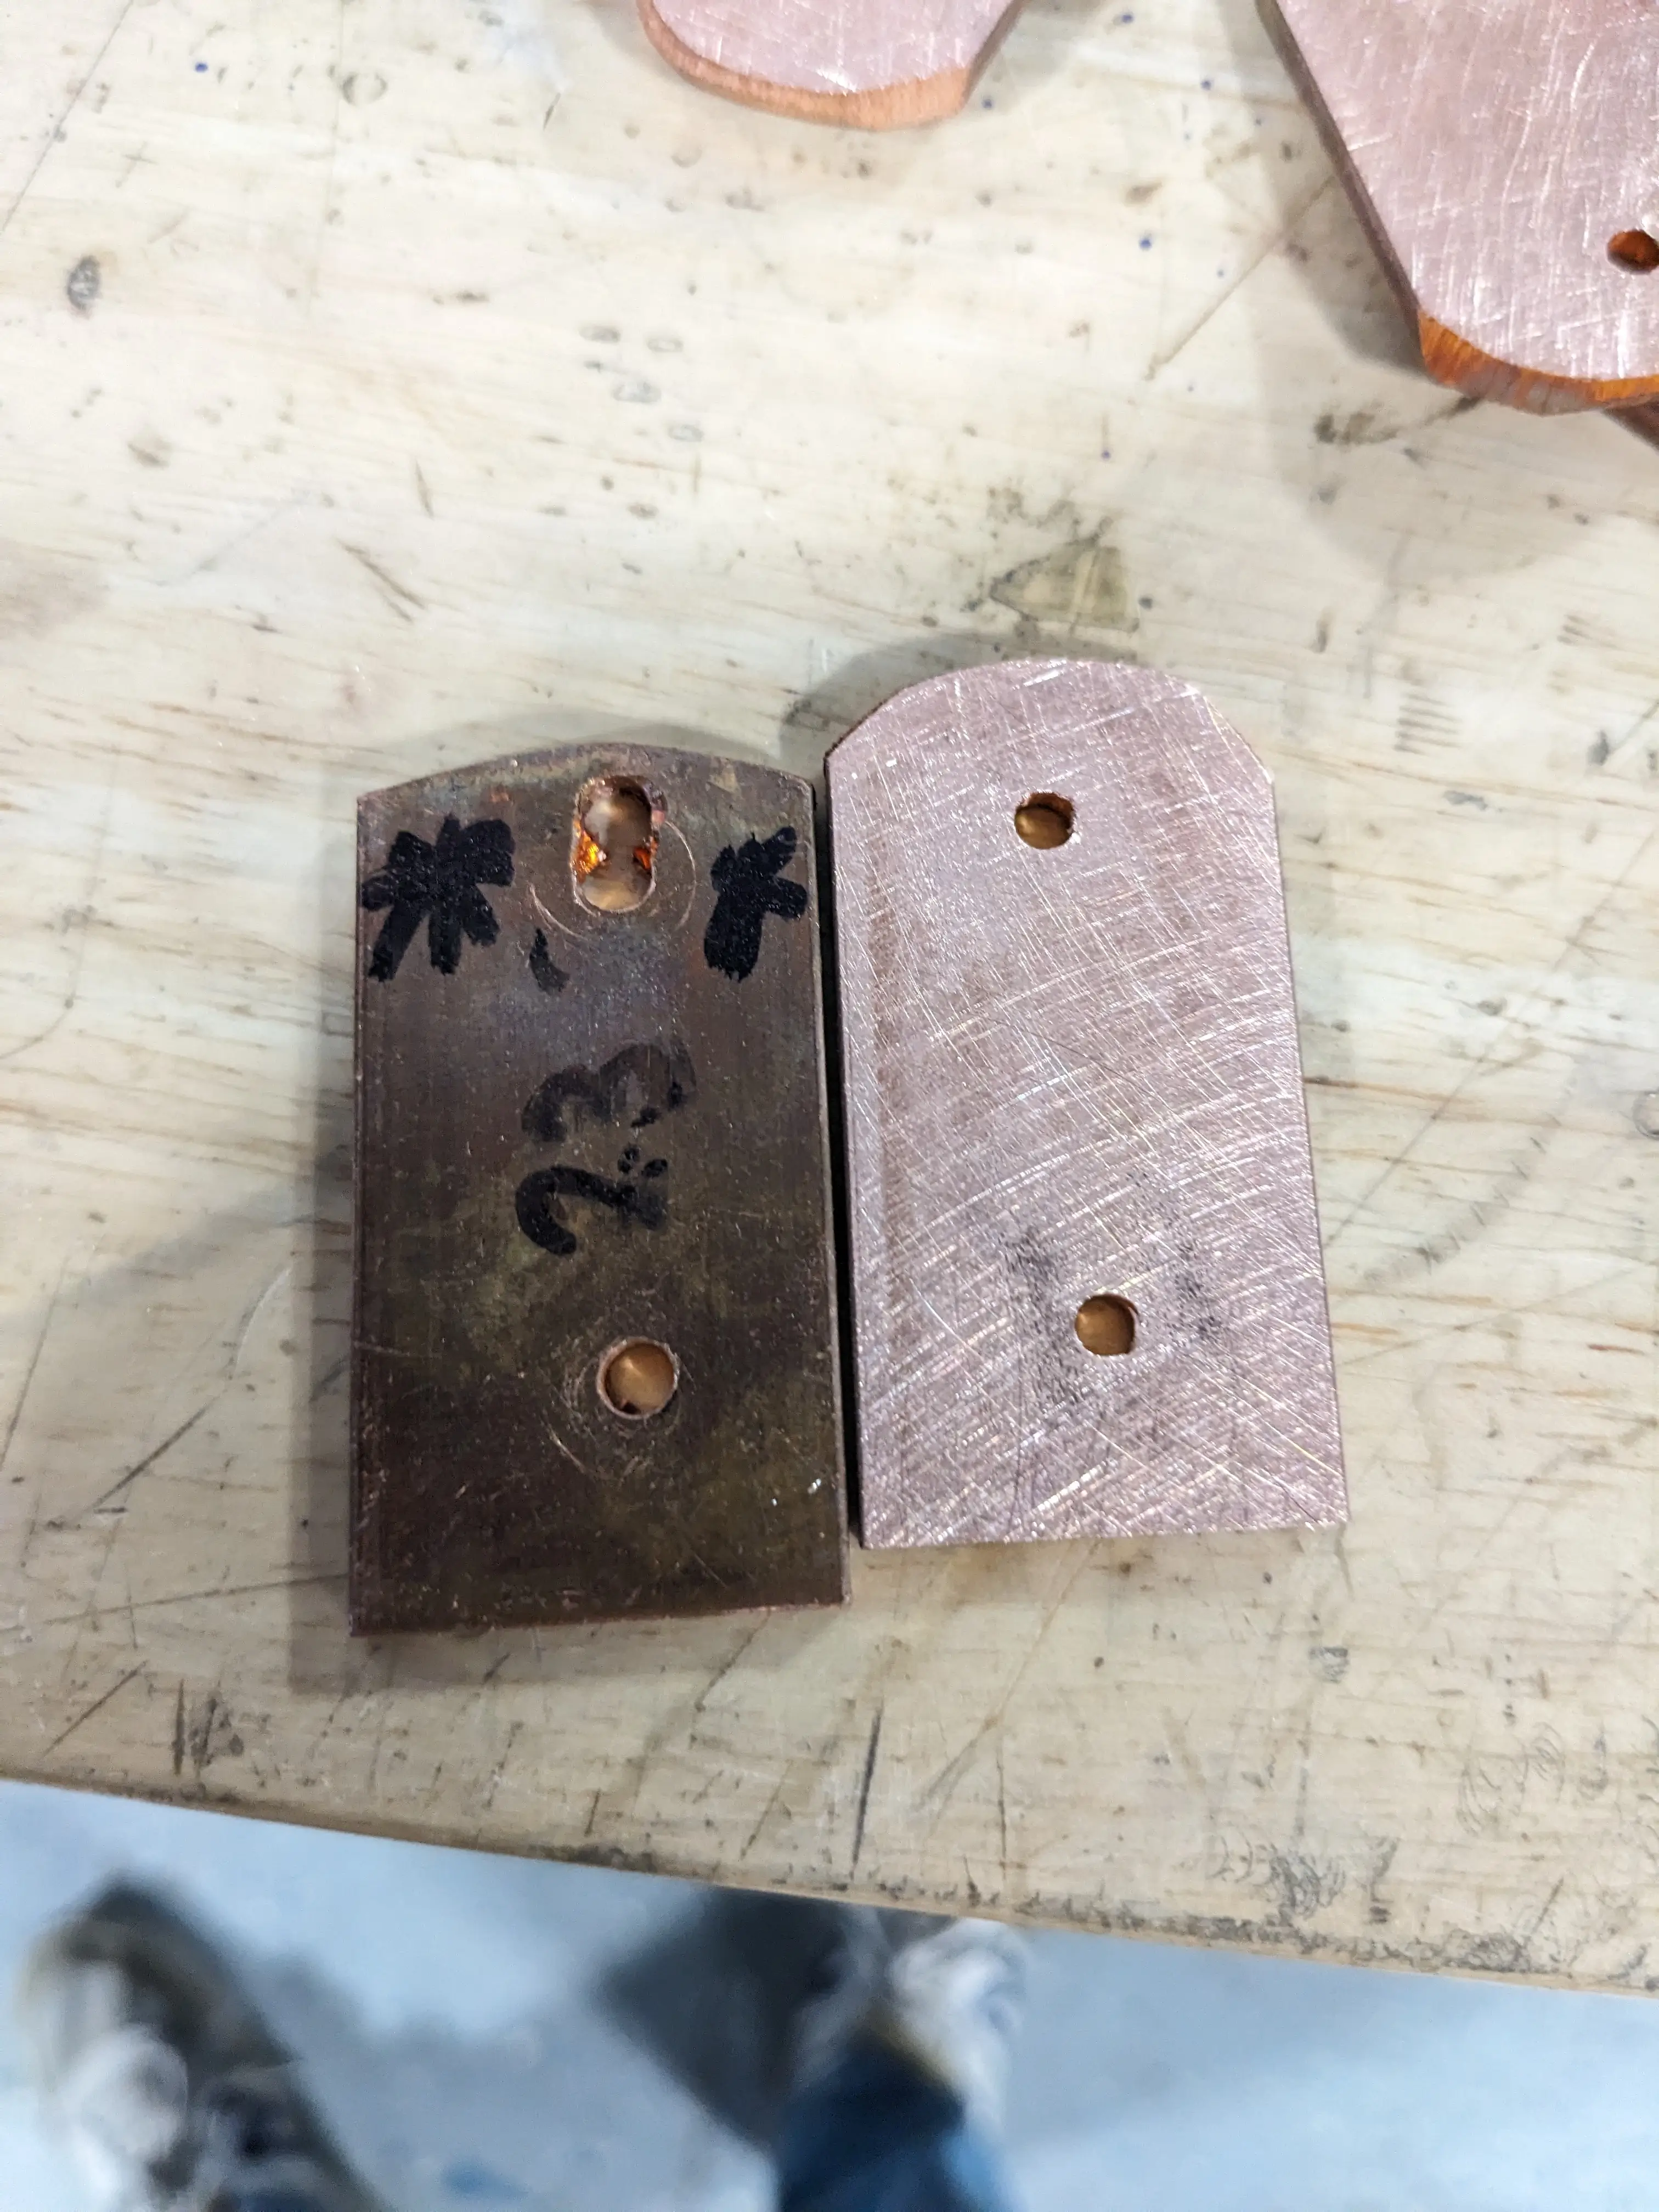
Below you can see me sanding the copper bus bars, and the comparison of how they looked before and how they look after sanding. (Brighter copper has a much better electrical conductivity with lower resistance)
0
Views